If the fuel pump screen often becomes clogged, remove and flush the tank.
USEFUL TIP: It is easier to remove the empty tank when working on a lift, overpass or inspection pit. To remove the remaining fuel after disconnecting the connecting hose of the filler pipe from the tank branch pipe (see below points 7 and 8), pump out the fuel through the opened hole in the tank.
You will need: 10 mm keys, TORX T20 and T30, 13 mm socket head, fine-nosed pliers, flat-blade screwdriver.
1. Reduce the pressure in the fuel system (see "Losing pressure in the fuel system").
2. Disconnect the wire from the negative terminal of the battery.
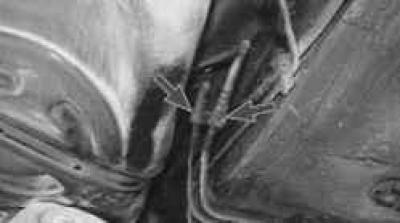
3. Disconnect the fuel pump pressure and drain hoses from the pipelines…
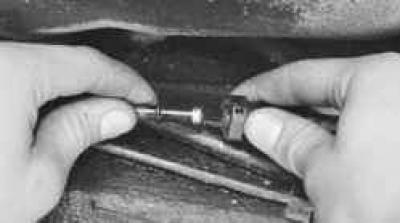
4. …by squeezing their clamps.
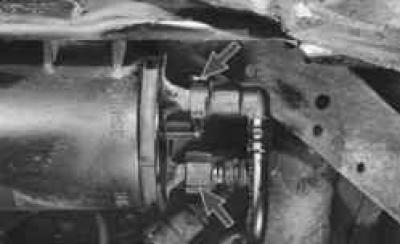
5. Disconnect the lines from the fuel vapor recovery system canister…
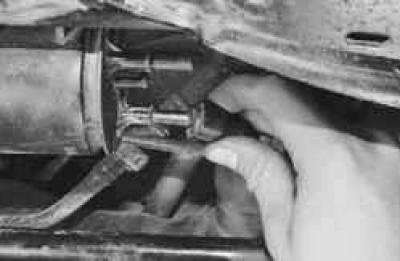
6. …by squeezing their clamps.
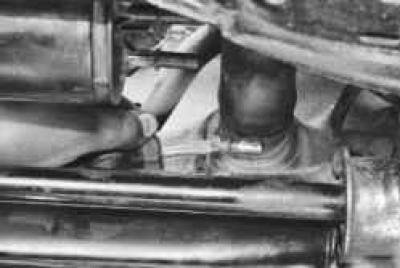
7. Loosen the clamp securing the filler pipe connecting hose to the fuel tank pipe…
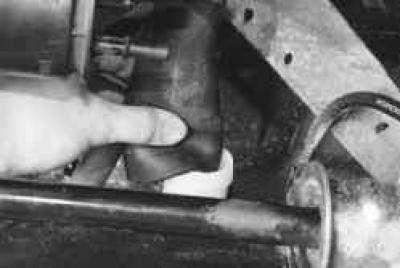
8. …and disconnect the hose from the branch pipe, while removing the clamp from the hose so as not to lose it.
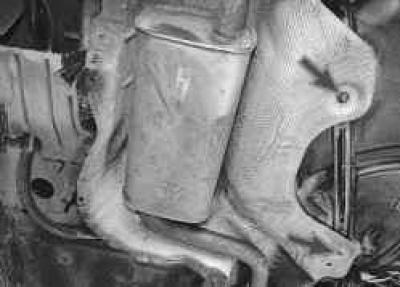
9. Unscrew the two nuts securing the heat shield of the main muffler to the fuel tank mounting clamp…
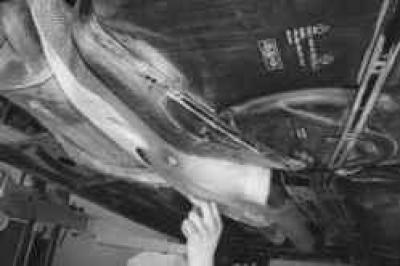
10. …and carefully bend the edge of the heat shield down, removing it from the clamp pins.
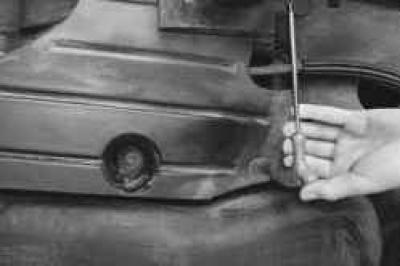
11. Remove the two screws securing the protective shield to the side member…
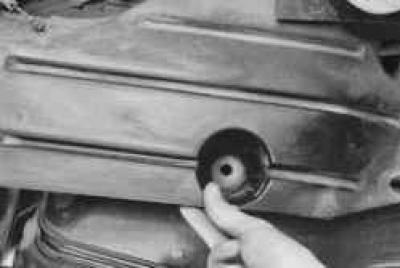
12. …and remove the shield.
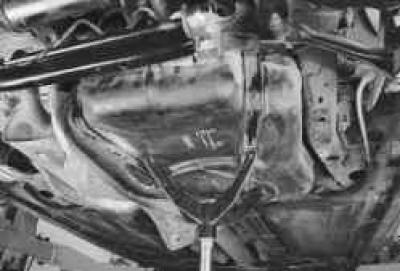
13. Place a secure support under the tank.
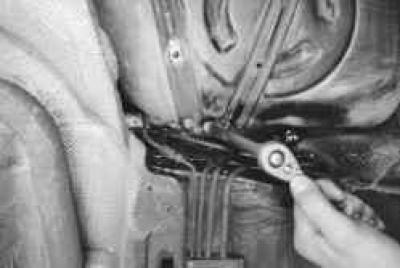
14. Remove one bolt securing the fuel tank clamp to the body base at the front of the vehicle…
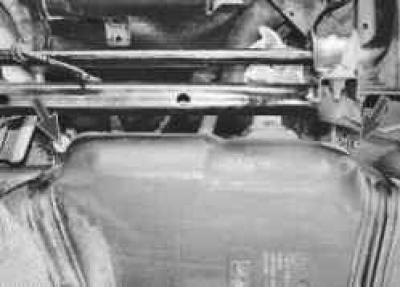
15. …two bolts at the back…
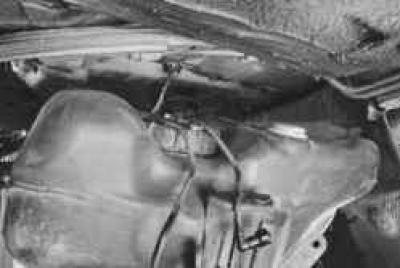
16. …and lower the tank down a little to allow access to its upper surface.
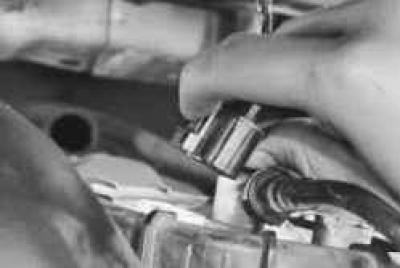
17. Disconnect the wiring harness connector from the fuel pump module by squeezing its clips.
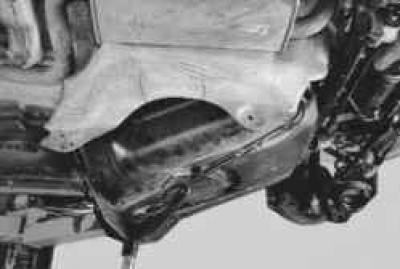
18. Lower the tank even further..
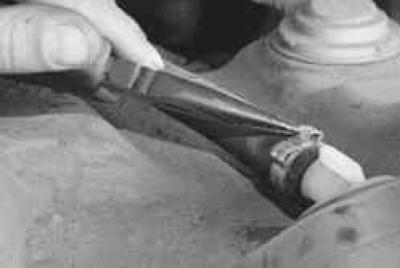
19. … loosen the clamp securing the air bleed tube of the filler pipe to the tank fitting, slide the clamp along the hose…
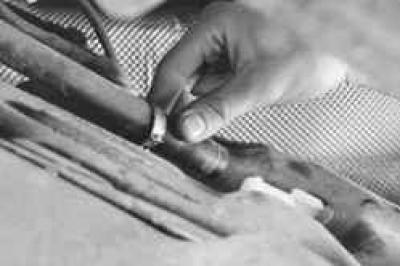
20. …disconnect the hose from the fitting, remove the support and remove the fuel tank.
21. Install the fuel tank in the reverse order of removal.
22. After connecting the pipes and the fuel pump wiring harness, fill the tank with gasoline, start the engine and check the tightness of all pipe connections.
If necessary remove the fuel tank filler pipe, do the following.
1. Remove the right rear wheel and place the vehicle on a secure support.
2. Remove the right rear fender liner (see "Removing and installing wheel mudguards and fender liners").
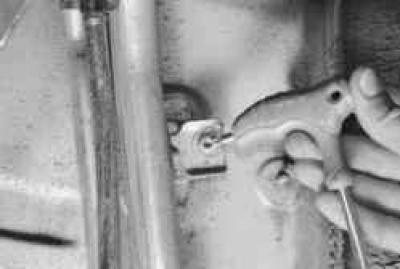
3. Remove the screws securing the fuel tank filler pipe to the side of the body…
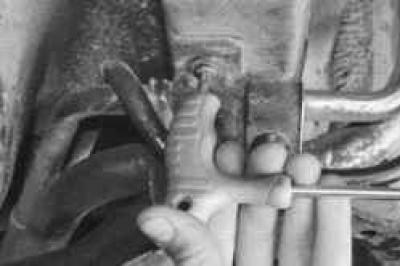
4. …and to the right rear side member.
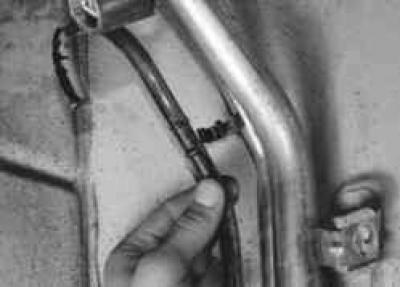
5. Remove the air bleed tube from the holder on the filler pipe.
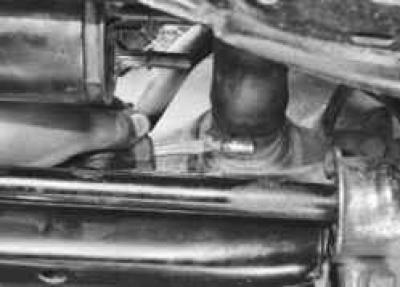
6. Loosen the clamp securing the filler pipe connecting hose to the fuel tank pipe…
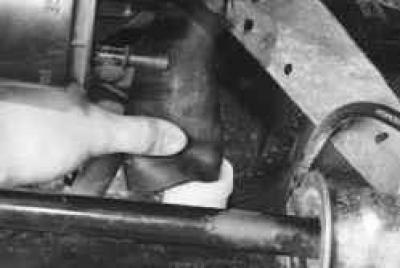
7. …and disconnect the hose from the branch pipe, while removing the clamp from the hose so as not to lose it.
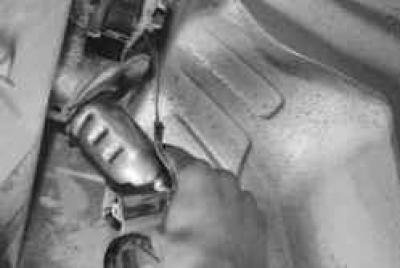
8. Move the filler pipe to the side and remove the pipe neck from the seal of its hatch cover.
9. Remove the rear suspension crossmember (see "Removing and installing the rear suspension crossmember") and remove the filler pipe.
NOTE: Removing the rear suspension cross member is necessary because with the cross member installed, the filler pipe cannot be passed through the gap between the cross member and the body.
10. Install the parts in the reverse order of removal.
For details, please visit the website [FordBook.ru]