You will need: flat- and Phillips-head screwdrivers, a socket head and a 10 mm wrench, and a TORX T25 wrench.
Note: The work is shown for mudguards and fender liners on the left side of the car. The right mudguards and fender liners are removed and installed in the same way.
Note: Before removing mudguards and fender liners, you must first remove the corresponding wheel.
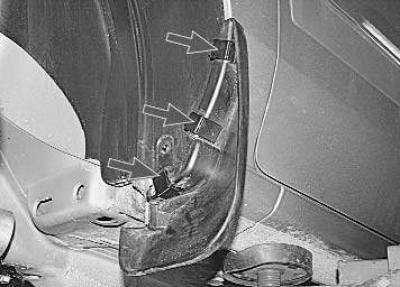
Front wheel mudguard secured with three holders. To remove it, follow these steps.
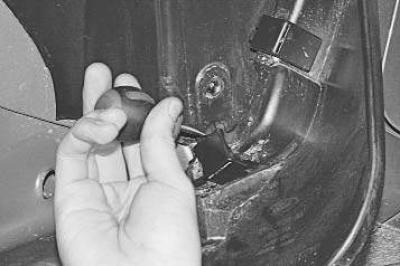
1. Using a screwdriver, pry up the spring clips of the mudguard holders…
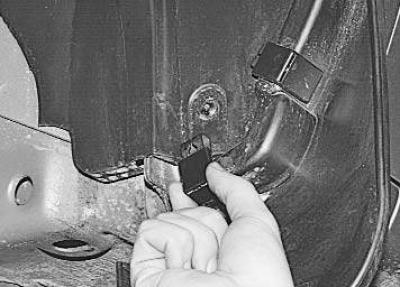
2. …remove the holders…
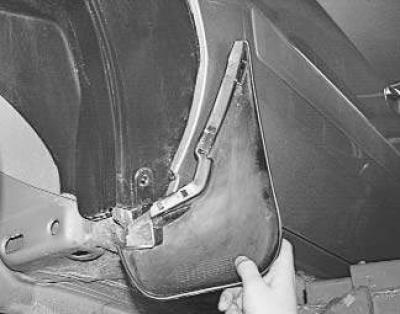
3. …and a mudguard.
4. Install the front wheel mudguard in the reverse order of removal.
To remove the front mudguard perform the following operations.
1. Remove the front wheel mudguard (see above in this subsection).
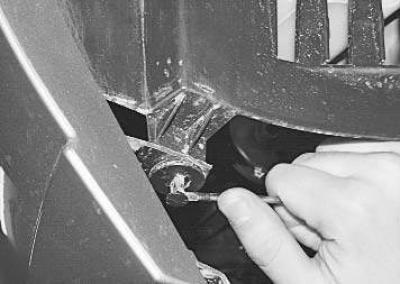
2. Using a screwdriver, push out the retainer of the piston of the front lower fastening of the fender liner to the front bumper..
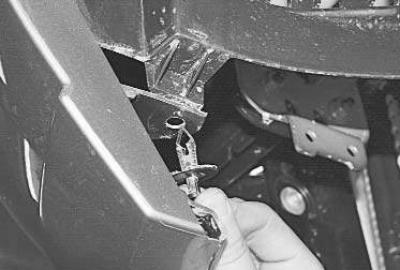
3. …and remove the piston.
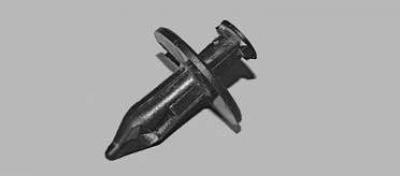
Note: Replace the damaged piston.
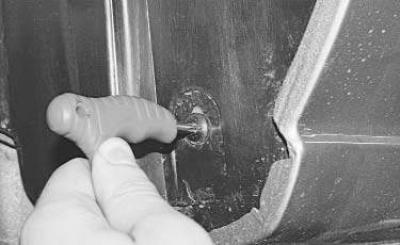
4. Remove the five screws securing the front mudguard…
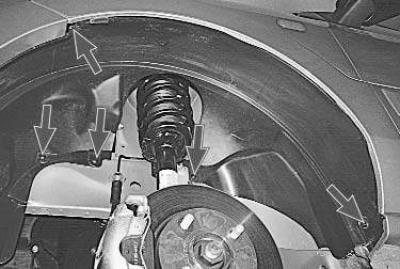
Note: This is how the screws for the front mudguard liner are located.
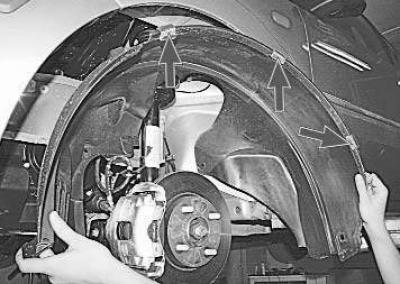
5. …and remove the fender liner by removing its three spring clips (shown in the photo with arrows) from the front fender flanging.
6. Install the front fender liner in the reverse order of removal.
To remove the rear wheel mudguard perform the following operations.
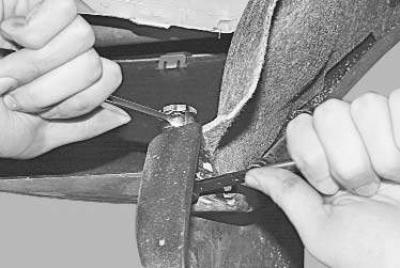
1. Bend back the rear edge of the rear mudguard, from inside the rear bumper, unscrew the nut of the bolt securing the mudguard to the bumper, holding the bolt with a second wrench, and remove the bolt.
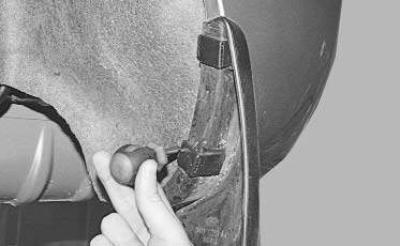
2. Using a screwdriver, pry up the spring clips of the two mudguard holders…
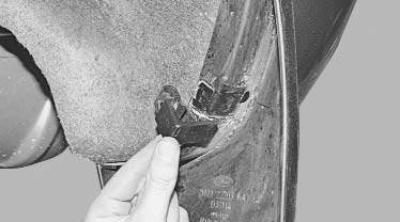
3. …remove the holders…
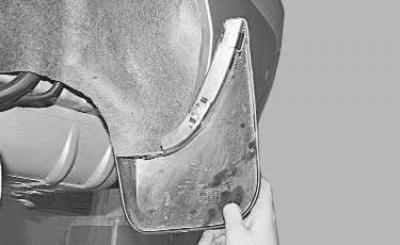
4. …and a mudguard.
5. Install the rear wheel mudguard in the reverse order of removal.
To remove the rear fender liner perform the following operations.
1. Remove the rear wheel mudguard (see above in this subsection).
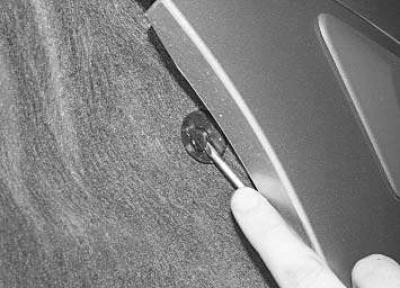
2. Using a screwdriver, push out the retainer of the piston of the rear upper mount of the fender liner to the rear bumper..
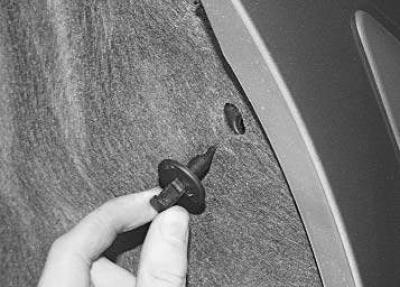
3. …and remove the piston.
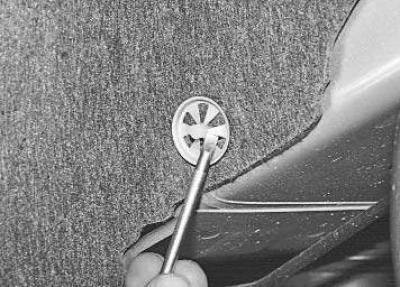
4. Using a screwdriver, pry up the petals of the six fender liner holders…
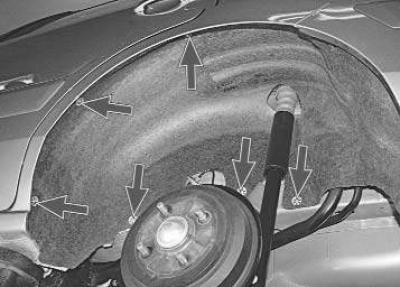
Note: This is how the rear fender liner holders are located.
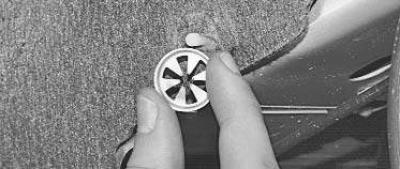
5. …remove the holders from their fasteners on the body…
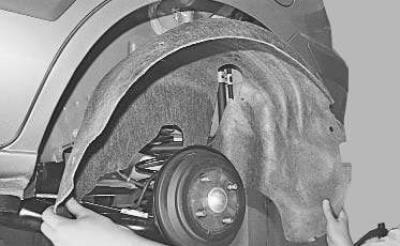
6. …and remove the fender liner.
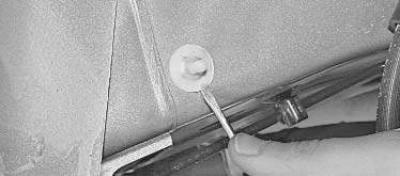
Note: Using a screwdriver, pry out the damaged fasteners from the body holes and replace them with new ones.
7. Install the parts in the reverse order of removal.