1. Disconnect the wire from the negative terminal of the battery.
2. Open the hood and place it on the support.
3. Remove the front mudguards (see "Removal and installation wheel mudguards and fender liners").
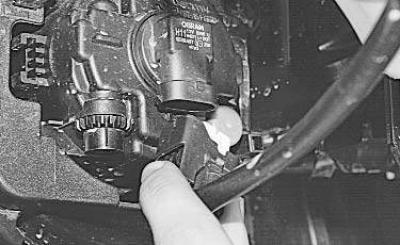
4. Disconnect the wiring harness connectors from the fog light terminals (see "Replacing the fog light").
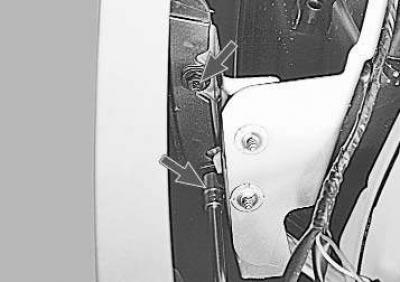
5. In the arches of both front wheels, unscrew the two bolts securing the bumper to its beam..
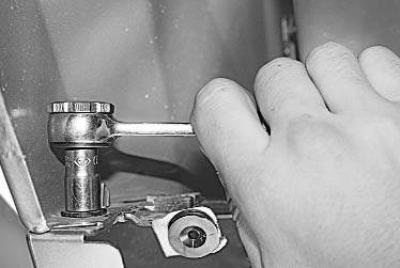
6. …and one bolt each for attaching the bumper to the front fenders.
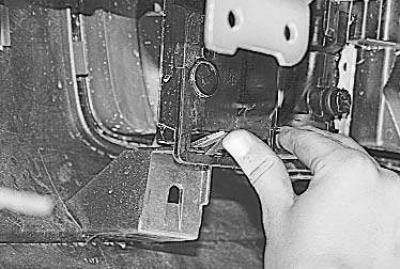
7. From the inside of the bumper, on its left and right sides, press the two latches securing the bumper to the radiator frame and remove the latches from the holes in the frame.
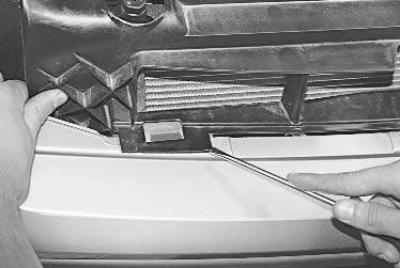
8. At the top of the bumper, use a screwdriver to press the three holders on the radiator frame, remove the bumper latches from the holes in the holders..
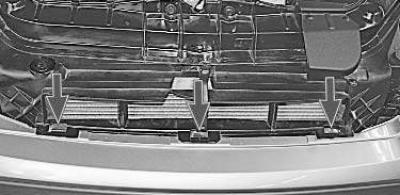
Note: This is how the upper front bumper holders are located on the radiator frame.
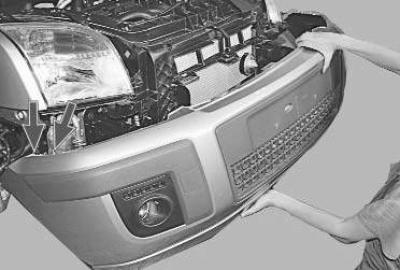
9. …and remove the bumper by removing two of its fasteners on both sides (shown in the photo with arrows) from the holes in the front fenders.
10. If you have removed the bumper for replacement, remove the fog lights from it (see "Replacing the fog light") and install on the new bumper.
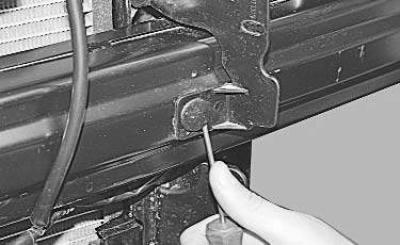
11. Using a screwdriver, remove the three mounting pins of the two side radiator shields on the left and right…
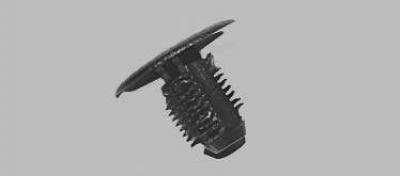
Note: Replace damaged shield mounting pins.
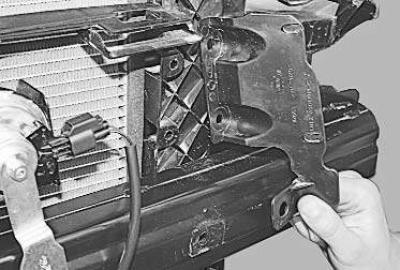
12. …and remove both shields.
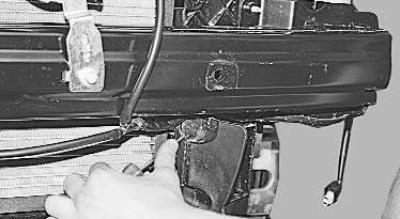
13. Using a screwdriver, remove one pin each securing the lower radiator shield to the bumper bar on the left and right…
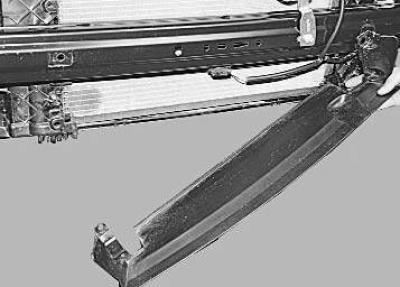
14. …and remove the shield.
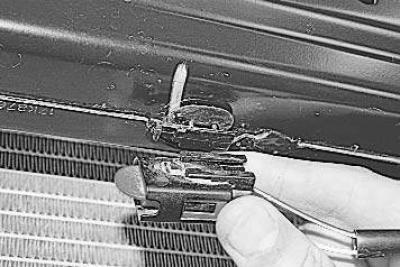
15. Disconnect the wiring harness connector from the holder on the front bumper bar…
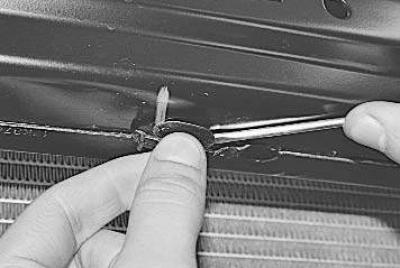
Note: If you are removing a bumper bar for replacement, remove the wiring harness connector holder from the hole in the bar by prying it up with a screwdriver and install it on the new bar.
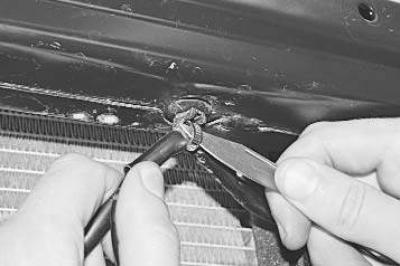
16. …cut the three clamps securing the wiring harness to the beam with a knife and move the harness to the side.
Note: The clamps securing the wiring harness to the front bumper beam are single-use. It is impossible to disconnect them or remove them from the beam holes without damaging them. Therefore, install new clamps when reassembling.
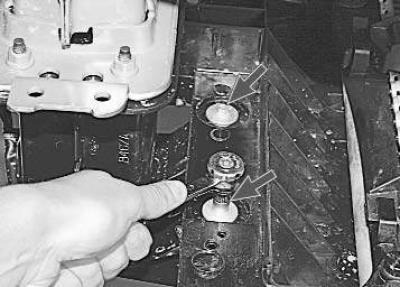
17. From the inside of the radiator frame (left and right), unscrew the two bolts securing the front bumper bar to it.
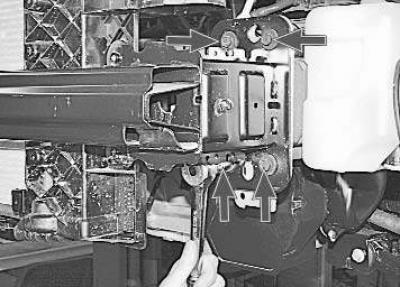
18. Unscrew the four bolts securing the front bumper beam to the body side members on the left and right…
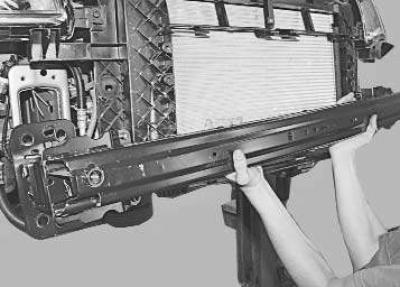
19. …and remove the beam.
20. Install the parts in the reverse order of removal.