


To remove the hood lock do the following.
1. Open the hood and place it on the support.
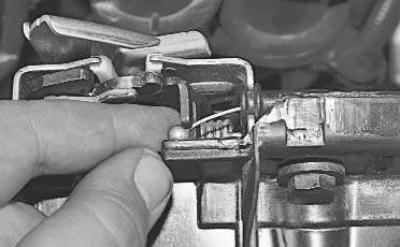
2. Slide the end of the hood lock cable forward…
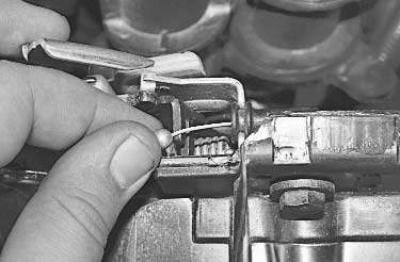
3. …and disconnect it from the lock lever.
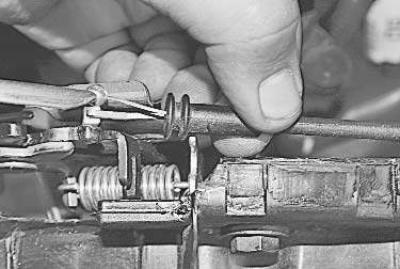
4. Remove the cable sheath end from the groove in the lock body.
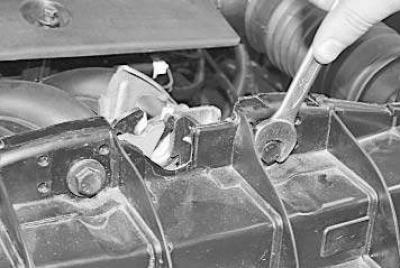
5. Remove the two bolts securing the hood lock to the radiator frame…
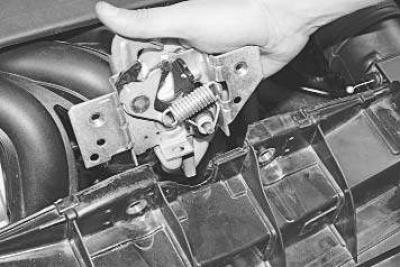
6. …and remove the lock.
7. Install the hood lock in the reverse order of removal. Before installing the hood lock, lubricate its locking mechanism with a consistent lubricant, such as lithol.
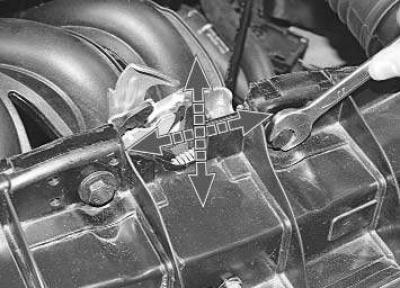
8. If after installation the lock does not lock clearly or is difficult to unlock, adjust its position. Loosen the lock mounting bolts and move it vertically or horizontally within the enlarged diameter holes of the radiator frame until it works clearly.
To remove the hood lock latch do the following.
1. Open the hood and place it on the support.
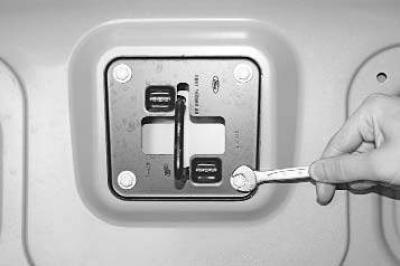
2. Remove the four bolts securing the latch to the inner hood panel…
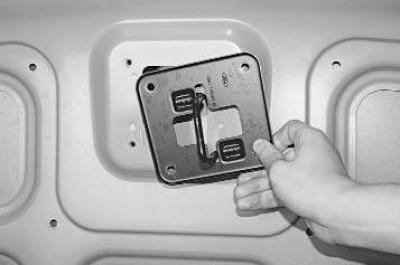
3. …and remove the latch.
4. Install the hood lock latch in the reverse order of removal.
To remove the hood lock safety hook do the following.
1. Remove the hood lock (see above in this subsection).
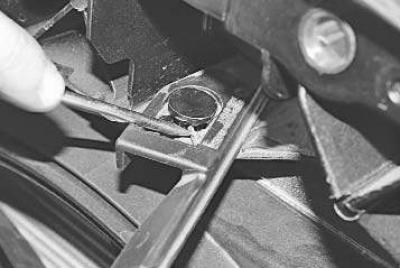
2. Using a screwdriver, press down the spring of the safety hook..
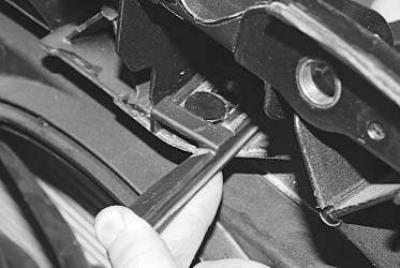
3. …remove the hook from the axis…
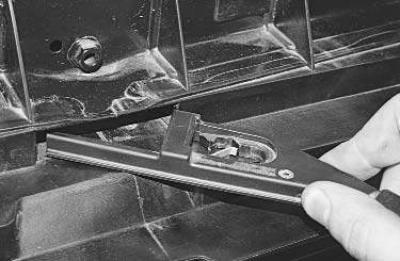
4. …and remove it from the hole in the radiator frame, pulling it forward in the direction of vehicle travel.
5. Install the parts in the reverse order of removal.
To remove the hood lock drive do the following.
1. Open the hood and place it on the support.
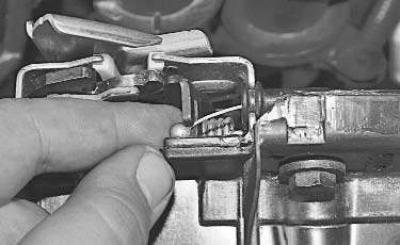
2. Slide the end of the hood lock cable forward…
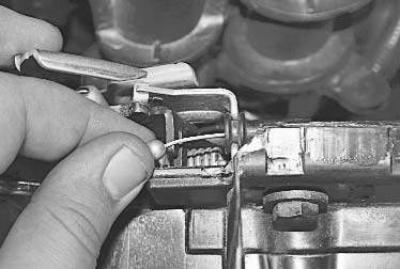
3. …and disconnect it from the lock lever.
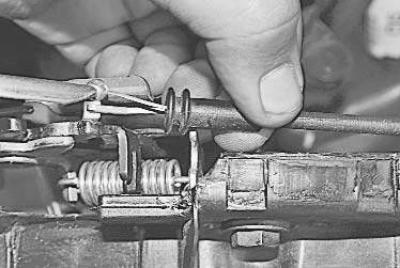
4. Remove the cable sheath end from the groove in the lock body.
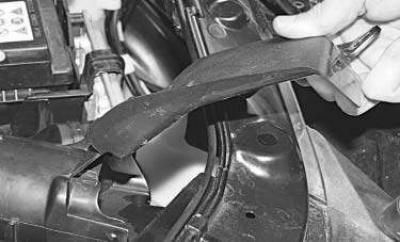
5. Fold back the air intake visor (see "Removal and installation the air filter")…
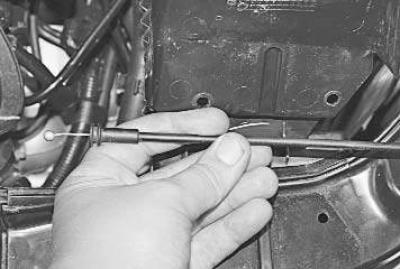
6. …and remove the cable from underneath it.
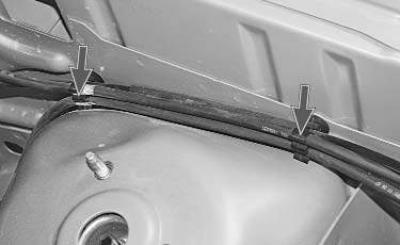
7. Remove the cable from the two holders on the engine compartment frame.
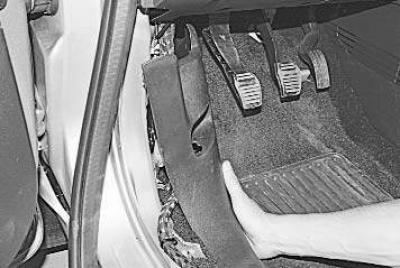
8. In the vehicle interior, remove the front left sill trim (see "Removal and installation of interior trim").
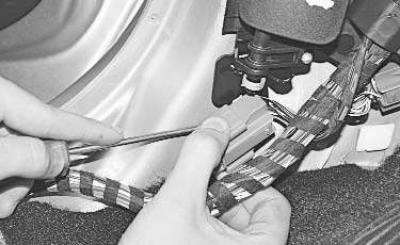
9. Disconnect the wiring harness connector from the hood lock handle housing by pressing its retainer with a screwdriver.
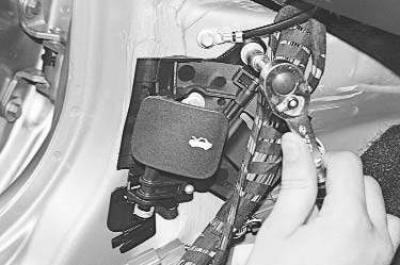
10. Remove the bolt securing the hood release handle to the body side…
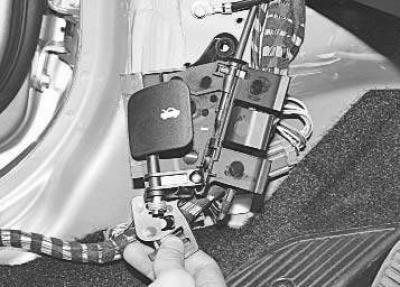
11. …and detach the handle from the side by removing the lower handle housing lock from the hole in the side.
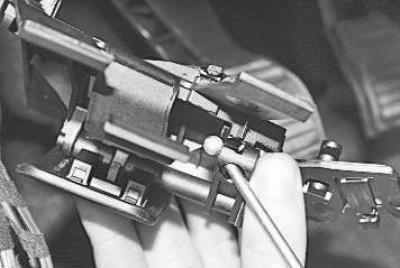
12. Using a screwdriver, pry up the end of the hood lock drive cable…
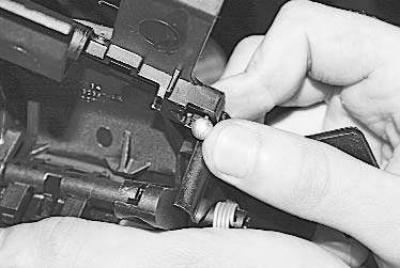
13. …disconnect it from the drive handle.
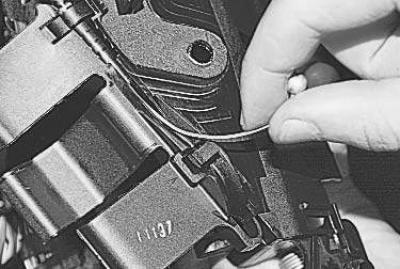
14. Remove the cable from under one…
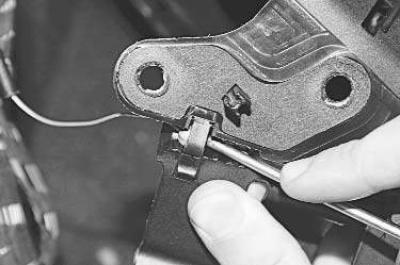
15. ...and the other holders on the handle, pushing the end of the cable with a screwdriver, and remove the handle.
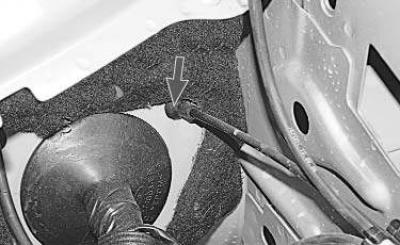
16. Remove the cable into the engine compartment, removing its seal from the hole in the front shield.
17. Install the parts in the reverse order of removal.
(The text was obtained in its entirety from the specified website: FORDBOOK.RU)