1. Remove the rear mudguards on both sides of the vehicle (see "Removal and installation wheel mudguards and fender liners").
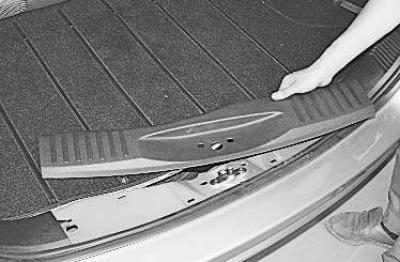
2. Remove the middle…
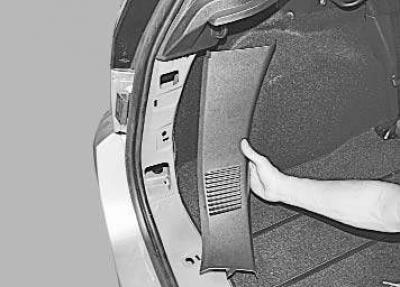
3. …and both side parts of the rear trim of the trunk (see "Removal and installation trunk trims").
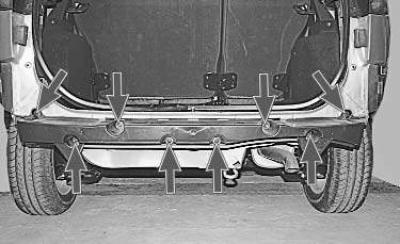
4. In the arches of both rear wheels, unscrew one bolt securing the bumper to the rear fenders.

5. At the bottom of the bumper (left and right), unscrew the fasteners of the two pins that secure the bumper to the energy-absorbing element..
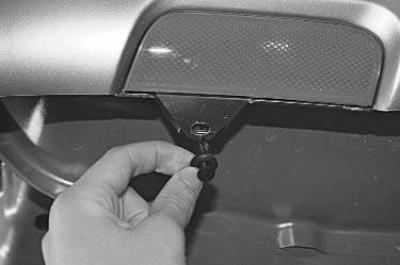
6. …and remove the pistons.
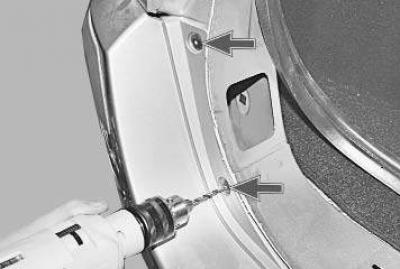
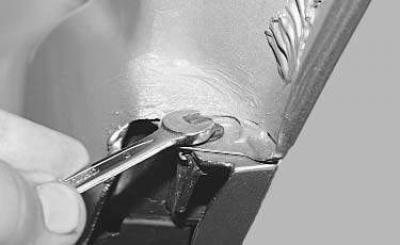
7. In the rear door opening, drill out the cores of the four rivets that secure the bumper to the body (two on each side), remove the rivets from the holes in the body and bumper..
Note: The rivets that secure the rear bumper to the body are single-use.
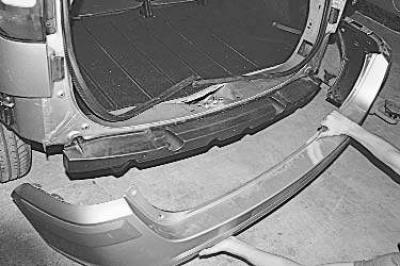
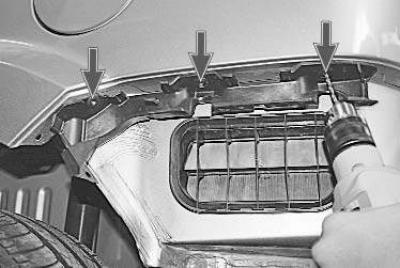
8. …and remove the bumper…
9. ... by disconnecting the fasteners on its upper edge on the sides from the holders of the side brackets installed on the body.
10. If necessary, drill out the cores of the eight rivets securing the energy-absorbing element to the body and remove the element.
Note: This is how the rivets for attaching the energy absorbing element of the rear bumper to the body are located. The rivets for attaching the energy absorbing element are similar to the rivets for attaching the rear bumper.
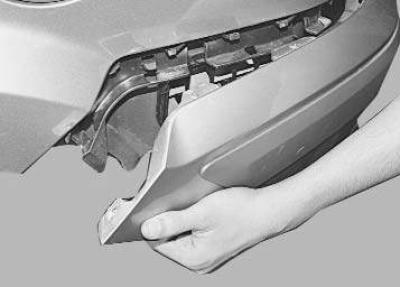
11. Similarly, drill out the cores of the three rivets securing each of the side brackets of the rear bumper and remove the brackets.
12. Install the parts in the reverse order of removal.
(The original can be found on this resource: FORDBOOK.ru)