Special tool
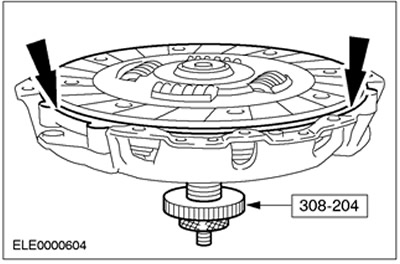
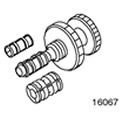 | Clutch plate centering tool 308-204 (16067) |
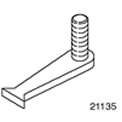 | Flywheel locking tool 303-254 (21135) |
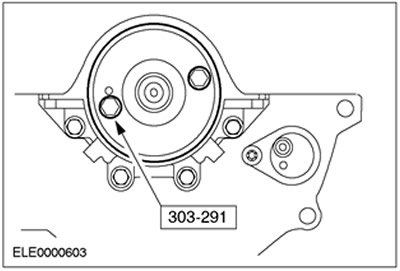
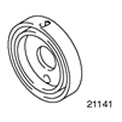 | Oil Seal Remover 303-291 (21141) |
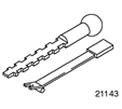 | Oil Seal Remover 303-293 (21143) |
| Name | Specification |
| High temperature grease | ESD-M1C220-A |
Withdrawal
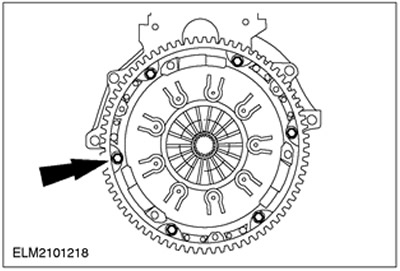
1. Disconnect the clutch.
- Lock the flywheel with special tool 303-254.
- Loosen the clutch pressure plate bolts evenly.
- Disconnect the pressure and driven clutch discs.
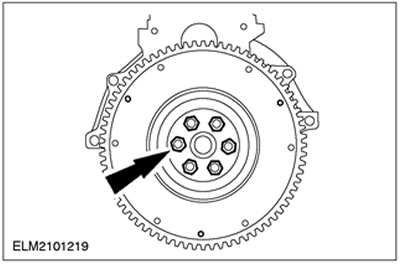
2.
NOTE: Mark the installation position.
Disconnect the flywheel. Remove special tool 303-254.
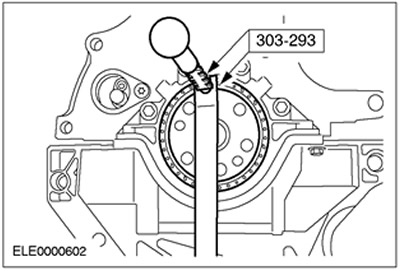
3. Remove the oil seal.
Installation
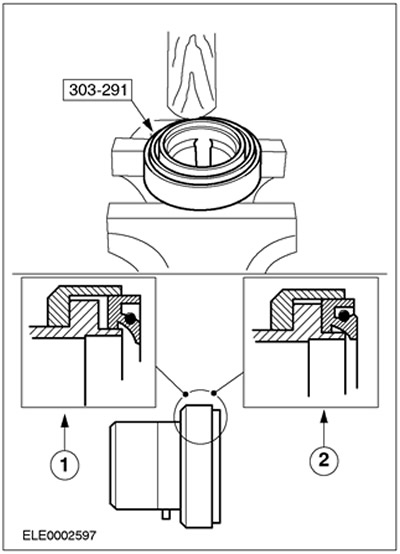
1.
CAUTION: The oil seal must be inserted into the special tool 303-291 until it stops.
Insert a new crankshaft rear oil seal into the special tool.
- To ensure proper installation, hold the special tool in a vise and insert the oil seal using a hammer handle when installing.
- 1.Wrong installation
- 2.Proper installation
2. Insert oil seal. Install the oil seal using the special tool and two flywheel bolts.
3.
NOTE: Remove any remaining thread locking compound from the threaded holes in the crankshaft.
NOTE: Use new bolts.
Install the flywheel.

4.
NOTE: Apply a coat of high temperature grease. The layer must be so thin that when the clutch disc is pushed onto the input shaft of the gearbox, the lubricant is not squeezed out of the splines. Evenly, over the entire surface, lubricate the splines of the clutch disc.
High temperature grease is used.
5. Center the clutch disc on the clutch pressure plate.
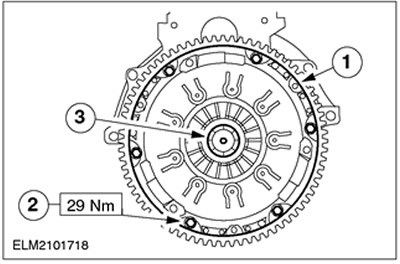
6. Install the clutch.
- 1.Install the clutch pressure plate with the clutch disc centered on it.
- 2. Tighten the bolts in a criss-cross pattern, tightening one turn per step.
- 3.Check and, if necessary, correct the centering.
7. Disconnect special tools.
Visitor comments