Installing the crankshaft thrust half ring
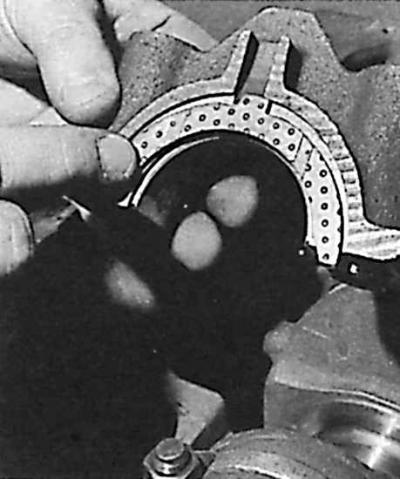
1. Install the gasket into the groove in the cylinder block and the rear main bearing cap.
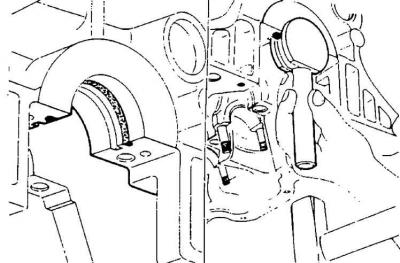
2. Install the special tool rod (21.085) on the gasket.
3. Hit the flat surface of the special device with a wooden hammer so that the gasket fills the groove provided for it properly and is not subject to deformation. Align the ends of the gasket with the plane of the cylinder block and cover; no elements of the gasket material should protrude above this plane. Lubricate the liners with oil grooves with engine oil and place them in the cylinder block sockets, paying attention that they are in the same sockets in which they were previously installed (observe the markings made).
4. Carefully install the crankshaft onto the main bearing shells.
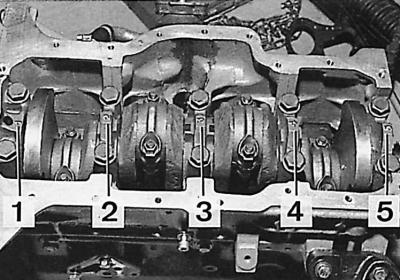
5. Install main bearing caps No.2, 3, 4 and 5, and also pre-install, without side seals, bearing cap No.1. Tighten the main bearing cap bolts to a torque of 110 Nm.
6. Position the dial indicator so that its measuring tip touches the front of the crankshaft.
Check the axial clearance of the crankshaft, which should be 0.08–0.29 mm.
7. If the axial clearance is not correct, the crankshaft thrust half rings should be replaced. There are two thicknesses to choose from: 2.30 and 2.50 mm.
Installing side seals in the rear main bearing cap
1. Unscrew the rear main bearing cover (No. 1) of the crankshaft.
2. Place the side seals on the rear main bearing cover, holding them with tool 21.085 and attach the cover to the tool.
3. Lubricate the side seal surfaces with engine oil and press the entire unit against the cylinder block. Insert the rear main bearing cover bolts and tighten them to 110 Nm.
4. Check if the crankshaft rotates freely in the bearings.
5. Cut the ends of the side seals so that they protrude beyond the lower plane of the cylinder block by 0.5 mm. Use the 0.5 mm thick metal strip included in the special tool kit.
The original post is on the web portal: FORDBOOK.ru