Warning: As a result of brake lining wear, dust is formed that settles on brake system components. It contains asbestos and is harmful to health. Do not blow it off with compressed air or inhale it. Do not wash off dust with gasoline or solvent. Dust is washed off into the tray using a special brake system cleaner. After wiping the brakes clean with a damp (solvent-soaked) rag, put the rag and solvent in a sealed, designated container. If possible, replace parts with asbestos-free ones.
Note: Since 1990, vehicles have been equipped with sealed rear wheel bearings that do not require maintenance. For replacement procedures, see chapter 10.
1. Remove the rear brake drum assembly (chapter 9).
2. Check that the bearings are well lubricated and that there are no traces of dirt or water in the lubricant.
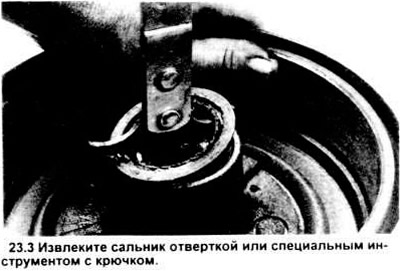
3. Using a screwdriver or gasket removal tool, remove the seal from the hub (discard the seal) see Figure 23.3.
4. Clean the bearings with solvent and dry them with compressed air.
5. Check the bearings for wear, rolling elements, race and separator for nicks.
6. Some discoloration of the bearing surface is normal, but if they are seriously damaged or worn, they should be replaced with new ones.
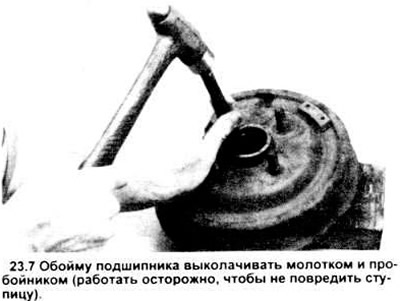
7. Check the bearing race for wear, signs of overheating and corrosion. If the races are worn or damaged, remove them using a hammer and punch (see figure).
8. Install the new bearing races using a piece of pipe and a hammer, but be very careful not to damage them or twist them in the hole.
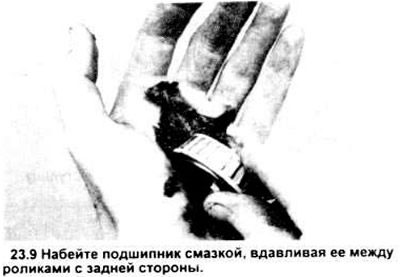
9. Pack the bearing with high-temperature multi-purpose grease type EP before installing it. Press the grease through the gaps between the rollers in the housing (see figure).
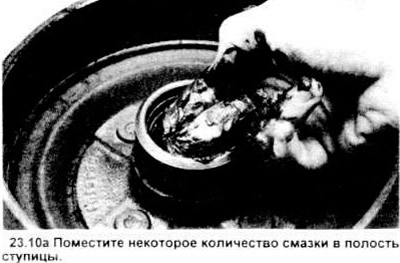
10. Add some grease into the hub cavity and into the center of the shaft (see figure).
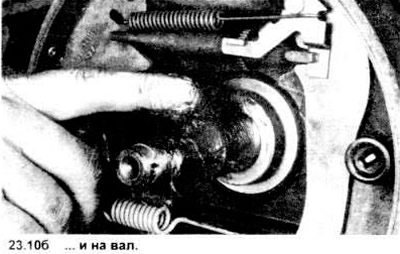
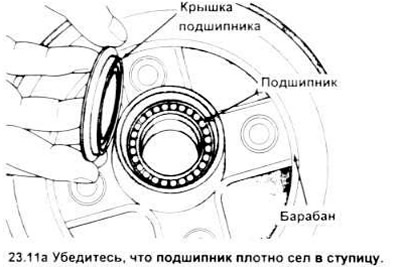
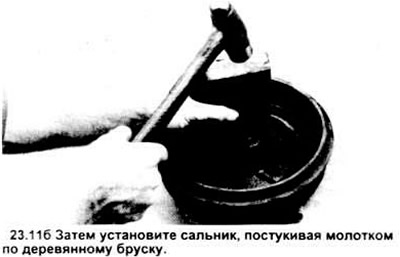
11. Lubricate the outer end of the new seal, install the bearing and seal with the edge facing inward (see figure). Ensure a tight installation of the seal in the hub by tapping it with a hammer through a wooden lining (see figure). Apply grease to the seal cavity, to the flange and to the cylindrical surfaces of the shaft.
12. Install the hub and drum assembly see chapter 9.