


Before removing the engine bay frame or front bumper beam do the following.
1. Open the hood and place it on the support.
2. Remove the mudguard and engine crankcase protection (see "Removing and installing the engine mudguard").
3. Remove the radiator grille (see "Removing and installing the radiator grille").
4. Remove the front bumper (see "Removing and installing the front bumper").
5. Remove both front fenders (see "Removing and installing the front wing").
6. Remove the engine cooling system radiator (see "Replacing the cooling system radiator").
To remove the engine compartment framedo the following.
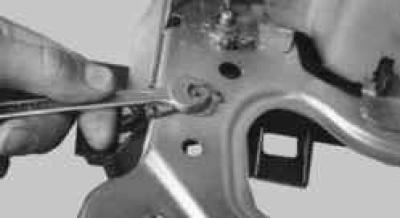
1. On the left side of the engine compartment mudguard, unscrew the bolt securing the ground wire harness and remove the harness inside the engine compartment.
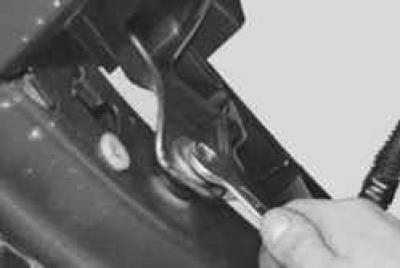
2. On the left and right, unscrew one bolt securing the engine compartment frame to the front bumper beam…
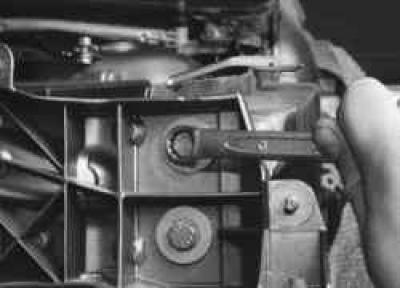
3. …two bolts for fastening it to the engine compartment mudguards…
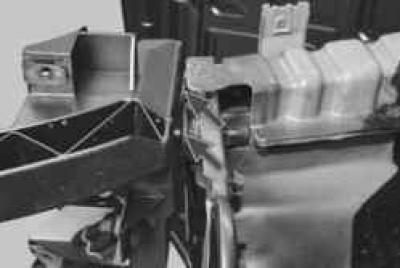
NOTE: The bolts that secure the frame to the mudguards through the adjuster stops have thick flat washers. Be sure to replace them when reassembling.
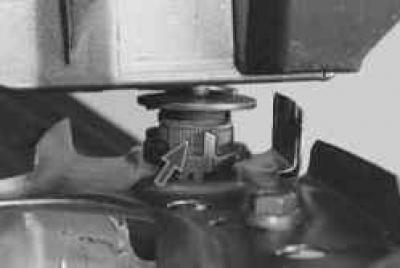
If you are removing the engine bay frame for purposes other than replacement, do not turn the adjustable frame stop screw nuts to avoid disturbing the adjustment of its position relative to the rest of the engine bay. If, after installing a new frame, there is unevenness in the gaps between the front body parts, with the frame mounting bolts loosened, adjust its position by turning the stop nuts and tighten the bolts.
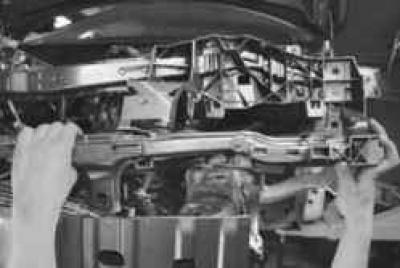
4. …and remove the frame.
5. Install the engine compartment frame and all removed parts in the reverse order of removal.
To remove the front bumper bar do the following.
1. Remove the engine compartment frame (see above in this subsection).
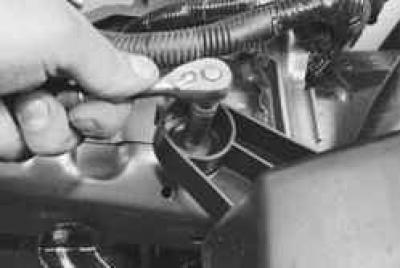
2. Remove the front bolts…
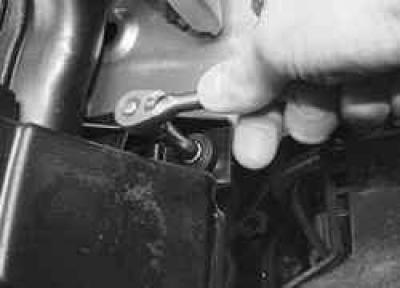
3. …rear…
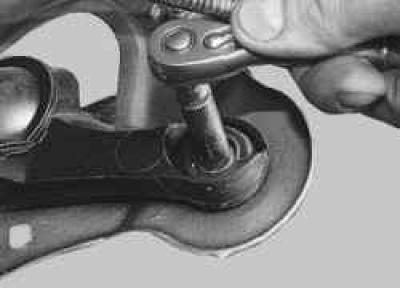
4. …and the side mounts of the intake noise muffler to the front bumper beam…
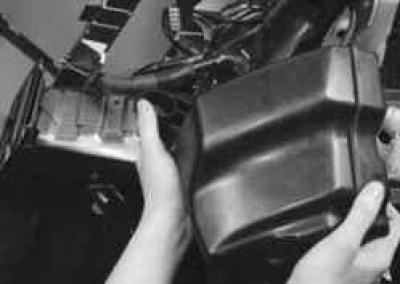
5. …and remove the muffler.
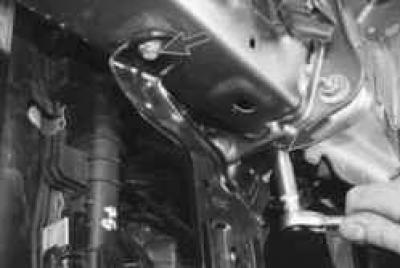
6. On both sides of the car, unscrew the two bolts securing the radiator frame to the front bumper beam and to the body side member and remove the frame.
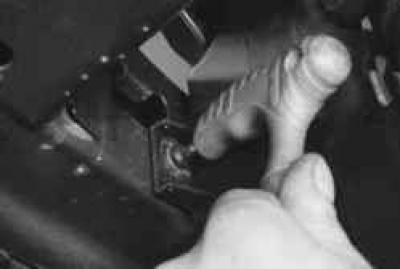
7. Remove the screw securing the right radiator casing to the front bumper beam…
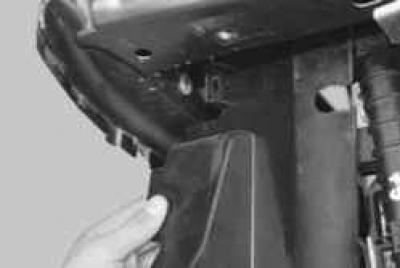
8. …and remove the casing. Similarly, remove the left radiator casing.
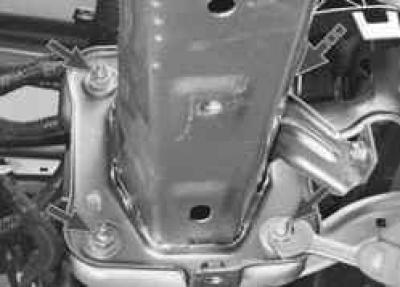
9. On both sides of the car, unscrew the four nuts securing the front bumper beam to the body side members and remove the beam.
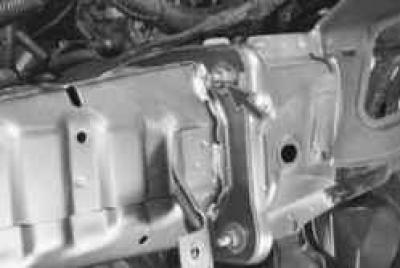
NOTE: This is how the fourth nut for fastening the front bumper beam to the side member on the left side is located (it is not visible in photo item 9).
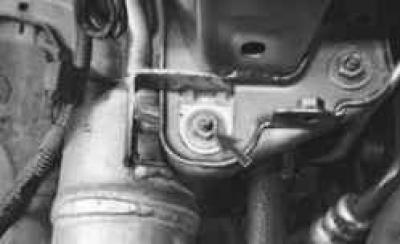
WARNING: One of the nuts securing the front bumper beam on the right side also secures the air conditioner receiver-dryer. After removing the receiver bracket from the stud, do not move the receiver too far to the side to avoid damaging the system tubes, and secure the receiver in any way possible (for example, by tying it to the body with wire).
10. Install the front bumper bar and all removed parts in the reverse order of removal.
[This article was borrowed from the website: Fordbook.ru]