USEFUL TIP: To avoid injury and damage to vehicle parts, remove the hood with an assistant.
1. Open the hood and place it on the support.
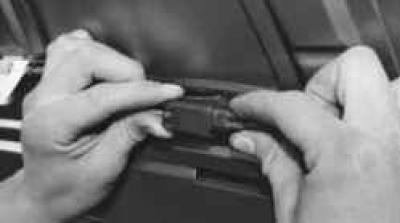
2. By squeezing the clamps, disconnect the wiring harness blocks of both windshield washer jets…
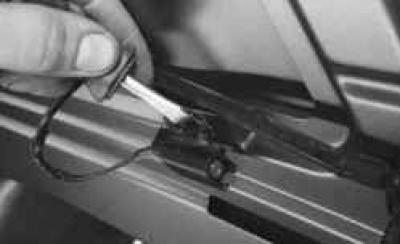
3. …and, using a screwdriver, disconnect both pads from the hood.
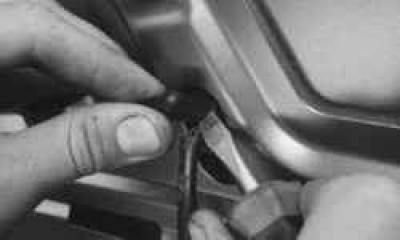
4. Using a screwdriver, pry off the ends of the washer hoses…
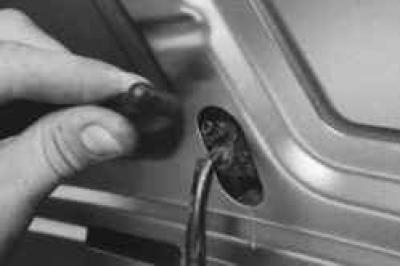
5. …disconnect the hoses from both jets.
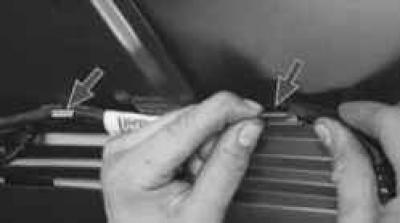
6. Slightly bending the holders, remove the wiring harness from the holders on the middle part of the hood amplifier..
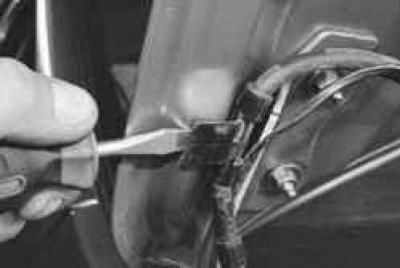
7. ... using a screwdriver, disconnect the wire harness and washer hose holder from the right side of the hood and move the harness and hoses to the side.
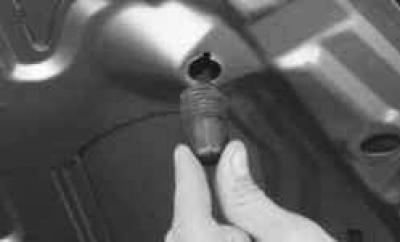
8. If you remove the hood for replacement, unscrew the two rubber stops from the holes in the hood reinforcement, located at the bottom in the front corners of the hood..
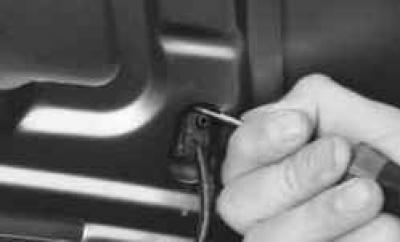
9. …by pressing the fasteners with a screwdriver…
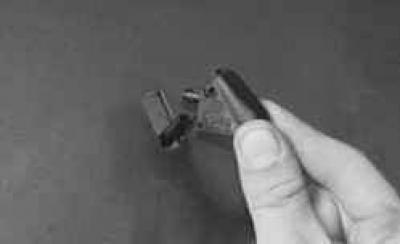
10. …remove both windshield washer jets from the hood and install the parts on the new hood.
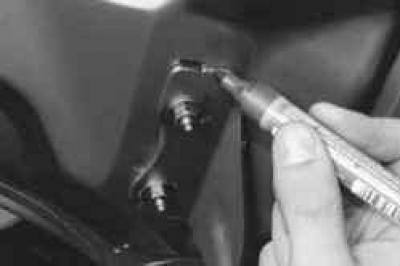
11. If you are removing the hood for purposes other than replacement, mark its position relative to the hinges, for example by tracing the hinges with a felt-tip pen.
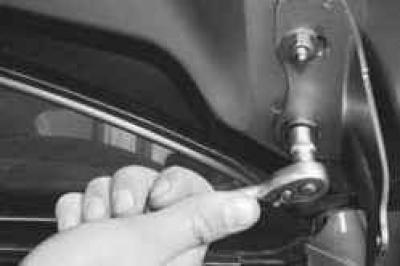
12. Unscrew the two nuts securing the hood to both hinges and remove the hood.
13. Install the hood and all removed parts in the reverse order of removal.
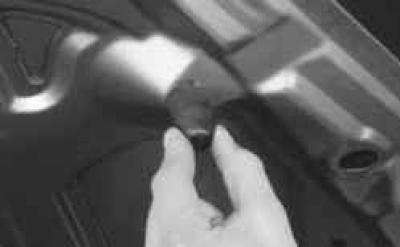
14. If necessary, adjust the height of the hood relative to the front fenders with the hood lock locked by turning the rubber stops in the holes in the hood reinforcement in the desired direction.
The text is available on the specified website info portal (www.fordbook.ru)