1. Remove the right rear fender liner (see "Removing and installing wheel mudguards and fender liners").
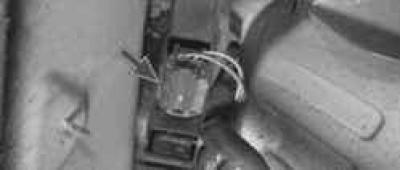
2. In the right rear wheel arch, disconnect the wiring harness connector from the fuel tank filler pipe hatch lock drive by pressing the connector fastening lock.
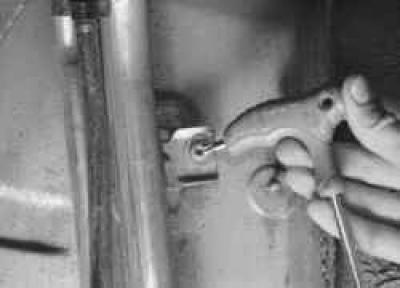
3. Screw in the screws securing the fuel tank filler pipe to the side of the body…
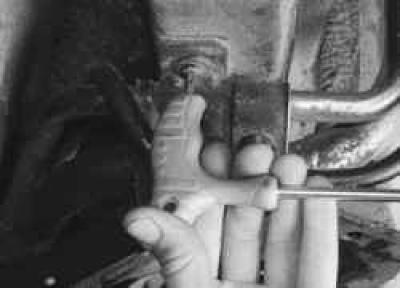
4. …and the right rear side member.
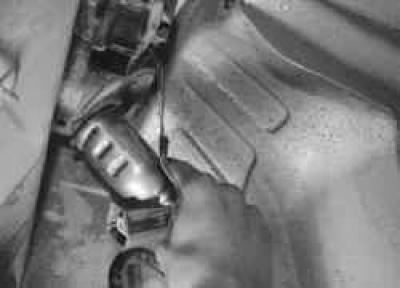
5. Move the filler pipe to the side as far as the flexibility of the hoses allows and remove the neck of the pipe from the seal of the cover of its hatch.
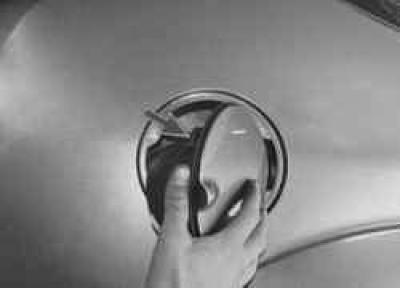
6. Remove the hatch cover assembly with the seal from the hatch in the wing by pressing the two seal latches with a screwdriver (one latch is visible in the photo, the second is located on the other side of the seal).
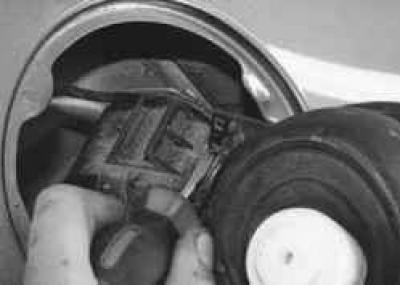
7. Using a screwdriver, pry up the wire harness holder…
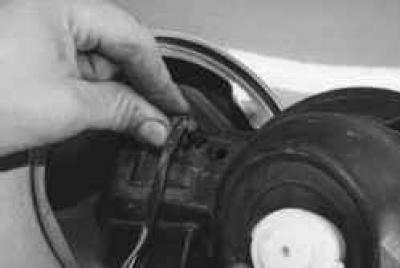
8. …disconnect the harness from the fuel tank filler pipe hatch seal…
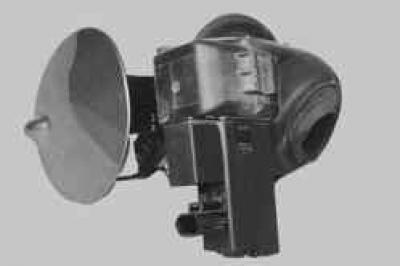
9. …and remove the cover assembly with the bracket and seal.
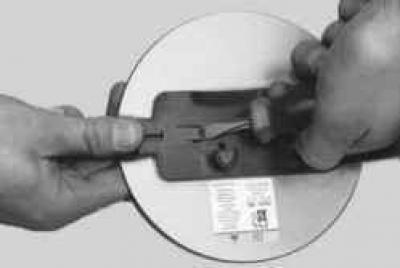
10. Press the lock with a screwdriver…
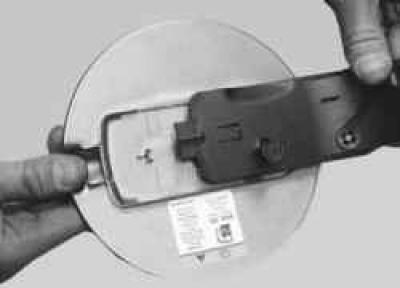
11. …and detach the cover from the bracket.
NOTE: If it is necessary to remove the cover itself (for example, to match paint during body repair), the cover bracket does not need to be removed from the vehicle. It is sufficient to simply detach the cover from the bracket (see points 10 and 11 above in this subsection).
12. Install the fuel tank filler cap and all removed parts in the reverse order of removal.
[The original post is on the web portal: FORDBOOK]