In a workshop equipped with special equipment, the radiator can be checked and repaired.
WARNING: Remove the radiator only when the engine is cold.
NOTE: For clarity, the work is shown on a car with the front bumper removed.
You will need: a 10 mm socket head, pliers, and a flat-blade screwdriver.
1. Disconnect the wire from the negative terminal of the battery.
2. Drain the coolant (see "Replacing the coolant").
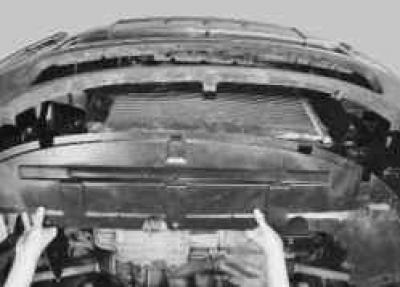
3. Remove the engine splash guard (see "Removing and installing the engine mudguard").
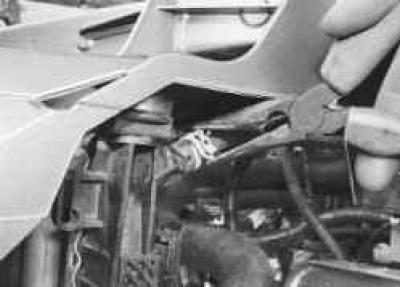
4. Loosen the clamp securing the hose to the expansion tank by squeezing its bent ears with pliers, slide the clamp along the hose..
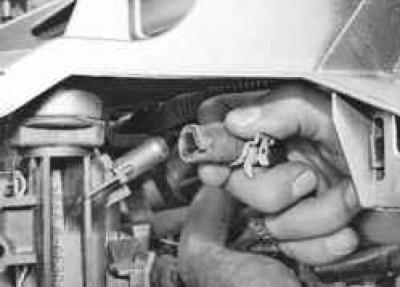
5. …and remove the hose from the radiator pipe.
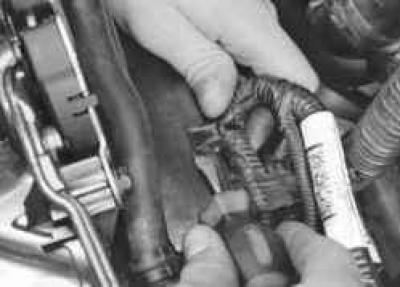
6. Using a screwdriver, remove the wire harness holder from the hole in the electric fan casing and move the harness to the side.
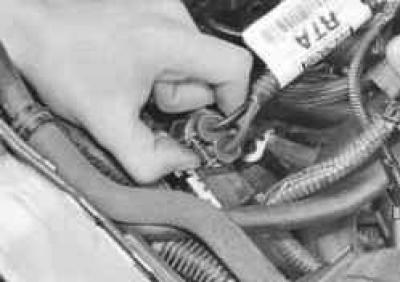
7. Squeeze the clips of the additional resistance wiring harness connector of the electric fan…
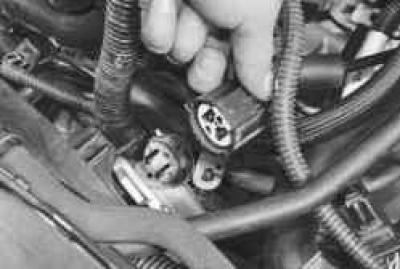
8. …and disconnect the block from the resistor.
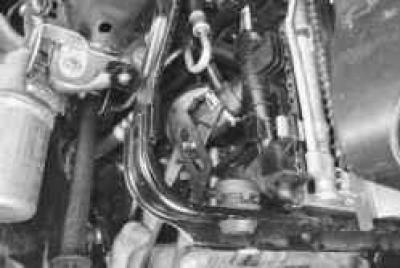
9. Loosen the radiator outlet hose clamp by squeezing its bent ears with pliers..
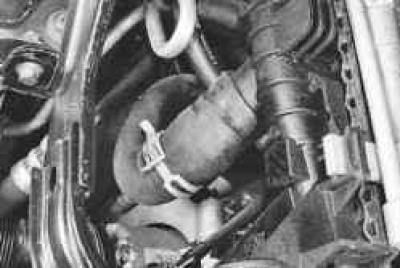
10. ...slide the clamp along the hose..
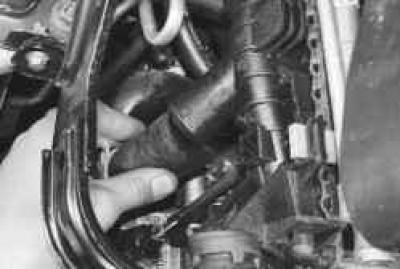
11. …and remove the hose from the radiator pipe.
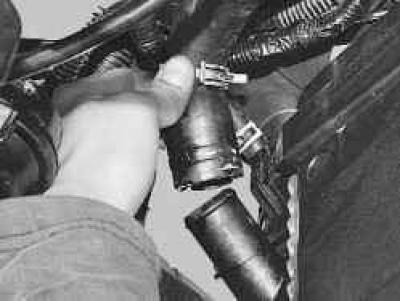
12. Similarly, disconnect the supply hose from the radiator pipe.
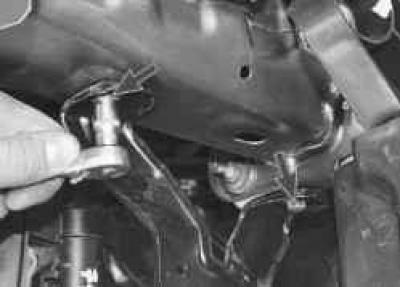
13. Supporting the radiator (it is better if an assistant does this), unscrew the two bolts securing the radiator frame to the body on both sides of the car.
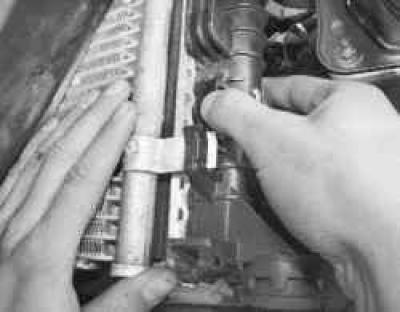
14. Lowering the cooling system radiator a little..
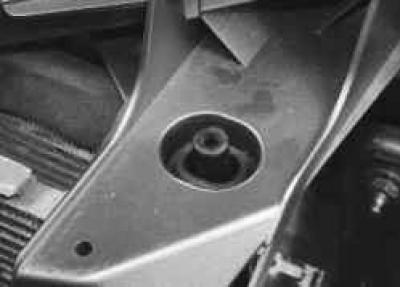
NOTE: When lowering the radiator, the pins on the radiator tanks will come out of the two rubber mounts installed in the holes in the engine compartment frame.
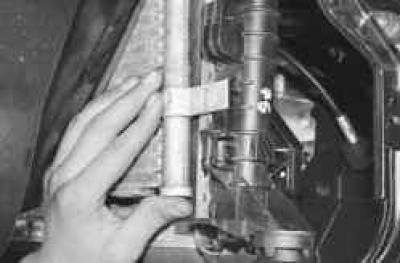
15. …remove the air conditioning system radiator brackets from the holders on its tanks…
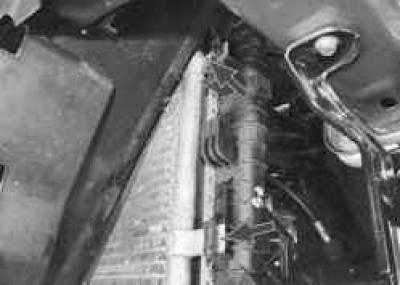
NOTE: The air conditioning radiator is attached to the cooling system radiator by four brackets (two brackets on the left and two on the right) that are inserted into the holders on the cooling system radiator tanks.
CAUTION: After disconnecting the A/C radiator from the cooling system radiator, secure the A/C radiator to the body (e.g. by tying it with wire), preventing its pipes from bending to avoid damaging them.
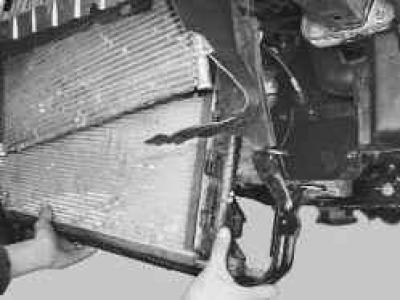
16. …and remove the cooling system radiator from the vehicle together with the electric fan.
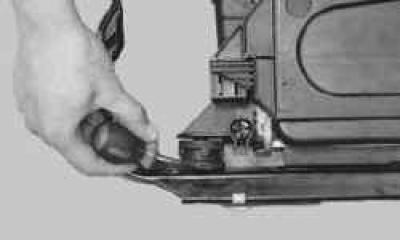
17. Use a screwdriver to pry up the two radiator mounting pads from its frame…
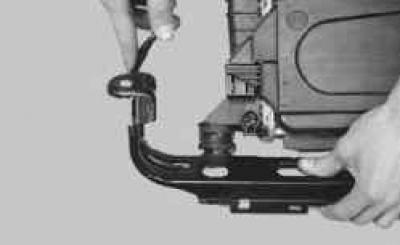
18. …and disconnect the frame from the radiator, removing the cushions from its holes.
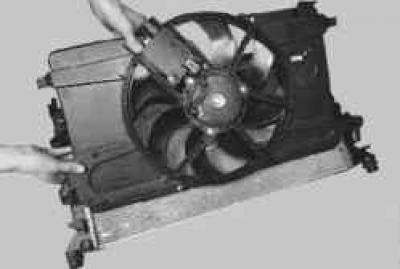
19. If necessary, disconnect the electric fan assembly with the casing from the radiator (see "Removing and installing the electric fan of the radiator of the engine cooling system in assembly with the casing").
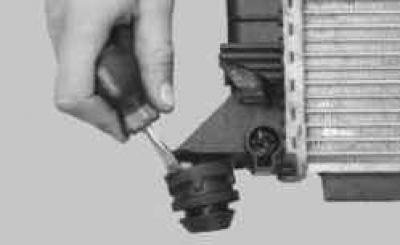
20. Use a screwdriver to pry up the lower radiator mounting pads…
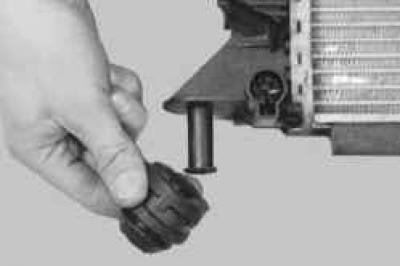
21. ...and remove them from the pins of the radiator tanks.
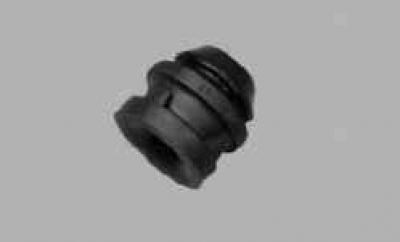
22. Inspect the lower radiator mounting cushions, replace any that are severely deformed or hardened.
23. Similarly, remove and inspect the two upper radiator mounting pads (see note above in this subsection).
24. Rinse the radiator from the outside with a stream of water and dry it. If cracks appear on the plastic radiator tanks, replace the radiator.
25. Check the radiator for leaks by plugging its pipes, supplying air to the radiator under a pressure of 0.1 MPa (1 kgf/cm²) and lowering it into a container with water for at least 30 s. Leaks in the radiator are determined by the air bubbles that come out. If the radiator does not fit into the container entirely, check it sequentially from all sides.
26. Install the radiator and all removed parts in the reverse order of removal.
USEFUL TIP: To prevent future coolant leaks, lubricate the radiator pipes with a thin layer of silicone sealant before installing the hoses.
27. Fill the coolant and remove air locks from the cooling system (see "Replacing the coolant").