1. Disconnect the wire from the negative terminal of the battery.
2. Drain the coolant (see "Replacing the coolant").
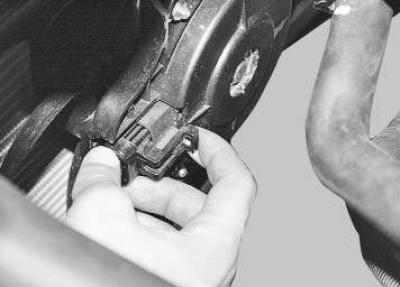
3. Disconnect the wiring harness connector from the fan motor and remove the fan motor (see "Removal and installation the electric fan of the radiator of the cooling system").
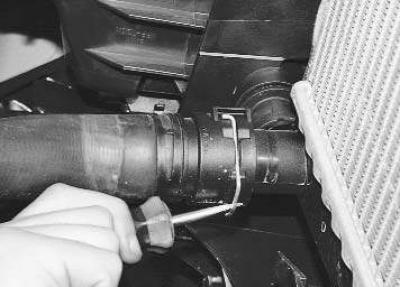
4. Using a screwdriver, remove the stopper…
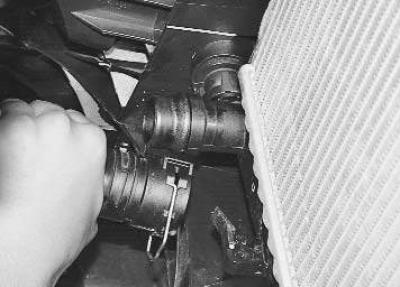
5. …and remove the supply hose from the radiator pipe.
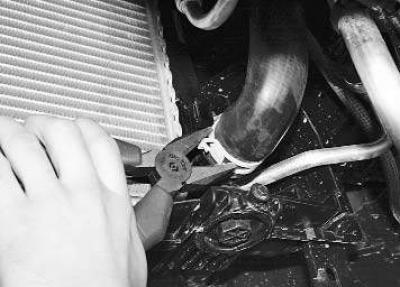
6. Using pliers, squeeze the bent ears of the clamp and slide it along the hose…
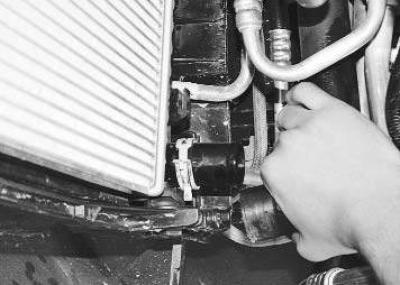
7. …and remove the outlet hose from the radiator pipe.
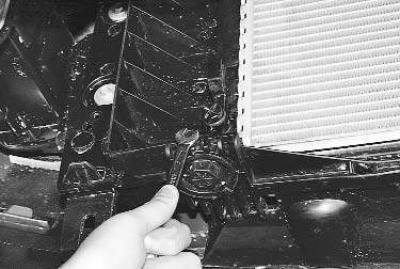
8. Remove the locking screw…
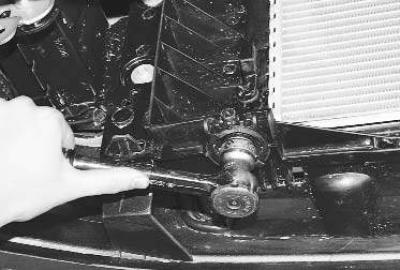
9. …and the lower support from the bracket.
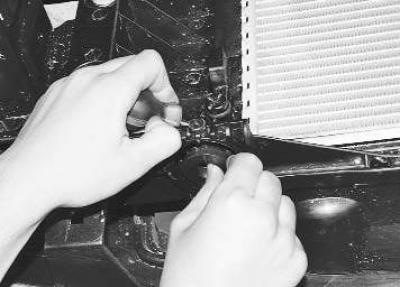
10. Pry it off with a screwdriver..
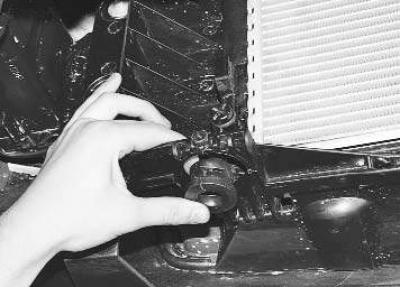
11. …remove the rubber cushion.
12. Disassemble the right support in the same way.
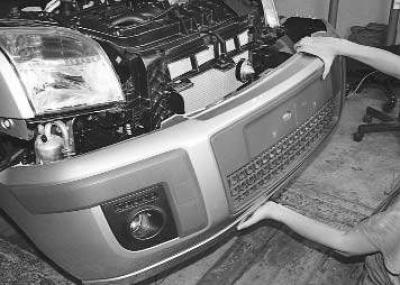
13. Remove the front bumper (see "Removal and installation the front bumper and its reinforcement").
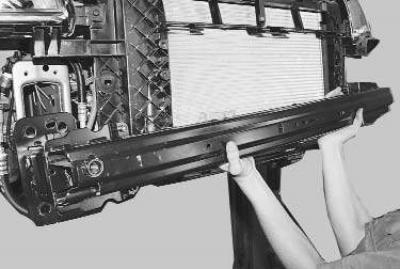
14. Remove the front amplifier (see "Removal and installation the front bumper and its reinforcement").
15. Remove two bolts on the left and right sides of the front panel mount and carefully move it away as far as the flexible hoses of the condenser heat exchanger allow. Install the front panel on the stops.
16. Remove the top left pin with the rubber bushing from the front panel bracket, then the right one.
17. Carefully separate the front panel from the condenser heat exchanger and radiator.
18. Disconnect the cooling system radiator from the condenser heat exchanger.
Caution! Secure the condenser heat exchanger to avoid damaging its lines.
19. Install the new radiator and all removed parts in the reverse order of removal.
(The original text is provided on an online resource Fordbook.ru)