Contents: Removal ↳ Installation ↳
Special tool
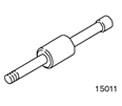 | Hammer with movable striker 205-047 (15-011) |
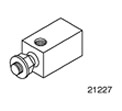 | Adapter for 205-047 303-633 (21-227) |
General equipment: Studs M6 x 20 mm (10 pcs.)
| Name | Specification |
| Oil pan sealant | WSE-M4G323-A6 |
| Motor oil | WSS-M2C912-A1 |
Removal
1. Remove the catalytic converter. Refer to Section 309-00 for additional information.
2. Drain the oil from the engine.
3. Remove the oil pan mounting bolts.
4.
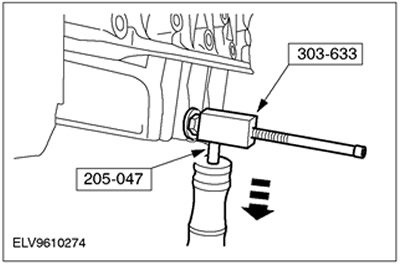
CAUTION: To prevent damage to the sealing surface, use only the special tool shown when removing the oil pan.
NOTE: Tighten the lock nut on the oil pan and tap it several times with the special tool to separate the oil pan from the lower crankcase.
Using a special tool, remove the oil pan.
Installation
1.
NOTE: Do not damage mating surfaces.
Clean the mating surfaces.
2.
NOTE: The mating surfaces must be free of oil and sealant residue.
Remove all traces of oil and oil sludge from the oil pan.
3.
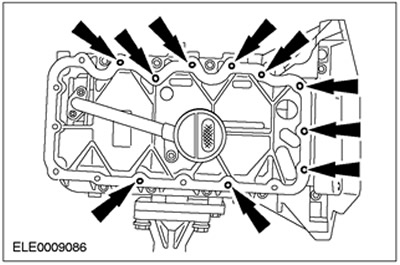
CAUTION: If sealant gets into blind holes, damage to the lower crankcase may occur.
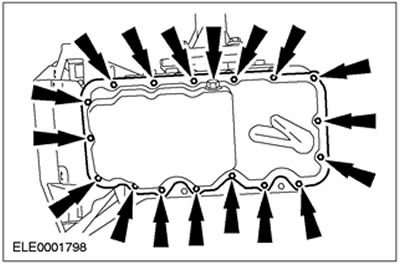
Install M6 x 20mm studs (10 pcs.) into the blind holes shown (engine shown removed for clarity).
4.
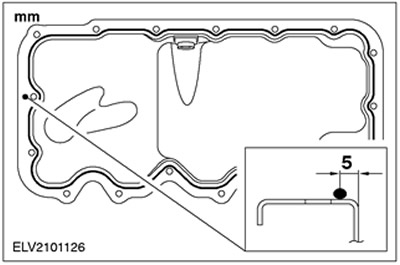
NOTE: Connect the oil pan within ten minutes after applying the sealant.
Apply sealant to the mating surface of the oil pan to form a bead with a diameter of 3 mm.
5.
NOTE: The oil pan should not be removed after it contacts the lower pan.
Connect the oil pan to the lower pan. Remove the studs.
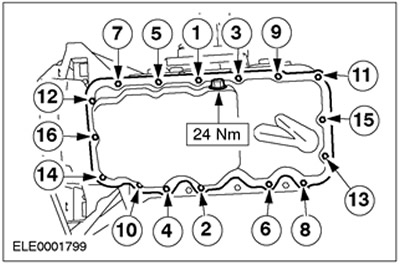
6. Install the oil pan mounting bolts.
- Tighten the oil pan mounting bolts in the sequence shown in two stages.
- Stage 1: 6 Nm
- Stage 2: 10 Nm
7.
NOTE: Inspect the oil drain plug and associated gasket. Install a new oil drain plug and gasket if necessary.
Install the oil pan drain plug.
8. Install the catalytic converter. Refer to Section 309-00 for additional information.
9. Fill the engine with engine oil.