Special tool
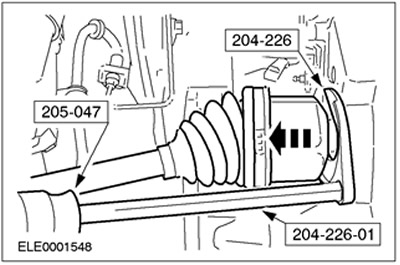
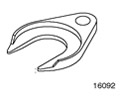 | Axle puller 204-226 (16-092) |
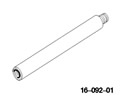 | Adapter for 16-092/204-226 204-226-01 (16-092-01) |
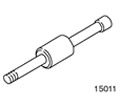 | Hammer with movable striker 205-047 (15-011) |
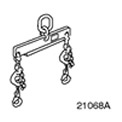 | Engine lift bracket 303-122 (21068A) |
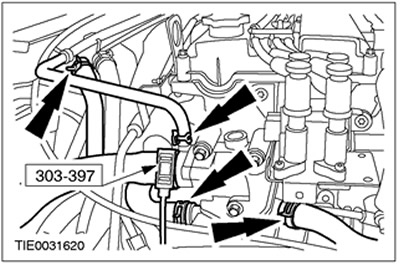
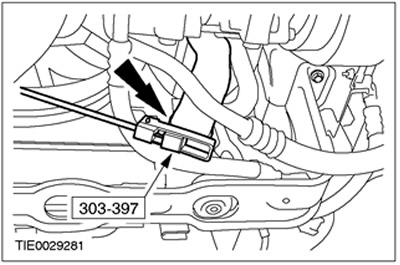
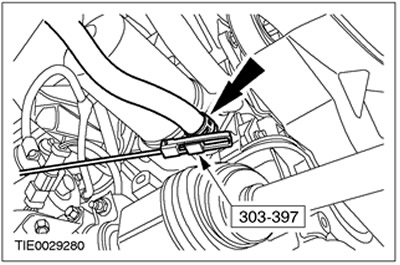
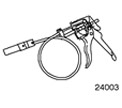 | Coolant Hose Clamp Remover/Installer 303-397 (24-003) |
General equipment:
- Assembly table
- Wooden blocks
- Engine lifting crane
All cars
1. Relieve fuel system pressure. Refer to Section 310-00C for additional information.
2.
WARNING: To avoid scalding, cover the filler cap of the expansion tank with a thick cloth before opening the cooling circuit. Failure to follow this instruction may result in injury.
Relieve pressure in the cooling system.
3. Remove the battery tray. For more information, refer to Section 414-01.
4. Disconnect the positive battery cable from the battery terminal.
5. Remove the air cleaner. For additional information, refer to Section 303-12.
6. Disconnect the ground cable from the inner wing.
7.
NOTE: The resonator is press-fitted into the bracket.
Remove the air cleaner intake manifold and resonator.
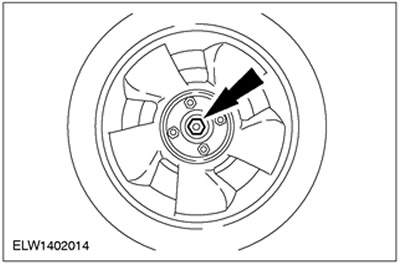
8. Loosen the axle shaft nut.
9. Raise and support the vehicle. Refer to Section 100-02 for additional information.
10. Remove the right front wheel. For additional information, refer to Section 204-04.
11.
WARNING: Risk of scalding when engine is hot.
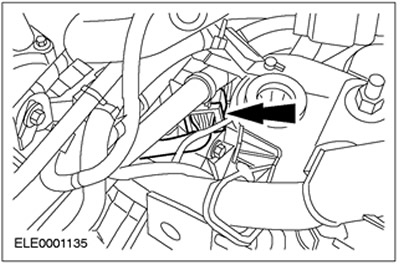
Drain the coolant (shown from below).
- Allow the coolant to drain into a suitable container.
- After draining, install the drain plug.
12. Drain the engine oil.
- Allow the oil to drain into a suitable container.
- After draining, install the drain plug.
13. Partially lower the vehicle.
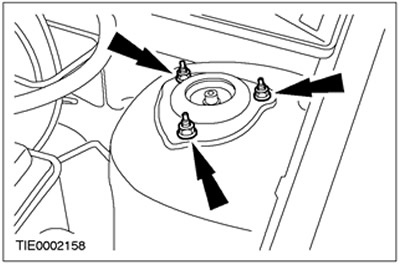
14. Loosen the nuts securing the upper support of the strut assembly with the spring by three turns (on both sides).
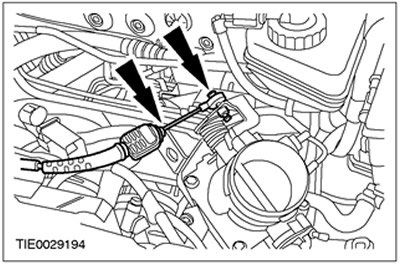
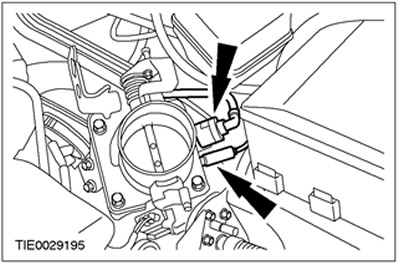
15. Disconnect the accelerator cable and speed control cable (if equipped) from the throttle body.
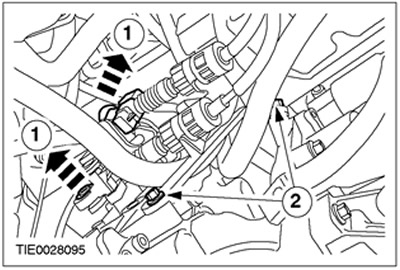
16. Disconnect the electrical connectors of the fuel injectors.
17. Disconnect the ground cable from the engine lifting eye.
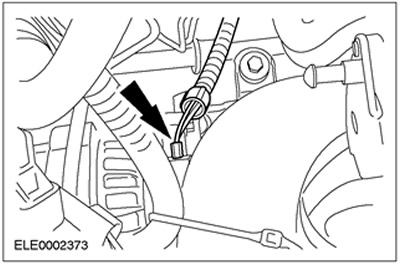
18. Disconnect the generator electrical connector.
19.
WARNING: Brake fluid leakage. Avoid contact with skin or eyes. If brake fluid comes into contact with skin or eyes, rinse immediately with water.
CAUTION: If brake fluid comes into contact with the vehicle's paintwork, immediately wash the affected area with water.
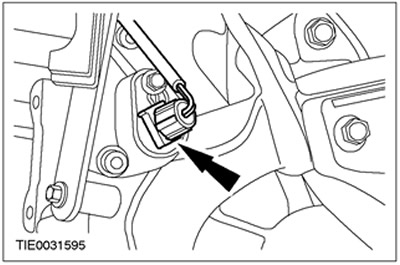
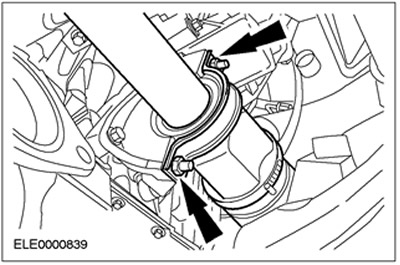
Disconnect the hydraulic line from the clutch slave cylinder.
- Remove the clamp.
- Remove the clutch line and secure it to the side using cable ties.

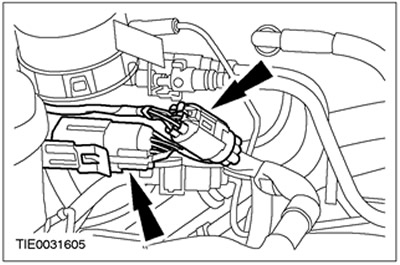
20. Disconnect the electrical connector of the wiring harness.
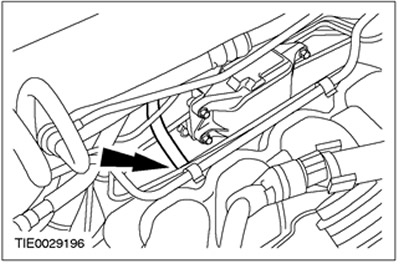
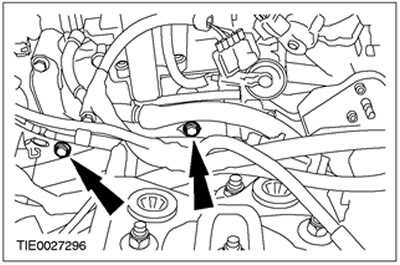
21. Disconnect the vacuum hoses from the intake manifold.
22. Disconnect the brake booster line from the intake manifold. Release the quick release coupling and disconnect the brake booster line.
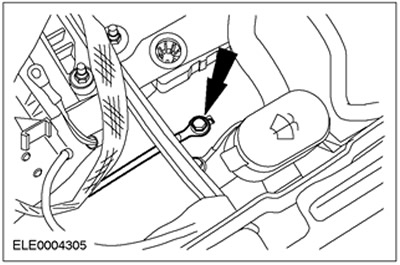
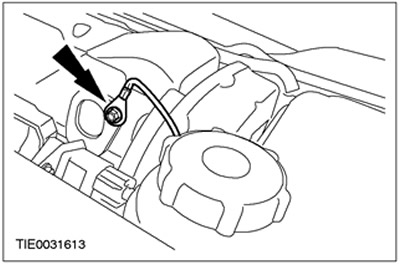
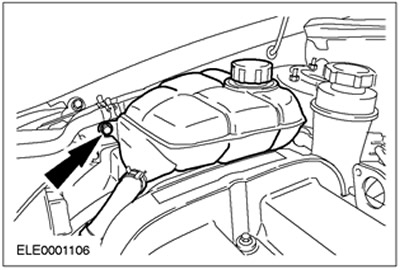
23. Disconnect the expansion tank of the cooling system and place it aside.
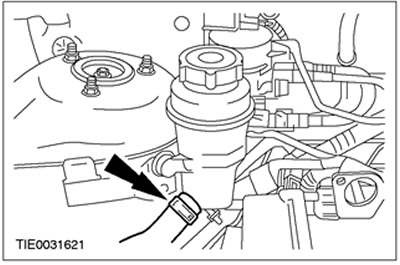
24. Drain the fluid from the power steering reservoir.
25. Disconnect the power steering supply hose from the power steering fluid reservoir.
26.
WARNING: Fuel leakage. Handle fuel with care.
Disconnect the fuel lines.

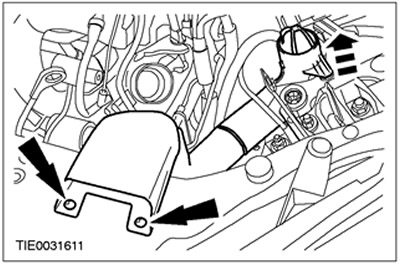
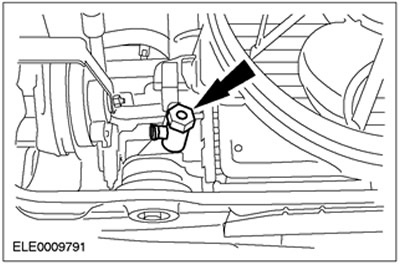
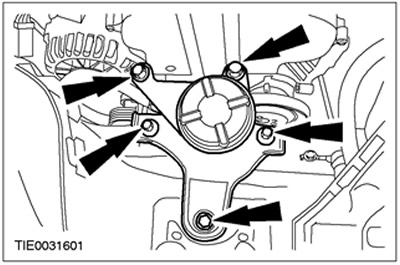
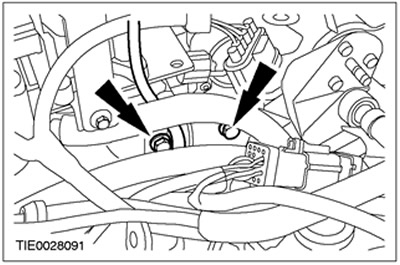
27. Disconnect the coolant hoses from the thermostat housing.
28. Disconnect the gear shift cables from the transaxle.
- 1. Disconnect the gear shift cable and gear selector cable from the gear selector levers.
- 2. Disconnect the bracket from the gearbox in the block with the driving axle.
29. Remove the accessory drive belt. Refer to Section 303-05 for additional information.
Cars with air conditioning system
30. Disconnect the air conditioning compressor and secure it to the radiator cross member.
All cars
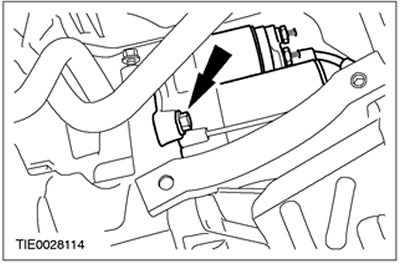
31. Disconnect the catalytic converter oxygen sensor connector.

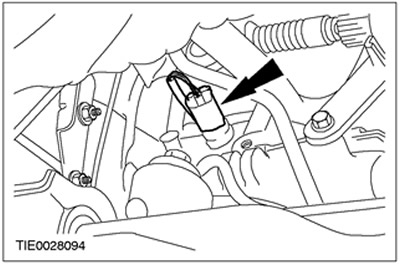
32. Disconnect the vehicle speed sensor (VSS) electrical connector.
33. Disconnect the electrical connector of the reverse light switch.
34. Disconnect the heated oxygen sensor (HO2S) connector and the crankshaft position sensor (CKP) connector.

35. Disconnect the lower radiator hose from the radiator.
36. Disconnect the coolant hose from the oil cooler.
37. Remove the flexible insert from the exhaust system.
38. Remove the crossmember. Refer to Section 502-00 for additional information.
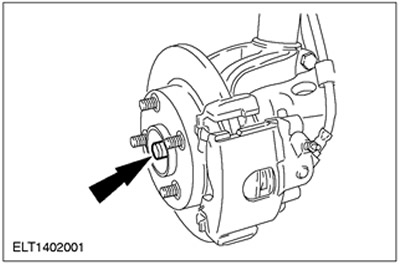
39.
CAUTION: Disconnect the front drive axle shaft from the wheel hub.
Loosen and remove the axle nut; press the half shaft out of the wheel hub using a suitable puller. Loosen and remove the half shaft nut and press the half shaft out of the wheel hub using a suitable puller.
40.
CAUTION: Support the axle shaft. The inner joint should not be deflected at an angle exceeding 18 degrees. The outer joint should not be deflected at an angle exceeding 45 degrees.
CAUTION: Do not damage the axle shaft oil seal.
NOTE: Shut off the transaxle to prevent oil leakage or dirt from entering.
Remove the right axle shaft and intermediate shaft.
- Allow the oil to drain into a suitable container.
- Discard the intermediate support cover and locknuts as they are no longer needed.
41.
CAUTION: Support the axle shaft. The inner joint should not be deflected at an angle exceeding 18 degrees. The outer joint should not be deflected at an angle exceeding 45 degrees.
CAUTION: Do not damage the axle shaft oil seal.
NOTE: Shut off the transaxle to prevent oil leakage or dirt from entering.
Using special tools, disconnect the left axle shaft from the transaxle and secure it to the side.
- Allow the oil to drain into a suitable container.
- Discard the retaining ring as it is no longer needed.
42. Place a workbench and a suitable block of wood under the engine and gearbox assembly.
43. Carefully lower the vehicle until the engine and gearbox assembly rests on the workbench.
44. Using a suitable clamp, secure the engine and gearbox assembly to the work bench.
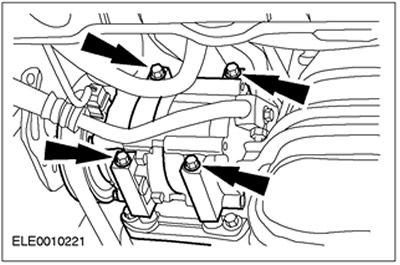
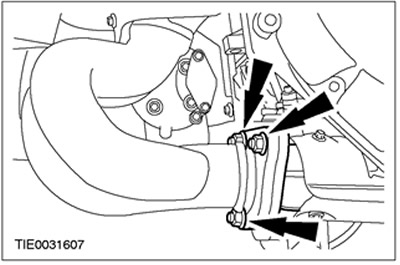
45. Remove the rear engine mount.
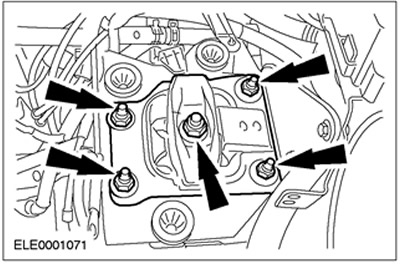
46. Remove the front engine mount.
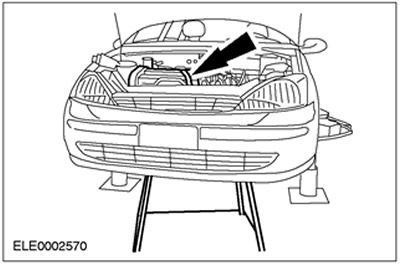
47. Carefully lift the vehicle. Pull the assembly stand forward.
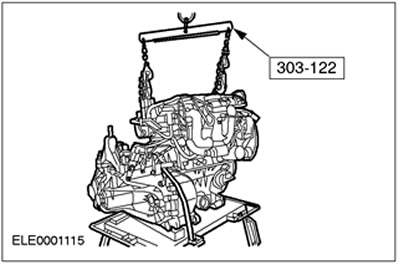
48. Using special tools, secure the engine assembly with the gearbox using an engine crane.
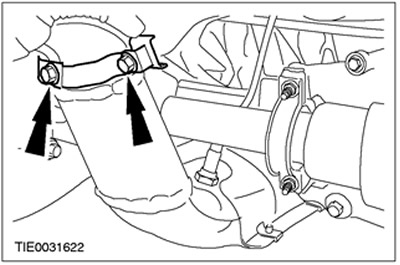
49.
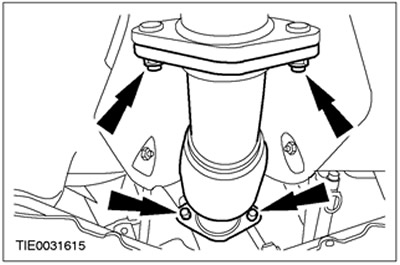
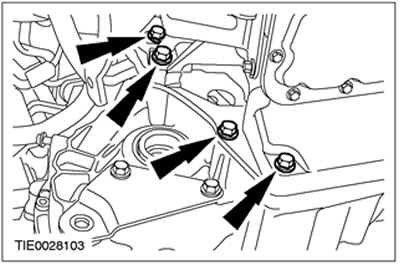
CAUTION: The catalytic converter must be supported when removing the support bracket.
Remove the catalytic converter support bracket.
50. Disconnect the catalytic converter from the exhaust manifold. Discard the gaskets and nuts as they are no longer needed.
51. Remove the upper gearbox mounting bolts in the block with the drive axle.
52. Remove the upper starter mounting bolts. Disconnect the ground cable from the transaxle.
53. Disconnect the starter from the transmission in the block with the drive axle and secure it to the side.
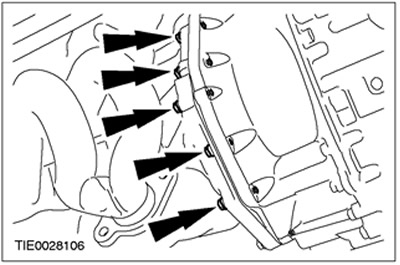
54. Unscrew the right gearbox mounting bolts in the block with the drive axle.
55. Unscrew the left bolts securing the gearbox in the block with the drive axle.
56. Remove the gearbox in block with the drive axle.