Withdrawal
All cars
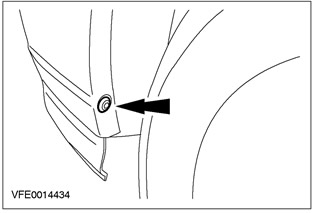
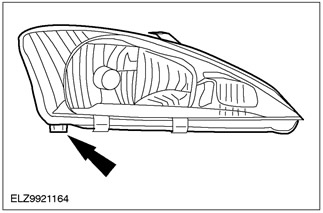
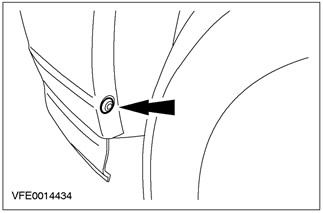
1. Turn out the bottom screw of fastening of a mudguard.
- Push the mudguard to the side.
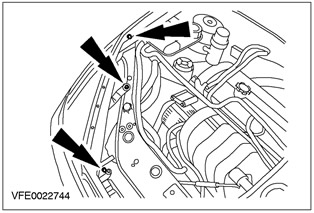
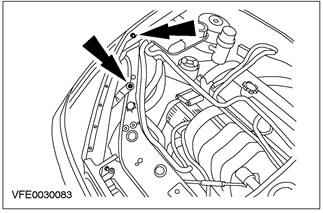
2. Turn out the bottom bolt of fastening of a headlight in gathering.
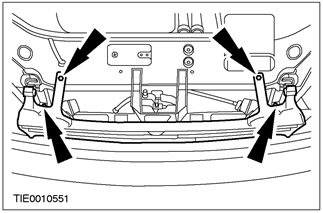
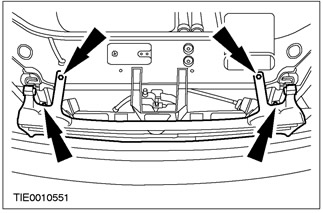
3. Remove the grille.
Vehicles manufactured before 07/1999
4. Remove the headlight assembly.
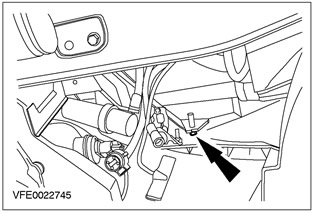
- Disconnect the headlight assembly electrical connector.
Vehicles manufactured since 07/1999
5. Remove the headlight assembly.
- Disconnect the headlight assembly electrical connector.
Installation
Vehicles manufactured before 07/1999
NOTE: Procedure for complaints of moisture condensation on the inside of the plastic headlight lens or cracking of the plastic headlight lens.
NOTE: Slight moisture condensation on the inside of the plastic headlight lens is normal. When you turn on the headlight, the moisture disappears. If the headlight DOES NOT DRY after it has been on for 15 minutes, verify the date the headlamp was manufactured. If the headlight was manufactured between 08/01/98 and 09/30/98, install a new headlight cover.
NOTE: If there is a complaint, both headlights must be removed. Defective headlights must be replaced and may require machining. When installing the headlight, it is required to reduce the number of installation points.
1. If the headlight assembly is defective, install a new headlight assembly.
2.
NOTE: Sometimes a new headlight assembly will still have the guide pin on the plastic headlight lens.
Cut the guide pin flush with the surrounding surface and deburr if necessary.
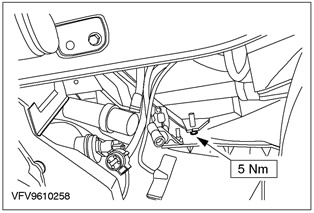
3. Remove the headlight range adjustment motor from the failed headlight assembly and install it on the new headlight assembly. For more information, refer to the headlight beam leveling motor chapter available in this section.
4.
NOTE: Sometimes there is no hole in the bracket of the new headlight assembly.
DO NOT INSTALL the mounting bolt.
All cars
5.
NOTE: Install headlight assembly to desired position using dowel pin.
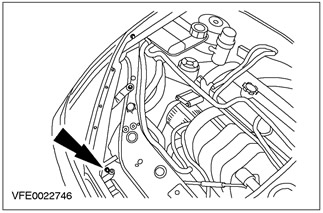
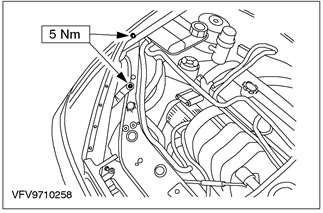
Install the headlight assembly upper bolts.
- Connect the headlight assembly electrical connector.
6. Install the grille.
7.
NOTE: Secure the headlight assembly in the installation position using the locating pin.
Install the headlight assembly lower bolts.
8. Install the bottom wing mudguard mounting screw.
9. Adjust headlights. For more information, refer to the headlight adjustment chapter available in this section.
Visitor comments