Sand the damaged area with sandpaper (80 or 100 grit). If there is rust, sand the area down to bare metal. Then apply a rust converter and let it work for an hour.
Clean and degrease the area with lacquer thinner and let it dry.
Mix the filler and hardener. The filler mass evens out differences in height in relation to adjacent surfaces. Be careful: two-component filler, depending on the temperature, is processed in just a few minutes. Therefore, prepare only small quantities. For minor irregularities, it is better to spray the filler from a can.
To do this, apply the putty evenly and smoothly in several thin layers. The layer will harden in about an hour.
Carefully remove any uneven areas with dry sanding paper (180 grit). For fine sanding, use wet sanding paper (400 grit). Using light pressure, sand the surface with plenty of water.
If scratches still remain, smooth them out again with spray filler, let it harden and sand with wet sandpaper (600 grit).
Before applying varnish, thoroughly wash off sanding dust with water.
Professional varnish application is possible with some skill
Cover the carefully prepared damaged area with waterproof varnish adhesive tape, film or old newspapers. Avoid using cheap adhesive tape, it quickly gets wet and even lets paint through. Be careful: toxic fumes are formed when working with varnish. Therefore, make sure the workplace is well ventilated.
Spray on a reactive primer (filler) as a base for the top coat. Work carefully - unevenness and varnish drips do not disappear, but increase as the varnish is applied. Let the filler dry, sand with wet sandpaper (grain size 600). Wash off the sanding dust with water
Apply the top coat varnish evenly and smoothly in several layers from a spray gun. The distance from the spray head to the varnished surface should be approximately 20-30 cm. Before applying the varnish, slightly warm the spray can in hot water. Then the paint particles from the spray gun come out at a higher pressure. Advantage: the surface is smoother, and the varnish lies more evenly.
Peel off the edges of the adhesive tape at the repair site, wrap them up and spray the area. This will make the transition to the old varnish smoother and easier to polish.
When the varnish is completely dry (in summer after about two days, in winter after five days), treat the repaired surface with polish, transitions with varnish cleaner. You will achieve the best results if you then polish the entire car.
Special waste - old paints, empty aerosol cans, dirty rags and brushes!
Paint and solvent residues are not considered household waste and should be disposed of as special waste. This also applies to dirty rags, brushes and aerosol cans. Many cities and regions now have mobile collection points. Check with your environmental protection agency for the waste collection date or the opening time of the waste storage site.
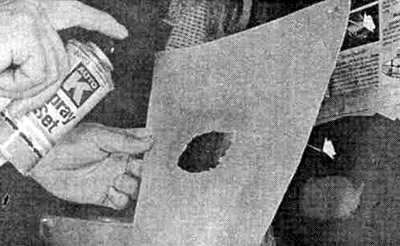
If you are varnishing with a spray can: Cut a hole in a large piece of paper the size of the damaged area. Then the spray will cover only the intended surface.
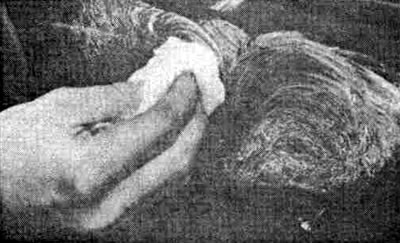
If there is still some varnish on the surface, scratches and scars can be removed with a sanding polish or varnish remover. Use only high-quality material from an aftermarket store.
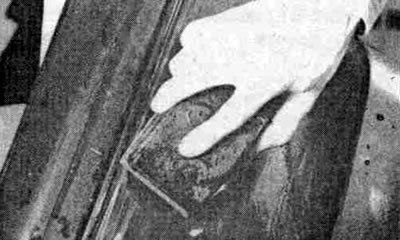
Wrap the block in sandpaper and sand the damaged area using even strokes in one direction. Keep dipping the block in water to flush sanding dust out of the sandpaper.
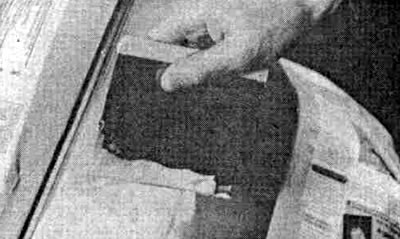
If you are working with a putty knife for the first time, you should practice before you start. Practice on an old piece of car body. You will gain the necessary feeling and confidence in handling this material.
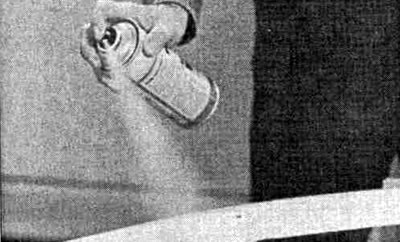
Hold the sprayer over the varnishing surface as calmly as possible. Move the sprayer along the object to be varnished. Do not stop or go back along the oval. This may cause varnish drips.
[The original can be found on this resource: FordBook.ru]