Withdrawal
Raise the back of the car on the goats.
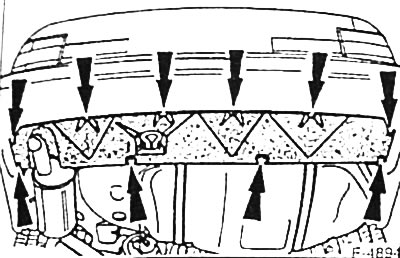
Model with pronounced angle between rear window and luggage compartment: Unscrew 10 securing bolts -arrows- and remove mudguard.
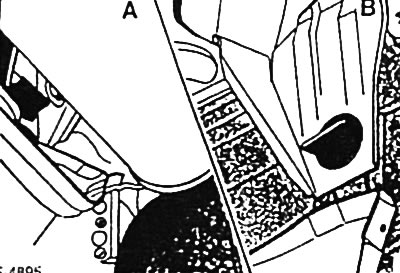
Remove both quick locks.
Remove the license plate light and disconnect its connector, see p. 172.
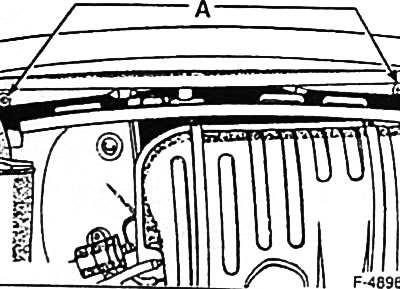
Using a slotted wrench, remove the bumper mounting bolts (model with gently sloping rear: 2 bolts; for a model with a pronounced angle between the rear window and the luggage compartment: 4 bolts).
Remove the bumper from the vehicle. In doing so, release both side pins and the bumper holder.
Lay the bumper on a clean soft pad.
Installation
Attention: If a new bumper is installed, then the holder must be adjusted so that the distance from the upper edge of the bumper to the upper bracket of the holder is 109 mm.
Move the bumper in a horizontal plane. When doing this, make sure that the side pins and the holder are in the correct position.
Connect the plug connector of the license plate light and fix the light in the bumper, see p. 172.
Screw in bumper mounting bolts and tighten to 20 Nm.
Attach and lock both quick-release locks.
Model with a pronounced angle between the rear window and the luggage compartment, attach and bolt the mudguard.
Lower the car.
Visitor comments