Using a DIN tool to remove a radio
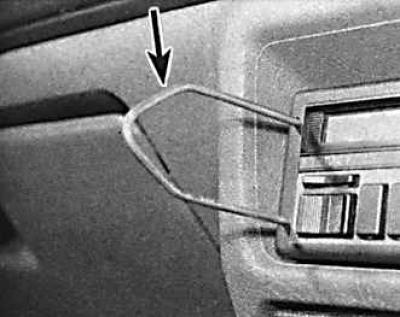
Removing the radio requires two DIN tools (arrow) to remove it.
1. Pull off the control knobs, unscrew the axle nuts with gaskets and the front panel of the radio receiver.
2. Push the two mounting tabs in while simultaneously removing the radio from its socket.
3. Remove the radio and disconnect the antenna wire and other connectors from it.
4. When installing a new radio, reposition the retaining brackets and mounting flange onto it.
5. Installation begins with connecting the wires to the radio and installing the radio in the socket. Press the radio into the socket until the mounting ears snap into place.
6. Install the faceplate, axle nuts with gaskets and control handles.
7. When installing a new radio, adjust it by tuning to a weak station on medium waves (around 1500 kHz or 200 m) and turning the adjustment screw in both directions until the best reception is obtained. On a factory-installed radio, the adjustment screw is located on the front panel. For other types of radios, refer to the operating instructions for the radio.
Radio receiver amplifier
Models before April 1992.
1. Remove the decorative plug from the top of the instrument panel.
2. Disconnect the connectors, unscrew the four nuts and remove the amplifier.
3. Installation is carried out in the reverse order of removal.
Models since April 1992.
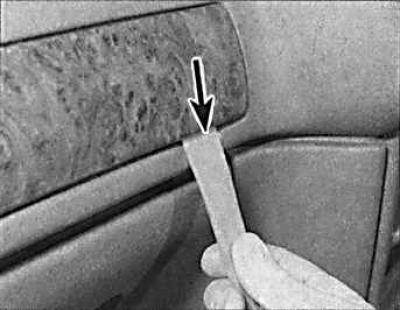
4. Using a screwdriver blade (indicated by the arrow), pry up and remove the decorative plug from the top of the instrument panel.
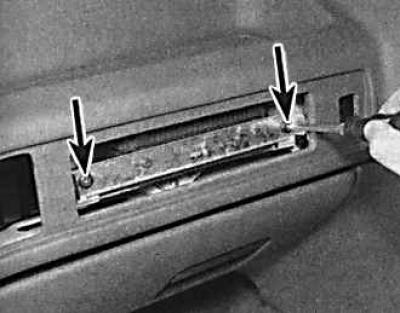
5. Unscrew the two screws (indicated by arrows) securing the amplifier.
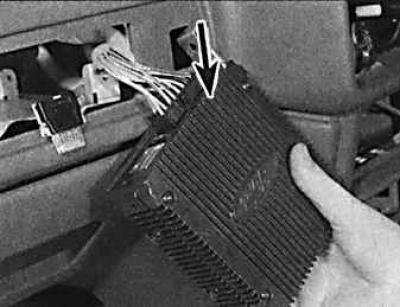
6. Pull out the amplifier, disconnect the connectors and remove the amplifier completely (arrow).
7. Installation is carried out in the reverse order of removal.