Contents: Front door speakers ↳ Rear Shelf Speakers ↳ Front panel speakers ↳ Antenna amplifier ↳ Control panel on the rear console ↳
Depending on the vehicle's trim level, speakers can be installed in the front door, on the rear shelf and on the dashboard.
Front door speakers
1. Remove the interior trim of the front door.
2. Unscrew the four screws securing the speaker.
3. Remove the speaker and disconnect the wires.
Rear Shelf Speakers
Hatchback body
1. Remove the speaker grille by unscrewing it counterclockwise.
2. Unscrew the four screws securing the speaker.
3. Remove the speaker downwards and disconnect the wires.
Body type Sedan
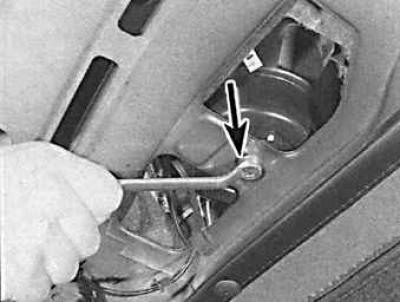
4. From the inside, unscrew the only bolt (indicated by the arrow) that secures the speaker.
5. Remove the speaker upwards and disconnect the wires from it.
Front panel speakers
1. Remove the top part of the instrument panel.
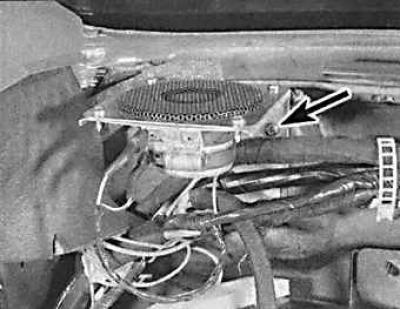
2. Unscrew the two screws (arrow) securing the speaker bracket.
3. Remove the speaker together with the bracket and disconnect the wires.
4. Unscrew the two screws securing the bracket to the speaker.
Antenna amplifier
Hatchback Car Antenna Booster
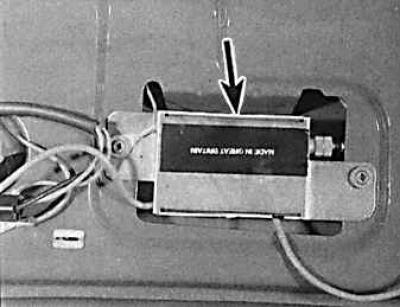
The amplifier is indicated by an arrow.
On the Hatchback body, the antenna is an element of the rear window heater. To ensure good radio reception, an amplifier is installed in the rear door.
On the Sedan body, the antenna amplifier is located under the rear panel.
Hatchback body
1. Remove the rear door interior trim panel, which is secured with eleven screws.
2. Unscrew the two screws that secure the amplifier. Disconnect the wires from the amplifier and remove it.
3. Installation is carried out in the reverse order of removal.
Body type Sedan
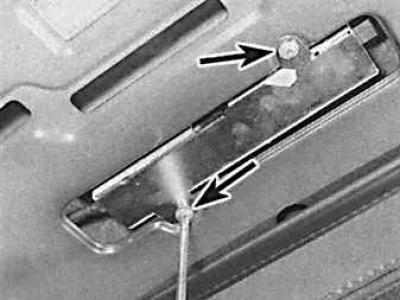
4. Unscrew the two screws (indicated by arrows) of the mount, lower the amplifier, disconnect the connector and remove the amplifier from the car.
Control panel on the rear console
1. Remove the heater control lever handle.
2. Remove the two screws from the upper corners of the rear console.
3. Remove the volume and balance controls.
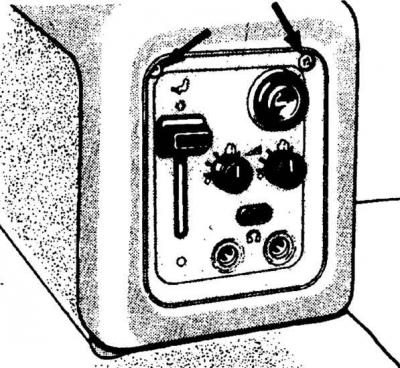
4. Pull out the console and disconnect the wires from it.
5. Installation is carried out in the reverse order of removal.