USEFUL TIP: Check the air pressure in your tires periodically (Table 4.2, Appendix 4). High or low pressure leads to premature tire wear, deterioration of vehicle handling and stability.
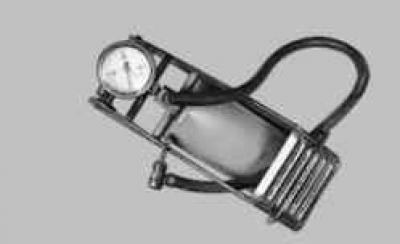
We recommend using a foot pump with a built-in pressure gauge.
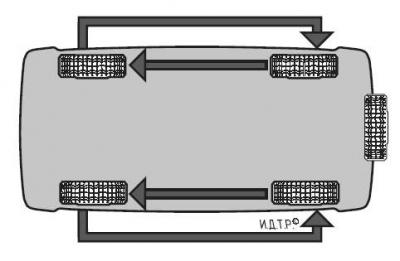
Fig. 4.1. Wheel rotation diagram
To ensure that the tires wear evenly, rotate the wheels every 10,000 km in accordance with the diagram in Fig. 4.1.
In addition, balance the wheels and check the front wheel alignment angles every 20,000 km. To do this, contact a specialized workshop.
Table 4.2 Air pressure in tires*, kPa
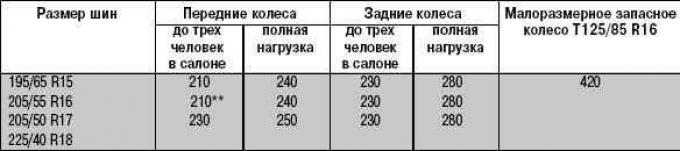
* In cold tyres, recommended for driving at speeds up to 160 km/h for all models except Focus ST. For more details, see Appendix 4.
** For vehicles with diesel engines – 230 kPa.
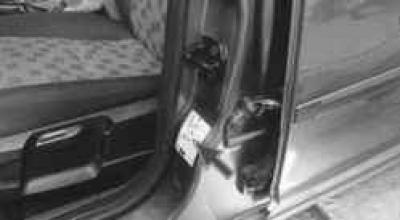
NOTE: There is a sticker located on the driver's door pillar..
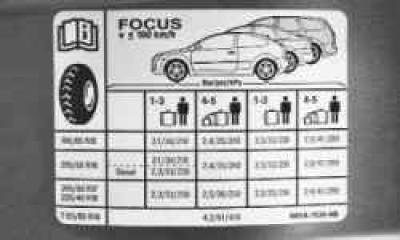
NOTE: …which indicates the air pressure in the tires for different vehicle loads.
WARNING: All wheel repair work should be carried out in specialized workshops.
WARNING: Make sure the wheel is balanced after repair.
WARNING: Operating tires with worn treads can cause an accident.
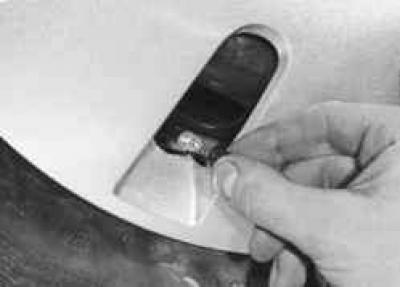
1. Unscrew the cap from the valve.
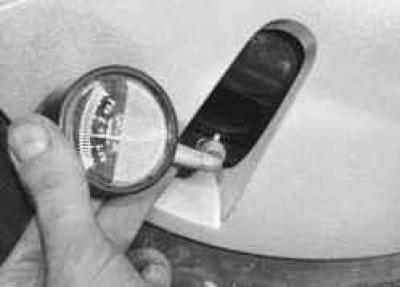
2. Check the air pressure in the tire. To do this, reset the pressure gauge to zero by pressing the special button on the pressure gauge body, connect the pressure gauge to the valve and press the valve with the tip of the pressure gauge.
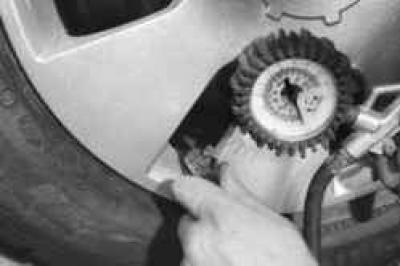
3. If the pressure is less than required, connect the hose tip to the valve and pump air, monitoring the pressure on the pressure gauge.
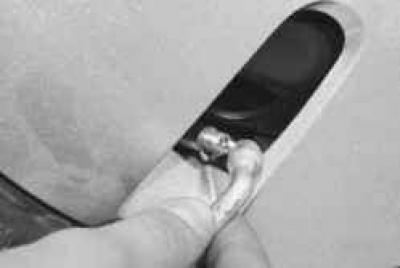
4. If the pressure is higher than required, press the special protrusion of the pressure gauge onto the valve tip and release air from the tire. Measure the pressure with the pressure gauge. Repeat these operations until the pressure reaches the norm.
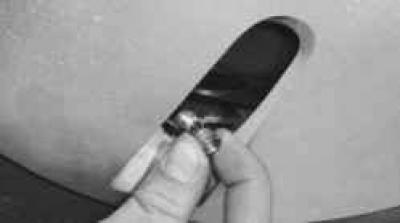
5. If you notice that the air pressure in your tires is constantly dropping, try tightening the valve core more tightly using the cap and key.

NOTE: This is what the valve stem protector looks like with the valve stem tightening key.
WARNING: To avoid contamination of the valve cores, do not operate the vehicle without the protective caps. If the caps are lost, be sure to install new ones.
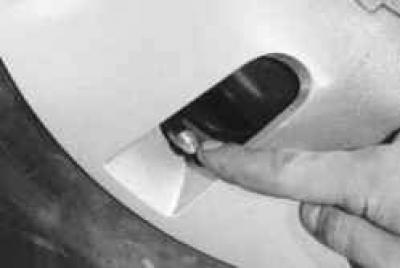
6. To check the valve for leaks, wet the valve opening. If bubbles of escaping air appear...
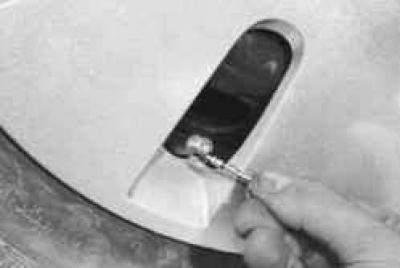
7. …replace the valve core by unscrewing the faulty one using a cap with a key.
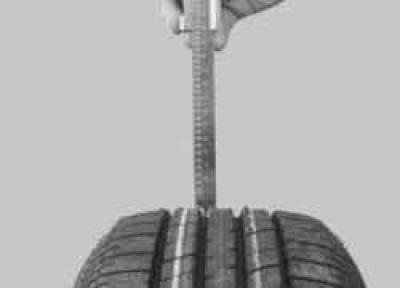
8. Measure the remaining tread depth with a caliper. If the tread depth is 1.6 mm or less, replace the tire.
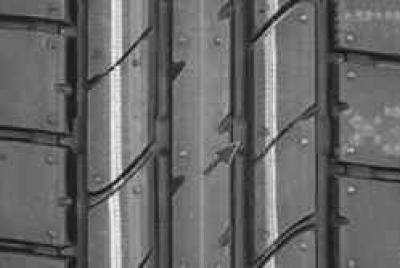
9. If you don"t have a caliper at hand, you can check the tread depth visually using the tire wear indicators in the form of solid transverse stripes on the tread.
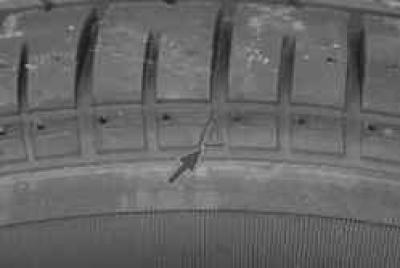
NOTE: The locations of the indicators are marked on the sidewall of the tire with a triangle or the letters "TWI".
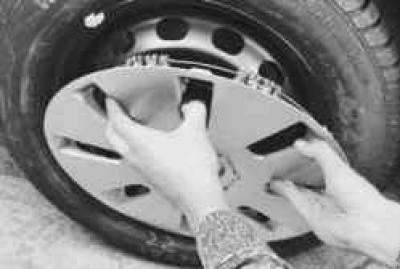
10. Remove the decorative cap…
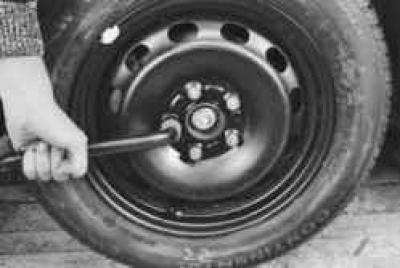
11. …and check the tightening of the wheel nuts. The tightening torque of the wheel nuts is 130 Nm.
For more information, please visit the website [www.FordBook.ru]