


1. Apply the parking brake and place wheel chocks under the rear wheels. Jack up the front of the car and place it on supports. Remove the wheel.
WARNING: Loosen and tighten wheel bolts only with the vehicle on the ground.
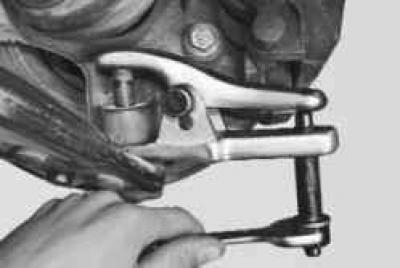
2. Unscrew the ball joint pin mounting nut and press out the pin (see "Replacing the ball joint").
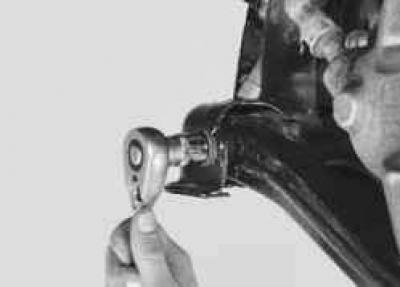
3. Remove the front lever mounting bolt…
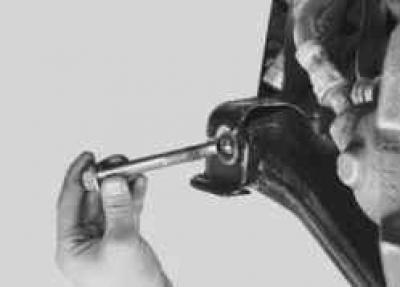
4. …and remove it.
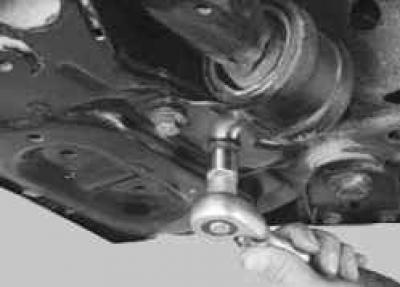
5. Remove the two bolts securing the rear support arm…
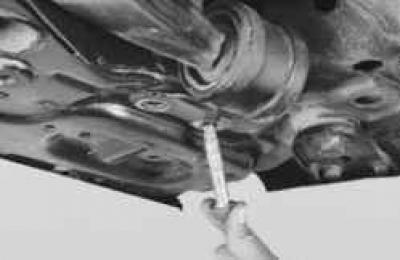
6. …remove the bolts…
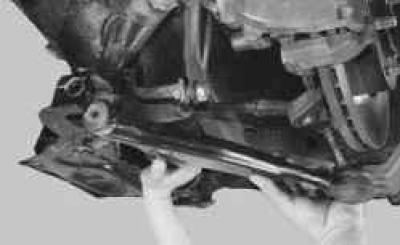
7. …and remove the lever assembly with the ball joint.
NOTE: Since the original front suspension arms are supplied as spare parts complete with ball joint and silent blocks, further disassembly of the arm does not make sense.
8. Install the parts in the reverse order of removal, without completely tightening the rubber-metal hinges of the lever.
9. Lower the vehicle to the ground and rock it vigorously several times. Finally tighten the suspension threads on the vehicle standing on the ground to the torque specified in Appendix 1.
NOTE: After replacing the front suspension ball joint, check and, if necessary, adjust the wheel alignment angles. Use the services of workshops with special equipment.
(The original text is provided on an online resource FORDBOOK.ru)