You will need: key «at 18», hex key «for 6», flat blade screwdriver, spring compressor.
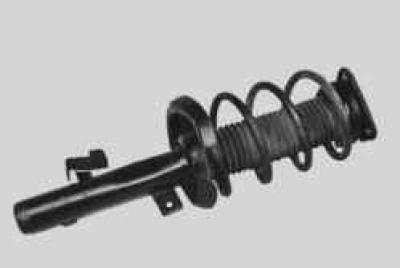
1. Remove the shock absorber from the car (cm. «Removal and installation of a shock-absorber rack»).
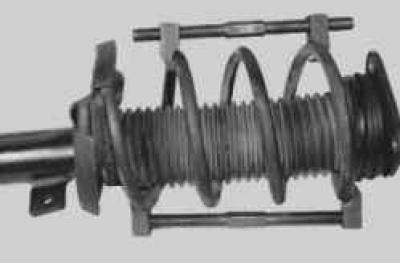
2. Install the spring compressor..
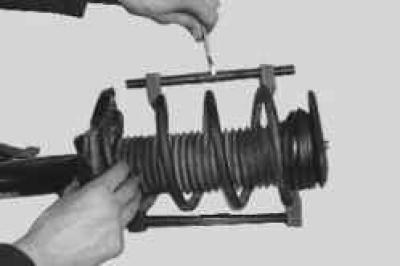
3.... and compress the spring.
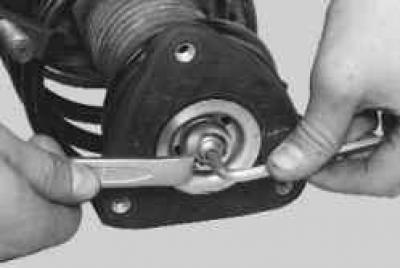
4. Loosen the stem nut while holding the stem from turning with a second wrench.
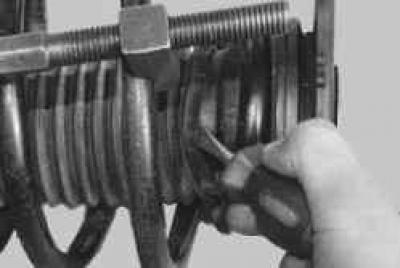
5. Use a screwdriver to pry up the protective cover of the rack..
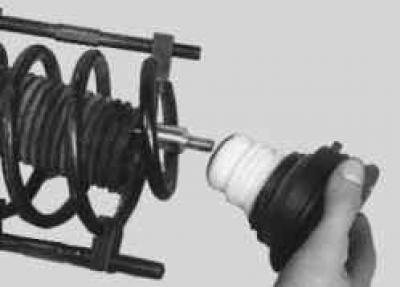
6.... and remove the upper support of the rack assembly with the compression buffer.
NOTE: The strut top support, thrust bearing, and compression buffer are a non-separable assembly, so if one of the three items fails or is damaged, the assembly must be replaced.
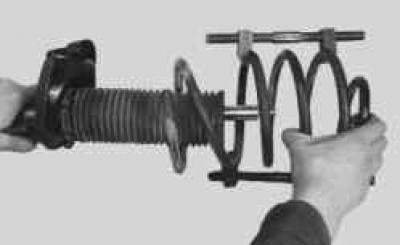
7. Remove the front suspension spring.
NOTE: Replace springs only in pairs (right and left at the same time).
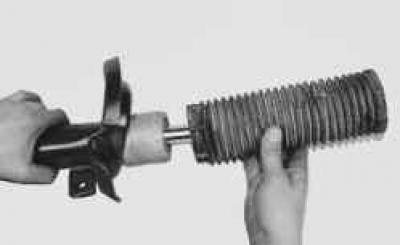
8. Remove the protective cover...
NOTE: If the protective cover is damaged, replace it with a new one.
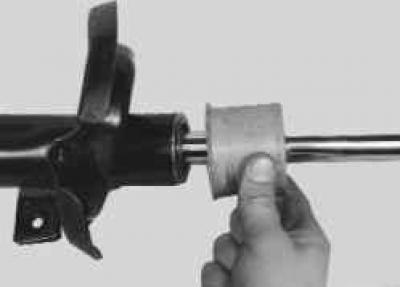
9.... and shock absorber protective cap.
10. Install the shock absorber vertically and lower and raise the shock absorber rod several times until it stops. Make sure that the stem moves without dips, jams and knocks. Otherwise, replace the shock absorber. Also, replace the shock absorber if fluid leaks are found (slight sweating in the upper part of the case is allowed) and if the threads in the upper part of the stem are damaged.
WARNING: Replace shock absorbers only in pairs (right and left at the same time).
11. Install the parts in the reverse order of removal.
NOTE: After repairing the shock absorber, check and, if necessary, adjust the wheel alignment. Use the services of workshops with special equipment.
Visitor comments