Contents: Removal ↳ Installation ↳
Removal
1. Apply the parking brake, loosen the corresponding wheel nuts, then jack up the front of the vehicle and support it on stands. Remove the wheel on the side you are interested in.
2. Unscrew the retaining bolt and remove the bracket holding the brake pipe to the shock absorber (see Figure 11.2).
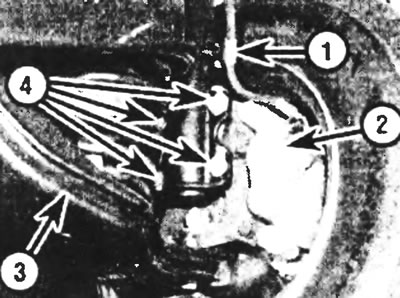
Figure 11.2. Location of the shock absorber and related components on the steering knuckle: 1. Bracket for fixing the brake hose, 2. Brake caliper, 3. Lower suspension arm, 4. Bolts securing the shock absorber to the front brake steering knuckle.
3. Lightly jack up the lower control arm to support its weight.
4. On pre-1992 models, pry and remove the rubber pad retaining ring from the top of the shock absorber on the cab side, then separate and remove the cover halves (see Figure 11.4). After unscrewing the upper nut of the shock absorber, remove the washer and retainer.
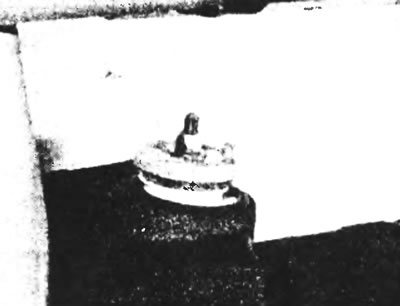
Figure 11.4. Front shock absorber upper mount and retaining nut on pre-1992 models.
5. On later models, remove the shock absorber cover while in the cab (see Figure 11.5). Unscrew the upper shock absorber nut, then remove the disc washer. While unscrewing the top nut, hold the shock absorber piston from turning with a 6 mm socket wrench.
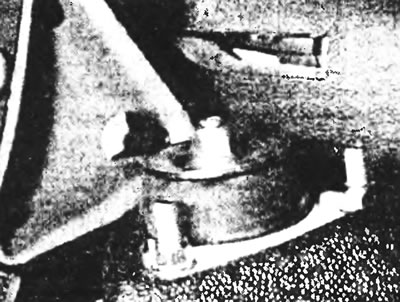
Figure 11.5. Front shock absorber upper mount and retaining nut on later models.
6. Unscrew the four bolts and separate the shock absorber from the steering knuckle. Support the steering knuckle to avoid placing excessive pressure on the lower control arm ball joint.
7. If the shock absorber is leaking or has defects, it must be replaced with a new one (the shock absorber cannot be repaired). To check the operation of the shock absorber, clamp it in a vice and then fully push and pull out its piston several times. If the shock absorber's resistance has noticeably weakened or if it is uneven, the shock absorber should be replaced with a new one. It is advisable to replace both front shock absorbers at once, otherwise the replacement will adversely affect the vehicle's handling.
8. Before starting installation, check the condition of the shock absorber rubber bushing installed in the body. If it is damaged or worn out, it must be replaced with a new one.
9. On models produced before 1992, to remove the rubber bushing, push it outward using something (or, as a last resort, carefully cut it out with a knife). Before installing a new bushing, clean the hole in the body from traces of the old bushing. On later models, unscrew the three retaining nuts and remove the bushing.
Installation
10. If the rubber bushing was removed, on models produced before 1992, lubricate the new bushing and its location with cleaning fluid, insert the bushing into the hole, pressing and screwing it in. On later models, install the bushing assembly and secure it with the three nuts, tightening them to specification.
11. After lubricating the inside of the rubber bushing and the top of the shock absorber with cleaning fluid so that they become slippery, insert the bushing into the shock absorber, install the retainer, washer and nut (on early models) or a disc washer and nut (on later models).
12. After aligning the lower mounting holes of the shock absorber with the corresponding holes in the steering knuckle, insert the retaining bolts.
13. After tightening the upper nut of the shock absorber to the specified tightening torque, install the shock absorber cover and secure it with a retaining ring (on early models).
14. Tighten the four shock absorber and steering knuckle retaining bolts to specification. Remove the jack or support from under the lower control arm.
15. Connect the bracket that holds the brake pipe to the shock absorber.
16. Install the wheel and lower the car to the ground.
17. Tighten the wheel nuts to the specified torque.
A copy of the article is available on the website: FordBook