Contents: Removal ↳ Installation ↳
Removal
1. Remove the front coil spring on the side you are interested in as described in previous Section.
2. After straightening the retaining pins in the bolts that secure the suspension arm to the cross member and front bracket, remove the pins. Unscrew the retaining nuts, remove the washers and pull out the pivot bolts (see figure 6.2,a,b).
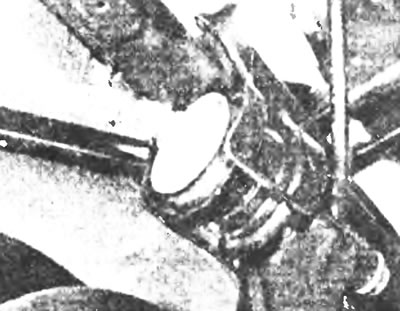
Figure 6.2,a. Pivot bolt, nut, disc washer and bushings for fastening the lower suspension arm to the front bracket.
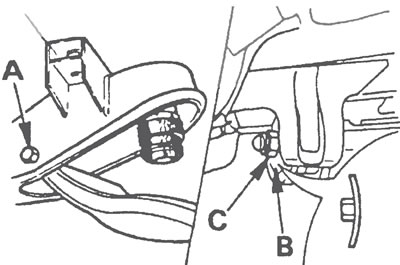
Figure 6.2,b. Lower suspension arm fastenings: A - Pivot bolt securing the arm to the cross beam, B - Plate washer (its orientation is shown), C - Nut securing the lever to the front bracket
3. Lower the suspension arm down and remove it.
4. Check the condition of the suspension arm bushings and replace them with new ones as described in Sections 7 and 8, if they show signs of deterioration. Replace the control arm with a new one if there is any sign of damage or distortion.
Installation
5. With the suspension arm against the cross member and front bracket, insert the pivot bolts. Install the disc washer like this. so that its convex side faces the front bracket bushing. Do not tighten the lock nuts fully yet. They must be fully tightened after the vehicle has been lowered onto its wheels.
6. Install the front coil spring as described in previous Section.
7. With the vehicle on its wheels, tighten the lower control arm retaining nuts to the specified torque and secure them with new cotter pins. The nut securing the rear pivot bolt to the crossmember must be tightened in the following sequence. First tighten the nut to the torque specified in the "Fastening Tightness" column in the specifications, then loosen the nut completely. Then tighten it again, this time to the "sufficient" torque, then tighten it to the specified final tightening angle.