Disassembly
Clean any dirt from the shock absorber.
Using a special device, compress the spring so that its upper cup is unloaded (see Fig. 10.14).
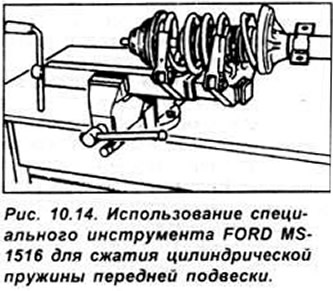
Caution: When using a universal spring compressor, make sure that the spring coils are securely gripped and that the spring is compressed from three opposite sides. The spring has a very high compression force, so use only a very reliable tool. Never tie the spring with wire.
Attention: The central fastening nut can only be unscrewed when the spring is compressed.
Secure the shock absorber rod from turning with a wrench and, using a second open-end wrench, unscrew the central nut securing the shock absorber rod.
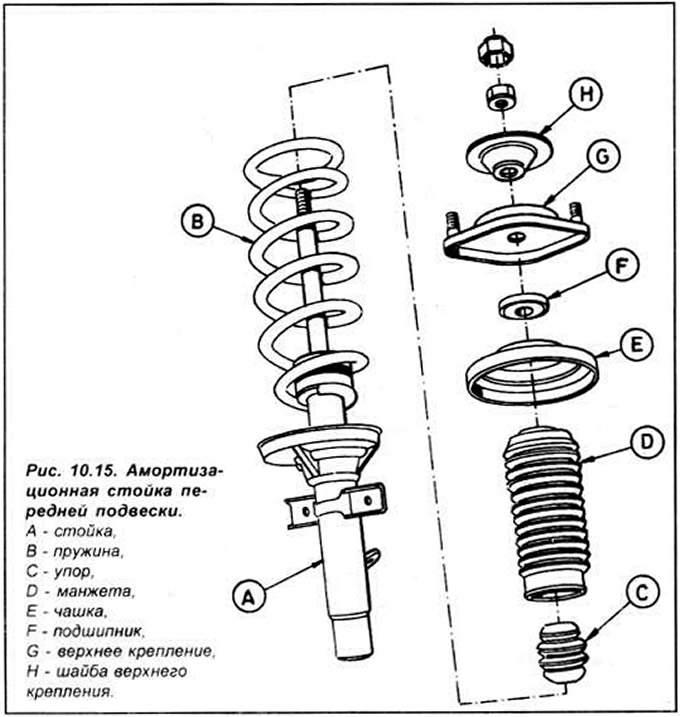
Remove the washer, upper support mount, upper cup, cuff and rubber stop from the shock absorber strut (see Fig. 10.15).
If you only need to replace the spring, slowly release it. If you only need to replace the shock absorber, the spring remains compressed.
Examination
Check all shock absorber strut components for wear, damage or deformation. Check the smoothness of the shock absorber rod.
Check the shock absorber for leaks, as well as its rod for pitting along its entire length
Assembly
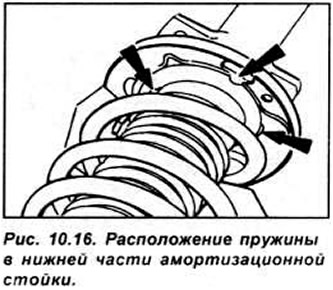
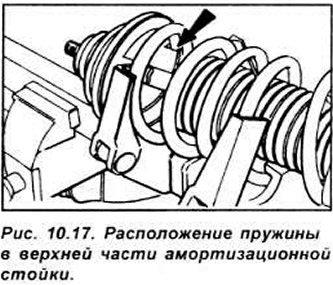
Assembly is performed in the reverse order of disassembly. In doing so, make sure that the upper and lower ends of the spring are correctly positioned in the cups (see Fig. 10.16, 10.17).