Contents: Cars up to 8/94 ↳ Cars from 9/94 ↳
Cars up to 8/94
Removal
Attention. For vehicles equipped with a cruise control system, the speed control system must be reconfigured after replacing the brake light. In this regard, it is recommended to entrust work on these vehicles to a service station.
Remove the trim above the driver's footwell.
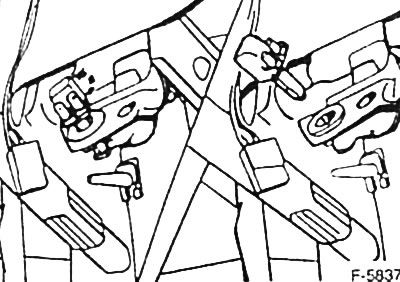
Disconnect the brake light plug connector. Turn the brake light switch counterclockwise and remove it from the bracket.
Installation
Insert the brake light switch into the bracket hole. Raise the brake pedal and press the switch into the hole so that the pin enters completely. Fix the switch by turning it to the right.
Return the brake pedal to its original position. Check the clearance between the brake light switch pin and the stop. Specified value: 2 mm. If necessary, install the brake light switch again.
Caution: Incorrect adjustment of the brake light switch will result in increased wear of the rear brake linings.
Connect the multi-pin plug connector of the switch.
Check the operation of the switch.
Install the driver's footwell trim.
Cars from 9/94
Removal
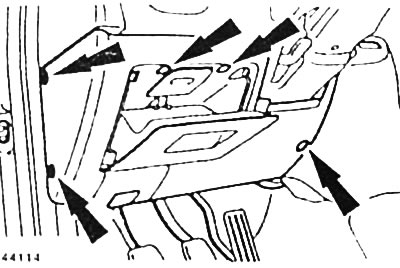
Unscrew the fastening of the trim above the driver's footwell.
Note: The engine compartment hood lock cable does not need to be disconnected. Disconnect the diagnostic connector plug and, where available, the on-board computer switch plug on the back side.
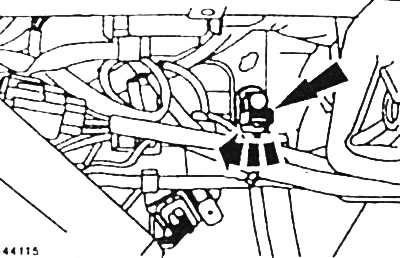
Disconnect the brake light plug connector. Turn the brake light switch to the right and remove it.
Installation
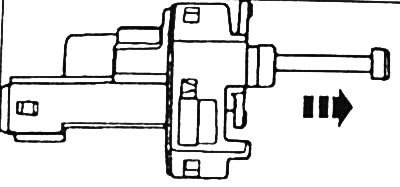
Adjust the switch. To do this, pull the pusher out as far as it will go.
Press the brake pedal, insert the switch into the hole and turn it to the left to secure it. Slowly release the brake pedal. This will ensure that the switch is adjusted correctly.
Connect the multi-pin plug connector of the switch.
Check the operation of the switch.
Screw on the driver's footwell trim. First connect the diagnostic connector plug and, where available, the on-board computer switch plug on the back side.