- disconnect the wire from the negative terminal of the battery and remove the engine cover;
- disconnect the cable plug of the left lambda probe;
- Raise the front of the vehicle and remove the protective sheet under the front of the vehicle if fitted;
- remove the trim under the radiator;
- remove the front exhaust pipe and catalytic converter;
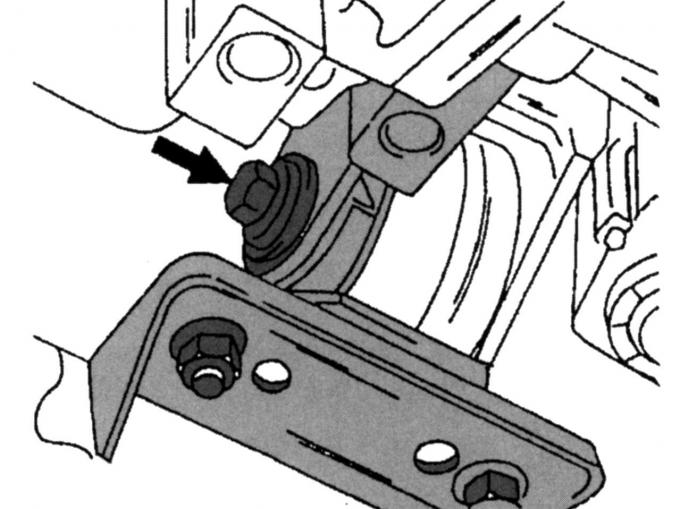
Fig. 317. Fastening the left stop to the supporting console against rotation
- unscrew the middle screw of the left stop from turning (Fig. 317) and then unscrew the screws of the right stop from turning (Fig. 318), remove the stop;
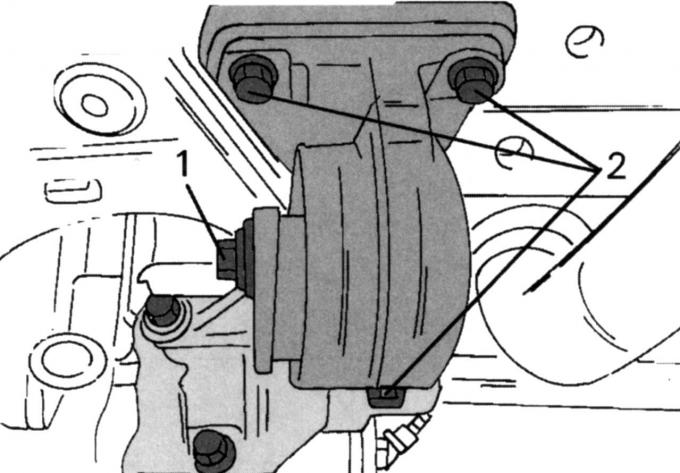
Fig. 318. Screws (1 and 2) for fastening the right stop against rotation to the auxiliary frame
- push the engine to the right as far as possible and in this position, insert a wooden wedge into the left stop to prevent it from turning, and fix it from returning to its original position;
- unscrew the left lambda probe (later tighten it with a torque of 60 Nm);
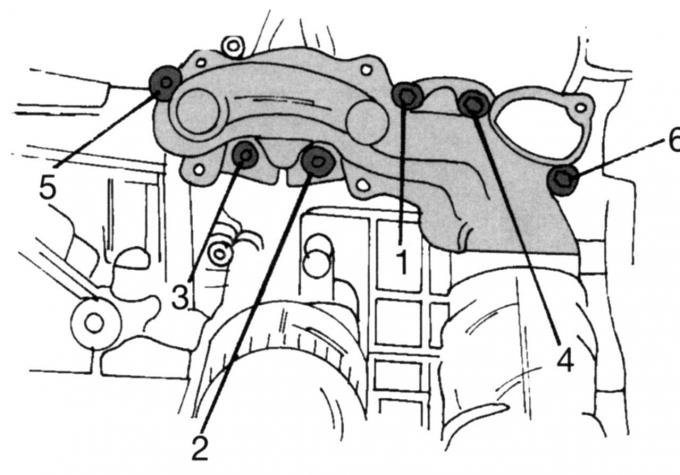
Fig. 319. Left exhaust manifold screw tightening sequence
- unscrew the exhaust manifold (Fig. 319) in the reverse order. The figure shows the engine removed for greater clarity;
Install in reverse order. Use the following tightening torques to secure the parts:
- tighten the exhaust manifold screws in the sequence shown in Fig. 319 to a torque of 20 Nm (in several stages);
- tighten the screws shown in Fig. 317 to a torque of 120 N·m, in Fig. 318 - to a torque of 48 N·m;
- to install the exhaust pipe and catalytic converter, use new nuts and tighten them to a torque of 40 Nm.