Contents: Removal ↳ Installation ↳
Special tool
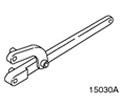 | Universal spanner for holding flanges 205-072 (15-030A) |
Removal
1. Remove the cylinder head cover. For more information, refer to the Cylinder Head Cover chapter in this section.
2.
CAUTION: The engine should only be turned in the normal direction of crankshaft rotation.
NOTE: The camshaft sprocket timing mark must be at the 12 o'clock position.
NOTE: Mark the position of the timing chain.
Turn the engine over until piston No.1 reaches the top dead center (TDC) position.
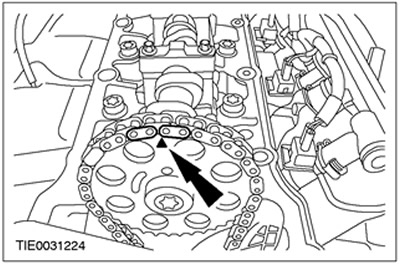
3. Remove the hydraulic timing chain tensioner.
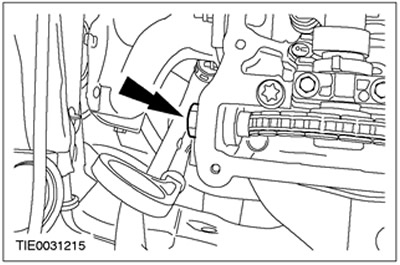
4.
NOTE: Using a suitable piece of wire, tie the timing chain and camshaft sprocket to the cylinder head to prevent them from falling into the cylinder block.
Using a special tool, remove the camshaft sprocket.
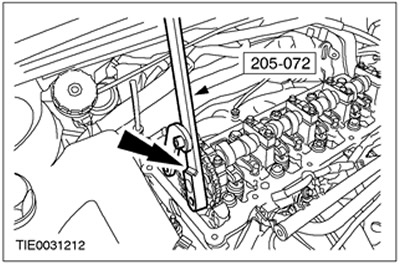
5.
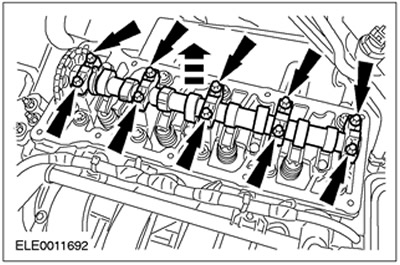
CAUTION: Keep the camshaft bearing caps in good condition for future installation.
NOTE: Working in stages, loosen each camshaft bearing cap bolt two turns at a time.
Remove the camshaft.
Installation
1.
NOTE: The camshaft sprocket alignment groove must be at the 12 o'clock position.
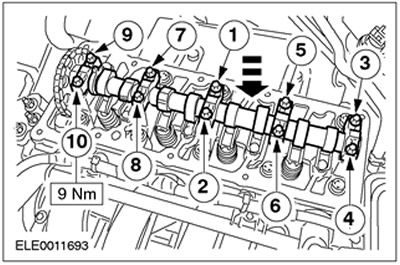
NOTE: Working in stages, tighten each camshaft bearing cap bolt two turns at a time.
Install the camshaft. Tighten the bolts in the sequence shown.
2.
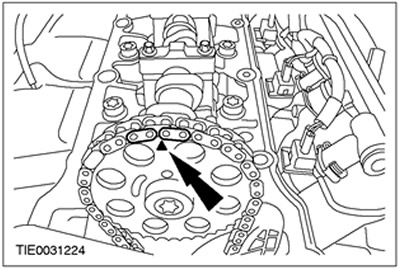
NOTE: The camshaft sprocket timing mark must be at the 12 o'clock position.
NOTE: The camshaft sprocket timing mark and the marked timing chain links must be aligned with each other.
Install the camshaft and timing chain.
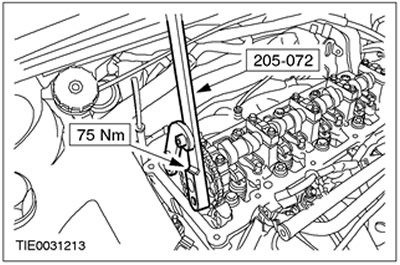
3. Using the special tool, tighten the camshaft sprocket mounting bolt.
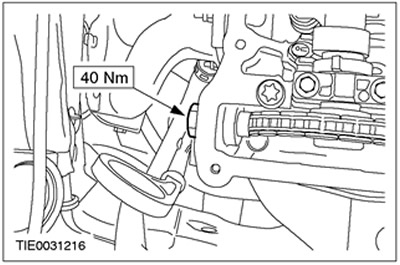
4. Install the hydraulic timing chain tensioner.
5. Install the cylinder head cover. For more information, refer to the Cylinder Head Cover chapter in this section.