Withdrawal
1. Remove the wheel and tire assembly. See Section 204-04 for more information.
2. Remove the springs. For more information, refer to the chapter Spring available in this section.
3. Disconnect the anti-roll bar from the rear lower arms on both sides.
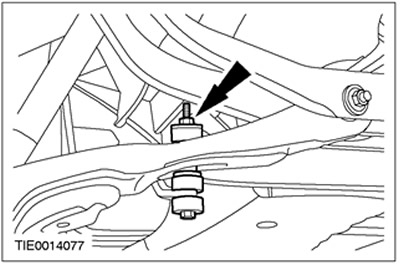
4.
WARNING: Both sides of the suspension must be positioned at the prescribed design height. Failure to follow these instructions may result in injury.
Set the suspension to the calculated height. See Section 204-00 for more information.
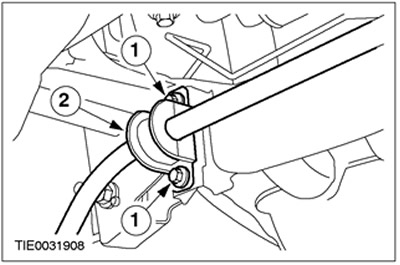
5. Remove the anti-roll bar clips (left side shown).
- 1.Remove the bolts.
- 2.Remove the clip.
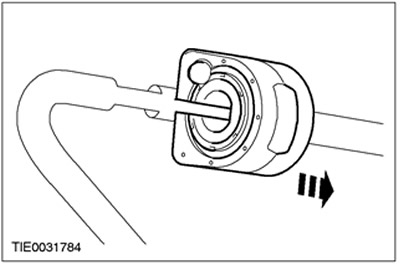
6. Remove the anti-roll bar.
7. Remove bushings of the stabilizer bar.
Installation 1.
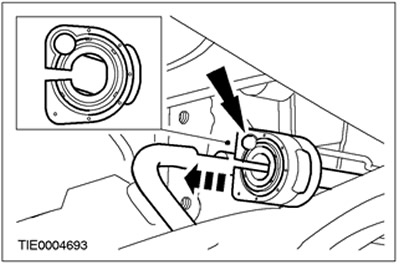
CAUTION: The stabilizer bar bushings must be correctly positioned on the stabilizer bar. Do not use lubricant.
NOTE: Make sure the bushing nipple is on the left side.
Install the bushings on the anti-roll bar on both sides.
2. Install the stabilizer bar clamps.
- 1. Moisten the clamps with water to facilitate installation.
- 2.Press the clamps onto the bushings on both sides.
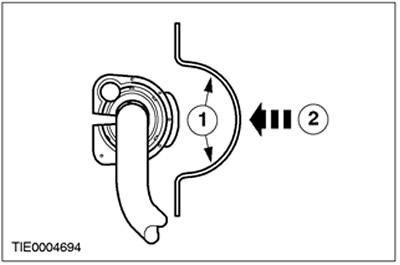
3. Install the anti-roll bar.
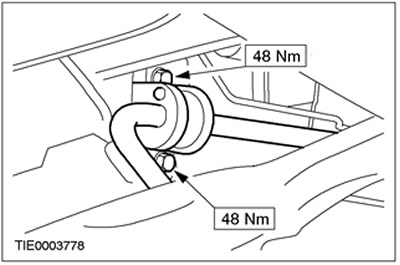
4. Lower the suspension out of its reference height position.
5. Attach the anti-roll bar to the rear lower arms on both sides.

6. Install springs. For more information, refer to the chapter Spring available in this section.
7. Install wheel and tire assembly. See Section 204-04 for more information.
Visitor comments