


Contents: Removal ↳ Installation ↳
Removal
1. Support the front wheels, lift the rear of the car and place it on supports. Remove both rear wheels.
2. Unscrew the nuts securing the stabilizer connecting links to the front lower arms on both sides. While unscrewing the nut, hold the upper part of the connecting link with a wrench. Remove the rubber bushings (see Fig. 13.2, a-c).
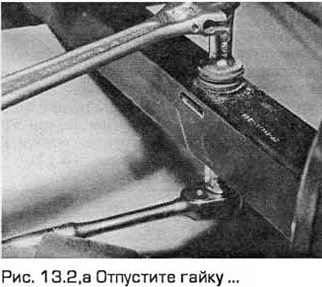
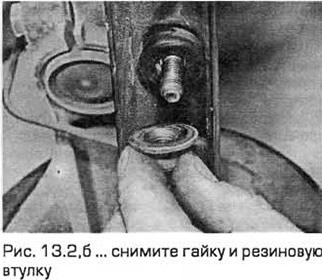
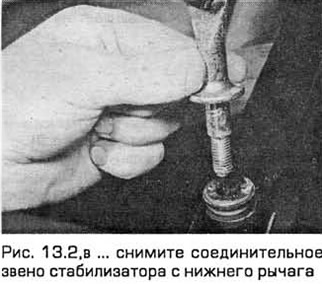
3. Unscrew the bolts securing the stabilizer support clamps from the rear suspension beam. Then remove the clamps and pull the stabilizer out from under the car (see Fig. 13.3).
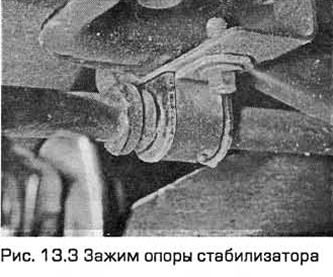
4. Inspect the rubber bushings that contact the clamps and connecting links. Replace the bushings if necessary. Connecting links are supplied separately.
Installation
5. Install the stabilizer on the beam. Install the clamps and insert the bolts. Tighten them to the required torque.
6. Install the connecting links on the front lower arms on both sides so that the rubber bushings fit into place. Tighten the nuts to the specified torque.
7. Install the rear wheels and lower the vehicle to the ground.
For more information, please visit the website: FordBook