1. Remove the gearbox control lever linkage (see "Removal and installation the gearbox control lever linkage").
2. Remove the engine crankcase guard (if present).
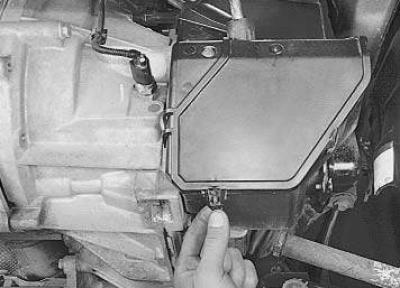
3. Release the seven shifter housing cover fasteners…
4. …and remove the lid.
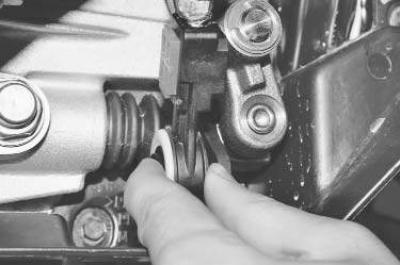
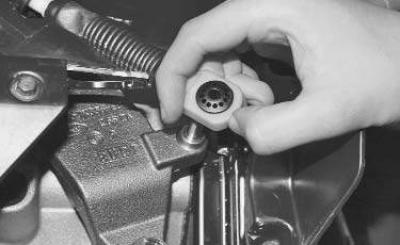
5. Press the gear selector cable end release button…

6. …and disconnect the cable from the gear selector lever.
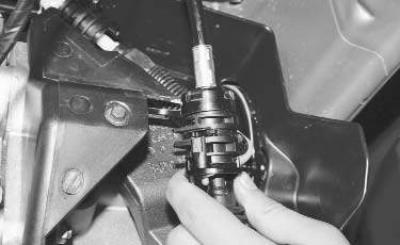
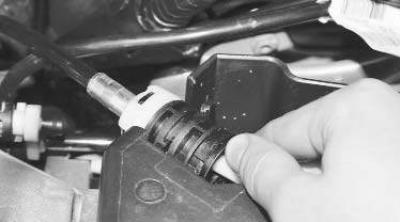
7. Turn the gear selector cable housing stop lock counterclockwise and remove the cable housing stop from the bracket on the gearbox.
8. Use a screwdriver to pry up the end of the gear shift cable and disconnect the cable from the gear shift lever.
9. Turn the gear shift cable housing stop lock counterclockwise…
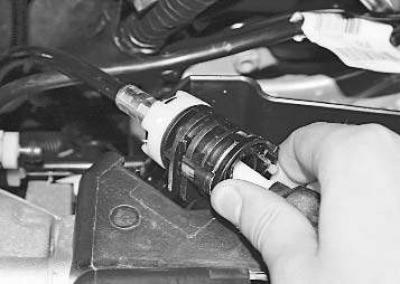
10. …and remove the cable sheath stop from the bracket on the gearbox.
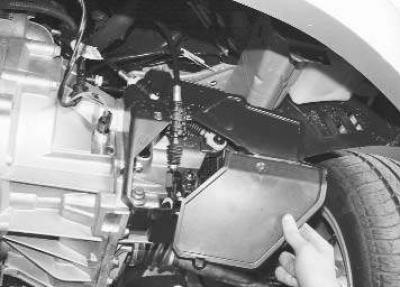
11. Disconnect the transmission control cables from the bracket on the transmission.
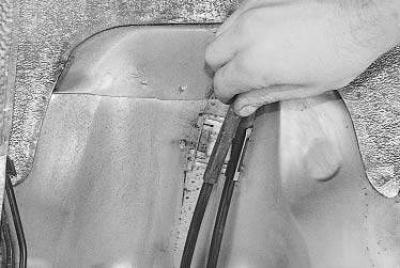
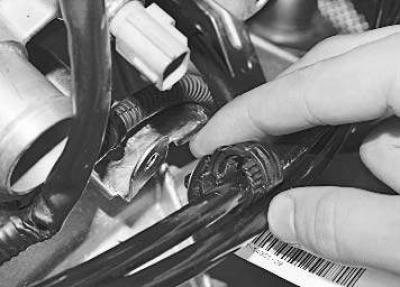
12. Disconnect the cables from the bracket on the base of the body.
13. Remove the floor tunnel lining (see "Removal and installation the floor tunnel lining").
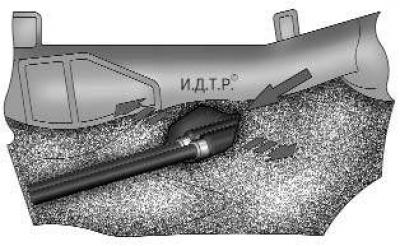
Fig. 6.4. Cutting the soundproofing lining of the floor tunnel to gain access to the gearbox control cable seal mount
14. To gain access to the cable seal mount (it is attached to the body base from inside the passenger compartment), cut the soundproofing lining of the floor tunnel (Fig. 6.4) and spread its edges apart.
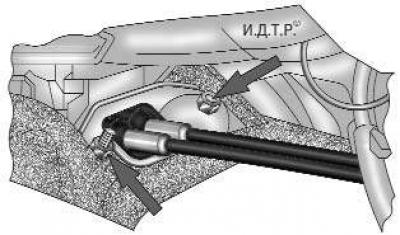
Fig. 6.5. Fastening the transmission control cable seal
15. Unscrew the two nuts (shown by arrows in Fig. 6.5) securing the cable seal and remove the cables into the passenger compartment, alternately removing their ends through the hole in the floor tunnel.
16. Install the transmission control cables and all removed parts in the reverse order of removal.
17. Adjust the gearbox control drive (see "Adjusting the gearbox control drive").
[The original text is provided on an online resource www.FordBook.ru]