1. Remove the floor tunnel lining (see "Removal and installation the floor tunnel lining").
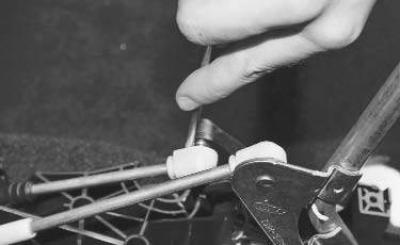
2. Use a screwdriver to pry up the tip of the gear selector cable…
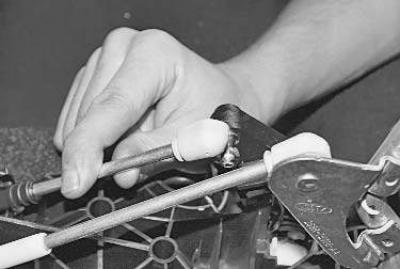
3. …and disconnect the tip from the leash.
4. Similarly, disconnect the cable end from the gearbox control lever.
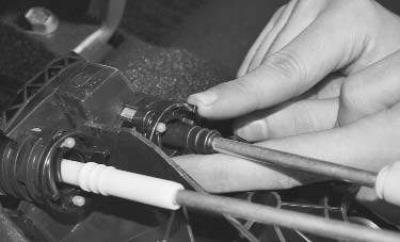
5. Turn the gear selector cable stop counterclockwise…
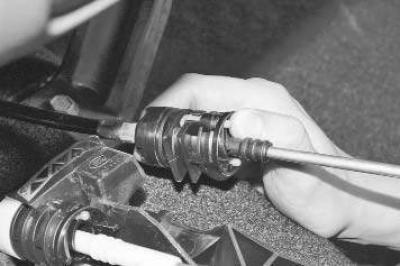
6. …and remove the shell stop from the gearbox control lever linkage bracket.
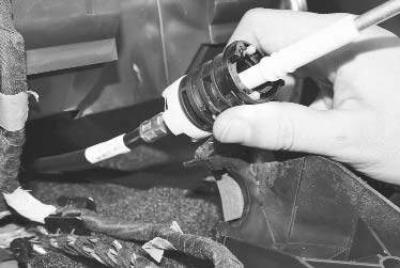
7. Similarly, disconnect the shift cable housing stop.
Note: The shift cable housing stop pin is white, and the gear selector cable housing stop pin is black. Remember their location so as not to mix them up when reinstalling.
8. Unscrew the four nuts securing the gearshift lever linkage to the body, remove the washers and remove the linkage.
9. Install the parts in the reverse order of removal.
[A copy of the article is available on the website www.FordBook.ru]