If there are burrs, deep scratches and other defects on the working surface of the disc that increase pad wear and reduce braking efficiency, as well as in the case of increased lateral runout of the disc that causes vibrations during braking, replace the disc. In specialized workshops, such a disc can be turned and ground on both sides to the same depth, but after processing, the thickness of the disc must not be less than the minimum permissible.
The minimum permissible thickness of the brake disc of the rear wheel brake mechanism is 9 mm. If the thickness of one of the discs is less than the specified one, replace both discs. When replacing the brake discs, be sure to replace the brake pads with a new set.
1. Remove the wheel from the side of the disc being replaced.
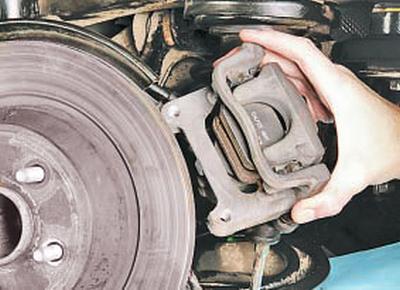
2. Remove the caliper assembly (see Replacing the rear wheel brake caliper) and, without disconnecting the brake hose and the parking brake cable, secure the caliper (for example, with wire) to the spring coils. Do not allow the hose to twist or stretch.
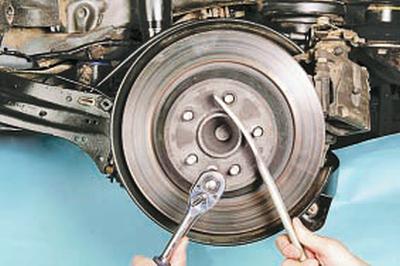
3. While holding the hub from turning with a tire iron, as shown in the photo, loosen the brake disc mounting screw…
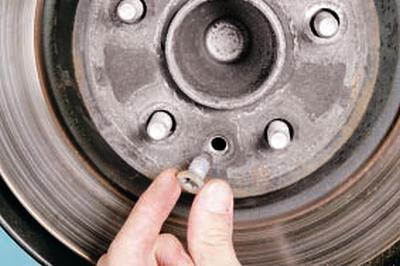
4….unscrew the screw…
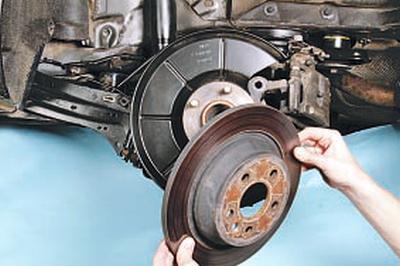
5….and remove the brake disc.
6. Similarly, remove the brake disc of the second brake mechanism.
7. Install the parts in the reverse order of removal.
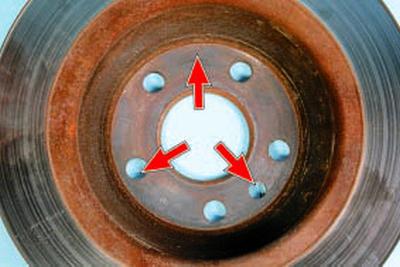
NOTE: Before installing the disc, thoroughly clean the mating surfaces of the hub and disc from rust and scale, since even the smallest particle clamped between the mating surfaces will cause disc beating and vibration during braking.
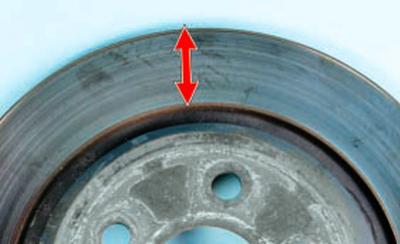
USEFUL TIP: If you are installing the same disc, use a file to remove the ridges on the working surfaces of the disc that have formed as a result of disc wear on both sides.
(The original version can be found on the website www.fordbook.ru)