Contents: Upper section of the intake manifold ↳ Removal ↳ Installation ↳ Lower section of the intake manifold ↳ Removal ↳ Installation ↳
Upper section of the intake manifold
Removal
1. Disconnect the negative battery cable (Chapter 5, paragraph 1).
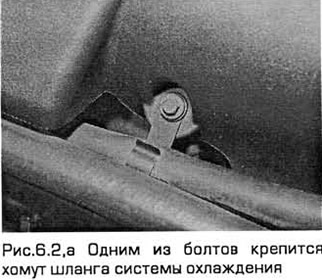
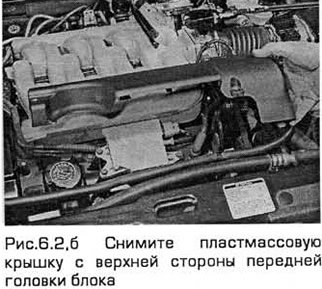
2. Unscrew the bolts securing the plastic cover to the upper part of the front cylinder head. One of the bolts secures the cooling system hose. Remove the cover (see Fig. 6.2, a, b).
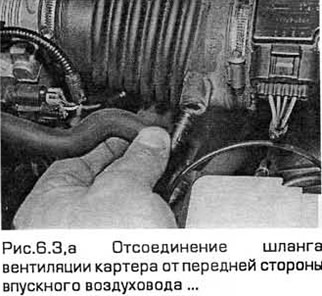
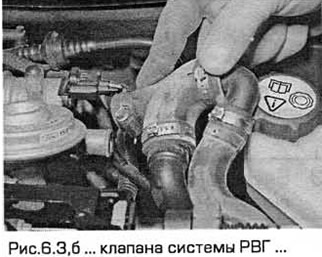
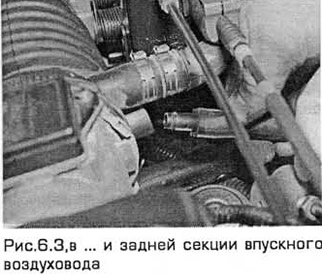
3. Disconnect the crankcase ventilation hoses from the intake air duct and the EGR system valve (see Fig. 6.3, a-c).
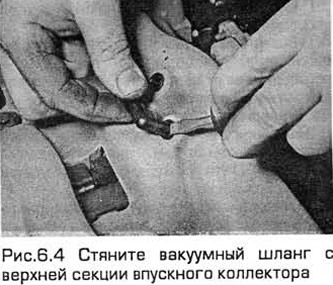
4. Remove the vacuum hose from the upper section of the intake manifold (see Fig. 6.4).
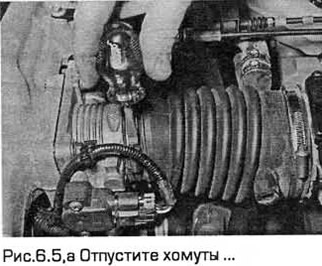
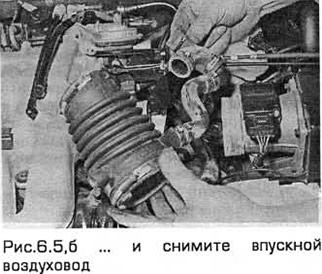
5. Loosen the two clamps and disconnect the intake air duct from the throttle body and air flow meter. Remove the air duct (see Fig. 6.5,a,b).
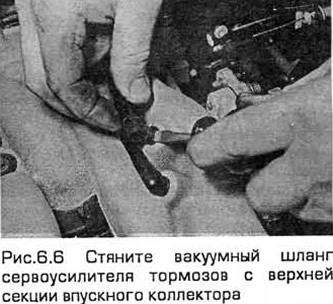
6. Remove the brake booster vacuum hose from the upper section of the intake manifold (see Fig. 6.6).
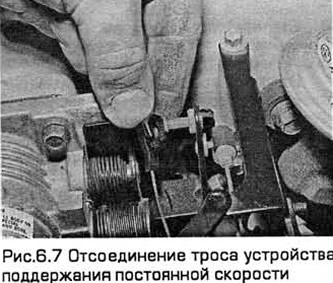
7. Use a screwdriver to release the retainer, then disconnect the throttle and cruise control cables from the bracket (see Fig. 6.7).
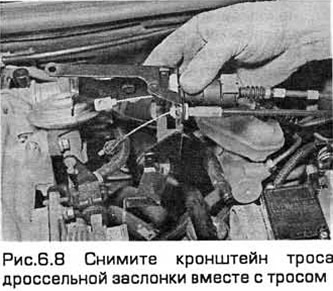
8. Remove the bolts and throttle cable bracket (see Fig. 6.8).
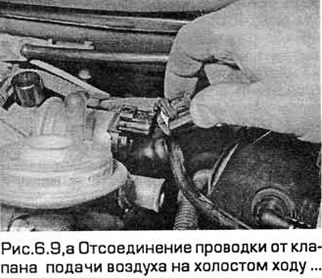
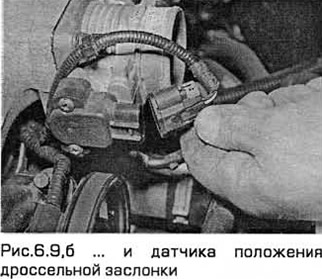
9. Disconnect the wiring from the idle air supply valve and the throttle position sensor (see Fig. 6.9,a,b).
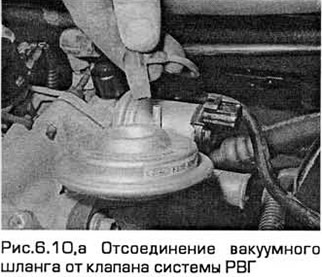
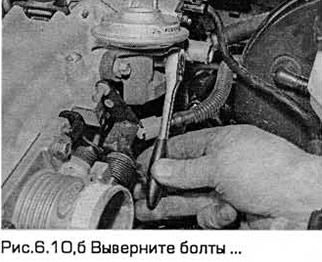
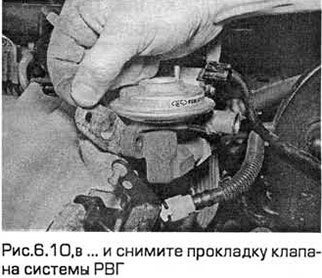
10. Disconnect the vacuum hose from the EGR valve. Then unscrew the valve bolts and remove the gasket. If necessary, pull the valve out of the branch pipe (see Fig. 6.10, a-c).
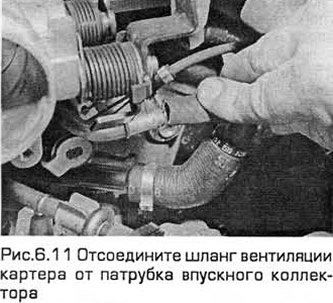
11. Disconnect the positive crankcase ventilation hose from the intake manifold pipe (see Fig. 6.11).
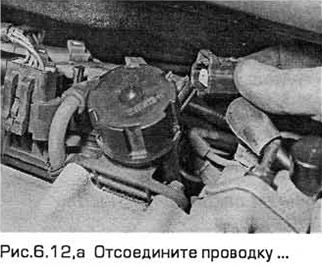
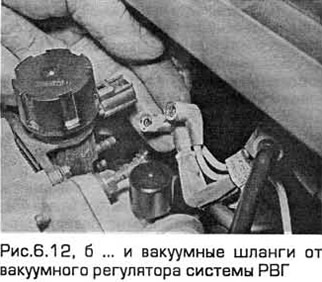
12. Disconnect the wiring and vacuum hoses from the EGR system vacuum regulator (see Fig. 6.12, a, b).
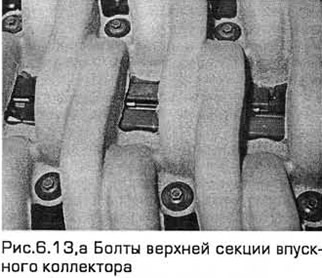
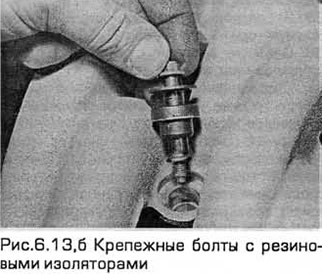
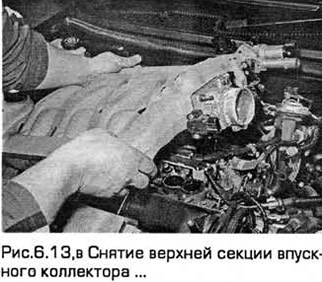
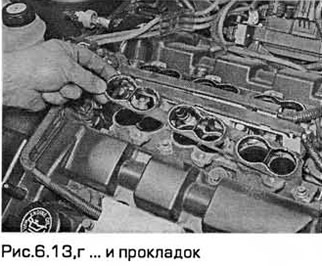
13. In the reverse order to that shown in Fig. 5.20, unscrew the bolts of the upper section of the intake manifold, and then remove it. Remove the gaskets from the lower section of the intake manifold. Remove the rubber insulators from the mounting bolts and inspect them. If they are not suitable, replace them (see Fig. 6.13,a-g).
Installation
14. Clean the mating surfaces of the upper and lower sections of the intake manifold.
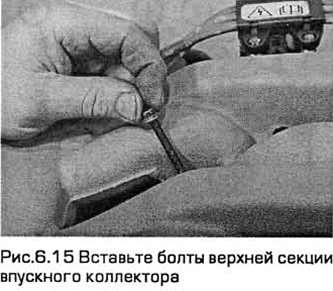
15. Install new gaskets on the lower section of the manifold. Install the upper section of the manifold. Insert the bolts (see Fig. 6.15) and tighten them to the required torque in the sequence shown in Fig. 5.20.
16. Connect the wiring and vacuum hose to the EGR vacuum regulator.
17. Connect the positive crankcase ventilation hose to the intake manifold pipe.
18. Install the EGR valve with a new gasket and tighten the bolts. Install the vacuum hose.
19. Connect the wiring to the throttle position sensor and the intake manifold air temperature control valve.
20. Install the throttle cable bracket and tighten the bolts.
21. Install the throttle and cruise control cables to the bracket and install the retainer.
22. Connect the two brake booster vacuum hoses to the upper section of the intake manifold.
23. Install the air intake duct and tighten the bolts.
24. Connect the vacuum hose.
25. Connect the crankcase ventilation hoses to both sides of the intake air duct.
26. Install the plastic cover on top of the front cylinder head. Secure the coolant hose.
27. Connect the negative battery cable (Chapter 5, Section 1).
Note: To restore the engine management system settings due to the battery being disconnected, a mileage of approximately 16 km is required. In this case, the engine may not operate normally.
Lower section of the intake manifold
Removal
28. Remove residual pressure from the fuel system (Chapter 4A).
29. Disconnect the negative battery cable (Chapter 5A, par. 1).
30. Remove the upper section of the intake manifold as shown above.
31. Disconnect the fuel supply and return lines. Use a special tool to disassemble special connections. Or make a device by twisting a piece of thin plastic tape 15 mm wide into a roll. Insert this roll into the open end of the connection so that the internal spring rises above the stopper. Then disassemble the pipe connections.
32. Disconnect the wiring from the coolant temperature sensor (located above the starter) and from the EGR system back pressure sensor on the rear left of the engine. Then disconnect the wiring from the injectors.
33. Disconnect the vacuum hose from the fuel pressure regulator.
34. Disconnect the intake manifold actuator rod or cable from the stud and bracket on the front cylinder head cover and disconnect the vacuum hose from the solenoid of this actuator.
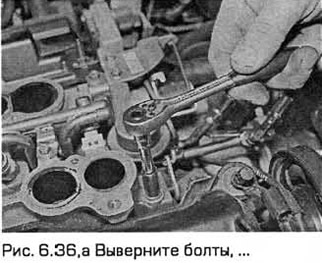
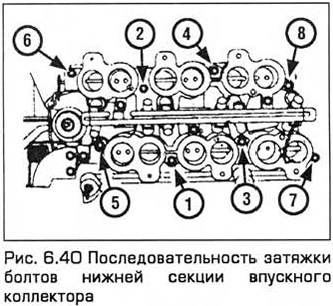
35. Remove the bolts of the lower section of the intake manifold in the reverse order shown in Fig. 6.40.
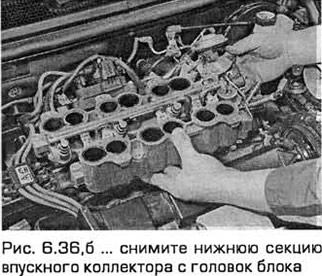
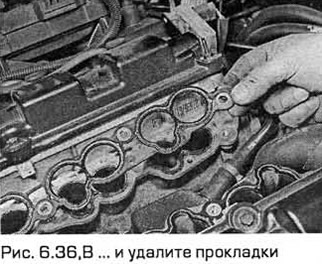
36. Remove the lower section of the intake manifold from the cylinder heads and remove the gaskets (see Fig. 6.36, a-c).
Installation
37. Clean the mating surfaces of the manifold and cylinder heads so as not to damage them.
38. Install new gaskets on the cylinder heads.
39. Carefully install the manifold section onto the gaskets without displacing them.
40. Insert the bolts and tighten them to the required torque 8 in the sequence shown in Fig. 6.40.
41. Connect the vacuum hose or intake system actuator rod to the resonator.
42. Connect the vacuum hose to the fuel pressure regulator.
43. Connect the wiring to the injectors, the EGR system back pressure sensor and the coolant temperature sensor.
44. Connect the fuel lines.
45. Connect the negative battery cable (Chapter 5, Section 1). Note: To reset the engine management system settings due to the battery being disconnected, a run of approximately 16 km is required. In this case, the engine may not operate normally.
[The original source of this article can be found at FORDBOOK]