Contents: Removal ↳ Installation ↳
Removal
1. Apply the parking brake. Raise the front end and place it on supports. Remove the right front wheel.
2. Drain the oil from the engine (chapter 1).
3. Remove the covers of both cylinder heads (paragraph 5).
4. Remove the generator (Chapter 5A). Remove the generator bracket from the cylinder block and the MGR cover.
5. Remove the crankshaft pulley (paragraph 8).
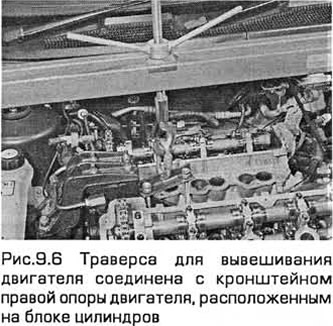
8. Raise the engine. If you are removing the cover to remove the cylinder heads, you must use the right engine support bracket located on the cylinder block when raising it (see Fig. 9.6).
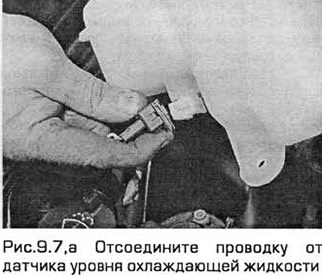
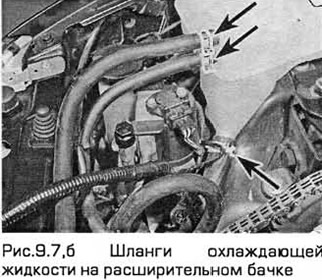
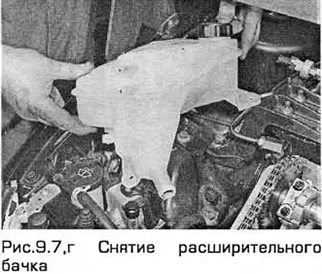
7. Disconnect the wiring from the coolant level sensor. Then unscrew the screws of the reserve tank of the cooling system and move the tank to the side. If you remove the cover in order to remove the cylinder heads, then drain the cooling system and remove the reserve tank, disconnecting its hoses (see Fig. 9.7, a-g).

8. Mark the position of the right engine mount, then remove the bolts and nuts and remove the mount and bracket, taking into account the position of the ground wire.
9. Loosen the bolts securing the pulley to the power steering pump.
10. Turn the accessory drive belt tensioner clockwise and remove the belt from the pulleys. Carefully release the tensioner.
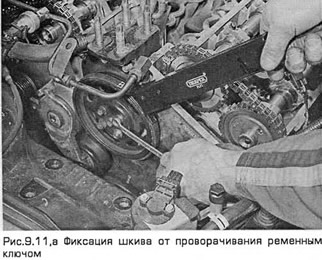
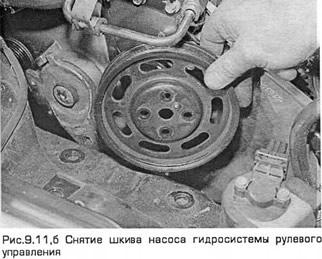
11. Completely unscrew the bolts and remove the pulley from the hydraulic steering pump. Remove the pump (Chapter 10) without disconnecting the hoses. Lean the pump together with the pipes against the bulkhead of the engine compartment (see Fig. 9.11,a-c).

1.2 Remove the tray (paragraph 14).
13. Disconnect the camshaft position sensor wiring connector on the camshaft cover. If necessary, you can remove the sensor.
15. If necessary for better access, unscrew the air conditioning compressor bolts and move it to the side without disconnecting the pipes.
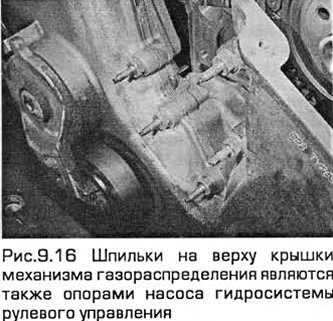
16. Note the position of the bolts and studs on the MGR cover (see Fig. 9.16).
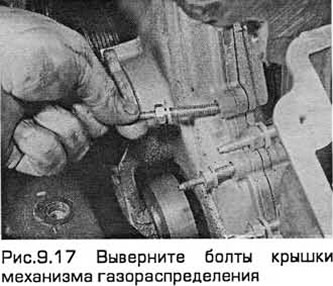
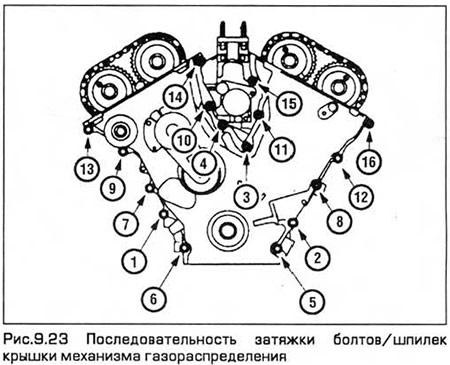
17. Sequentially (see Fig. 9.23) unscrew the cover bolts (see Fig. 9.17).
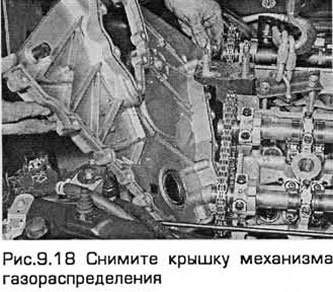
18. Pull the cover off the dowel pins and remove it through the nose of the crankshaft. Remove the three gaskets from the cover (see Fig. 9.18).
19. Clean the mating surfaces of the cover, cylinder block and cylinder head.
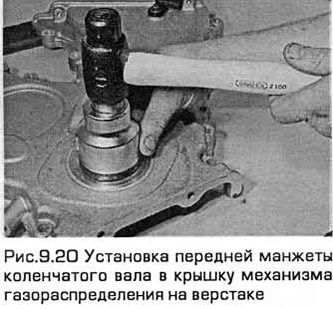
20. If necessary, replace the front crankshaft oil seal (paragraph 18). It can also be installed after installing the MGR cover (see Fig. 9.20). If necessary, remove the accessory drive belt tensioner and idler pulley from the cover.
Installation
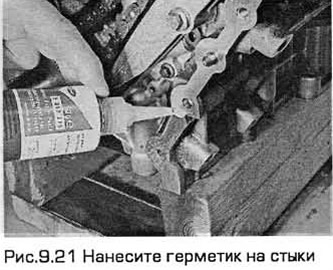
21. Apply sealant in 6 mm long beads to the joints connecting the cylinder head and the cylinder block, as well as to the joints of the cylinder block shown in Fig. 9.21).
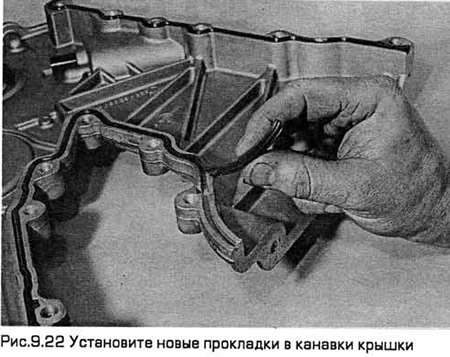
22. Install new gaskets into the cover grooves (see Fig. 9.22).
23. Install the cover together with the gaskets, pressing it onto the mounting pins. Install the bolts and studs and tighten them by hand. Then tighten them to the required torque (see Fig. 9.23 for the sequence).
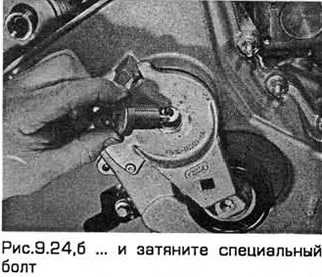
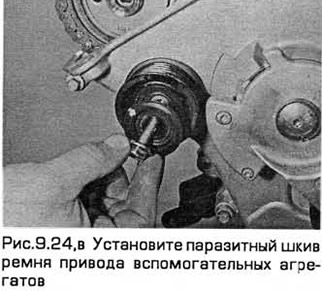
24. Install the accessory drive belt tensioner and idler pulley if they were removed (see Fig. 9.24,a,b).

25. Install the air conditioning compressor (Chapter 3) if it was removed.
26. Install the tray (paragraph 14).
27. Install the crankshaft and camshaft position sensors and connect the wiring to them.
28. Install the power steering pump and its pulley, tighten the bolts.
29. Install the accessory drive belt onto the pulleys and release the tensioner (chapter 1).
30. Install the right engine support and bracket in their original position. The ground wire should be secured to the bracket. Install the reserve tank.
31. Remove the lifting device.
32. Install the crankshaft pulley (paragraph 8).
33. Install the generator and its bracket (Chapter 5A).
34. Install the cylinder head covers (paragraph 5).
35. Connect the negative battery cable (Chapter 5, paragraph 1).
Note: To restore the engine management system settings due to the battery being disconnected, a mileage of approximately 16 km is required. In this case, the engine may not operate quite normally.
36. Install the right front wheel and lower the vehicle to the ground.
37. Fill the engine with oil (chapter 1).
(The full article is on the online resource: «FordBook.ru»)