Between the flanges of the cylinder head and the collector there is a sealing gasket made of pressed heat-resistant material reinforced with steel.
You will need: keys «at 13», «at 22», end heads «on 10», «at 15», flat blade screwdriver.
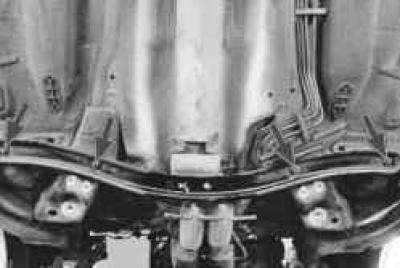
1. Remove mudguards and crankcase protection (cm. «Removal and installation of a mudguard of the engine»).
2. Remove the cross member (cm. «Removal and installation of a cross-beam of a forward suspension bracket»).
NOTE: It is necessary to remove the cross member because it makes it difficult to access the collector mounting elements and does not allow removing the collector from the vehicle.
NOTE: In the process of removing the cross member, two rubber suspension pads for the suspension of the exhaust system units are disconnected from the collector brackets.
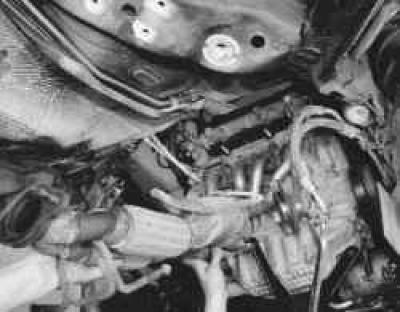
3. Remove the right front wheel drive (cm. «Removal and installation of front wheel drives»).
NOTE: It is necessary to remove the right front wheel drive because it makes it difficult to access the collector mounting elements.
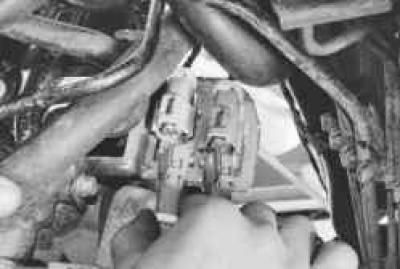
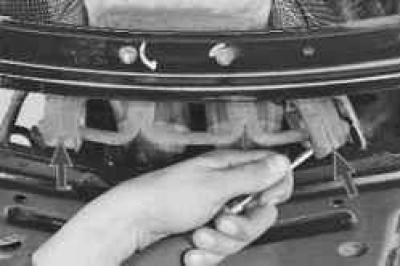
4. Disconnect the wiring harness blocks of the four oxygen concentration sensors screwed into the collector..
NOTE: Two sensor pads are shown on the right side of the manifold. The sensor pads on the left side are located symmetrically with respect to the longitudinal axis of the vehicle.
5.... and remove the sensor harnesses from the holders on the thermal screen of the collector.
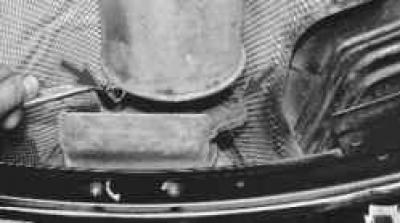
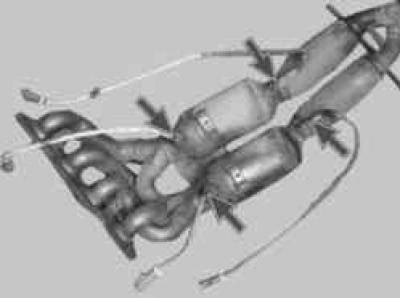
6. Turn out two bolts of fastening of a protective guard to a katkollektor…
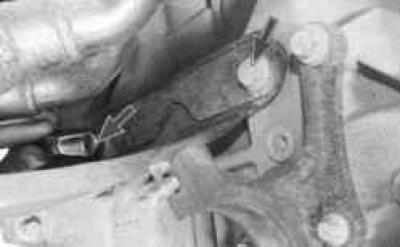
7.... and to the engine block..
8.... and remove the shield.

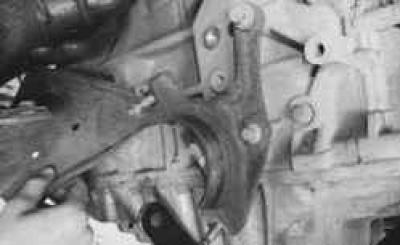
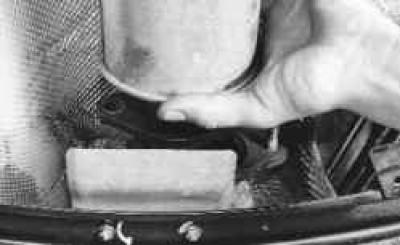
9. Turn out two bolts of fastening of an additional thermoscreen to a katkollektor in its back part..
NOTE: The second thermal screen fastening bolt is not visible in the photo, it is located symmetrically relative to the longitudinal axis of the car.
10.... two bolts in its front part..
NOTE: The second thermal screen fastening bolt is not visible in the photo, it is located symmetrically relative to the longitudinal axis of the car.
11.... and remove the thermal screen by passing the wire harnesses of the oxygen concentration sensors into its holes.
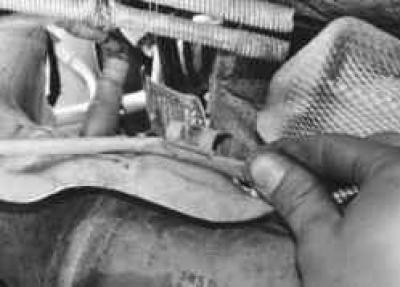
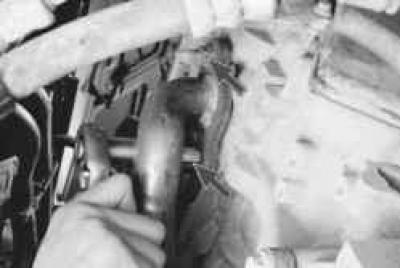
12. Turn away two nuts of fastening of a flange of the additional muffler to a katkollektor.
USEFUL ADVICE: Before unscrewing the nuts securing the flange of the additional muffler to the collector, clean the protruding threaded ends of the studs from dirt and rust with a metal brush and treat them with an easily penetrating grease, such as WD-40.
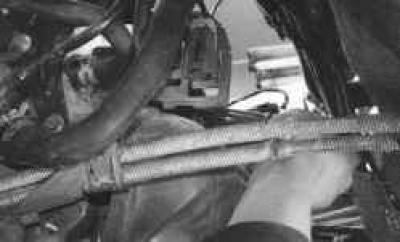
13. Disconnect from the brackets of the main muffler of the pillow of its suspension (cm. «Replacement of pillows of a suspension bracket of system of release of the fulfilled gases»), disconnect the flanges of the additional muffler and the collector..
14.... and remove the gasket installed between the flanges.
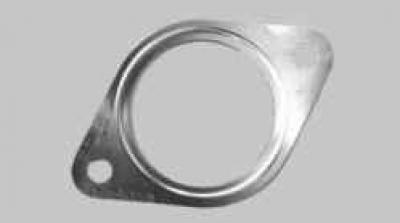
USEFUL ADVICE: Replace the sealing gasket between the flanges of the collector and the additional muffler with a new one each time the connection is disassembled.
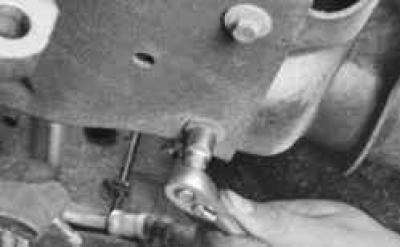
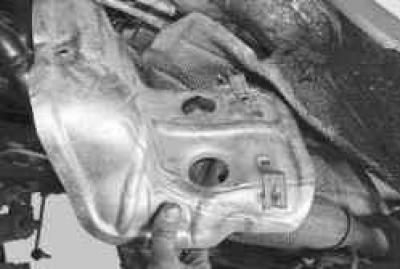
15. Turn out four bolts of fastening of an extension to the basis of a body …
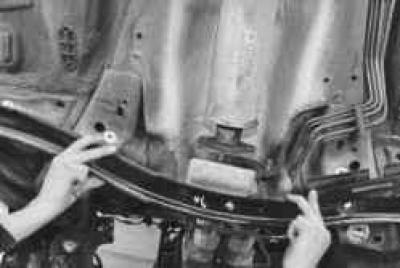
16.... and remove the stretch.
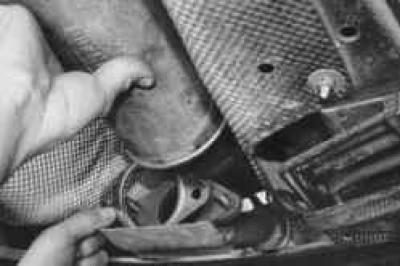
17. Unscrew the two nuts securing the collector to the cylinder head on the right..
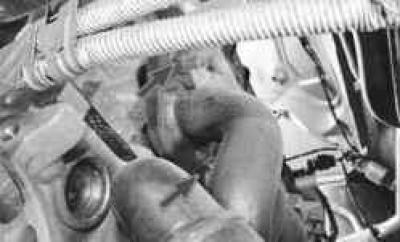
18.... and on the left, unscrew one bolt in the center (not visible in the photo) …
19.... then remove the collector..
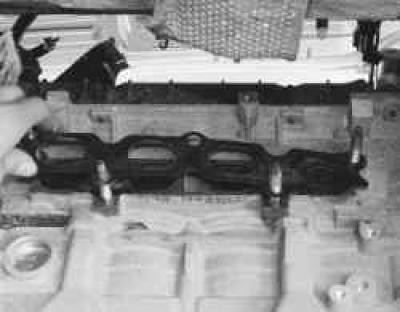
20.... and a gasket installed on the studs of the head of the block.

USEFUL ADVICE: Replace the gasket of the collector with a new one each time the connection is disassembled.
21. If you are replacing a manifold and the new manifold does not have oxygen concentration sensors, unscrew the sensors from the removed manifold and install them on the new assembly.
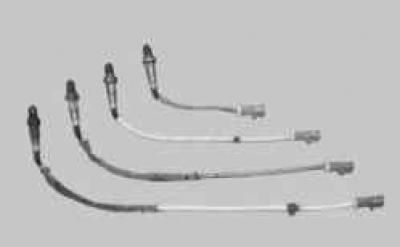
NOTE: Please note that the oxygen sensor wiring harnesses are different lengths. In addition, the color of the pads and the insulation of the harnesses differ. Install the sensors in the same places on the new collector as they were on the old one.
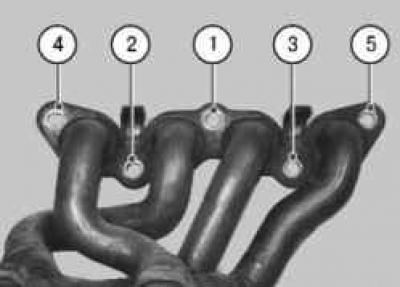
22. Install the collector and all removed parts in the reverse order of removal. Tighten the nuts and bolt of the collector in the sequence shown in the photo, with the torque given in Appendix 1.
Visitor comments