NOTE: When replacing the clutch release bearing due to noise, check the condition of the drive disc pressure spring petals. If the petal ends are heavily worn where they contact the bearing, replace the drive disc assembly.
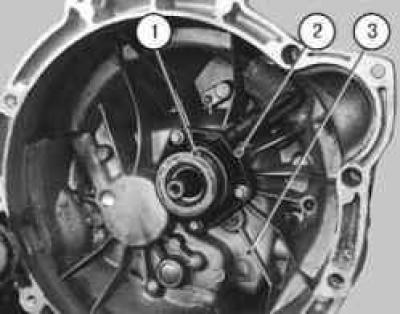
The clutch release bearing 1 is a single unit with the clutch release drive slave cylinder 2, secured to the inner wall of the clutch housing 3 with three bolts.
You will need: a 10 mm socket head and a flat-blade screwdriver.
1. Remove the gearbox (see "Removing and installing the gearbox"), unless it was removed for clutch repair.
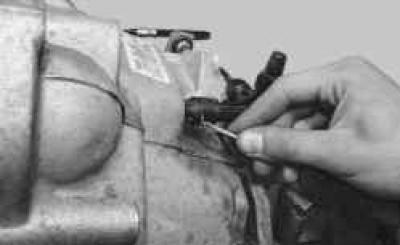
2. If the gearbox was removed together with the clutch release hydraulic drive pipeline, pry it off with a screwdriver..
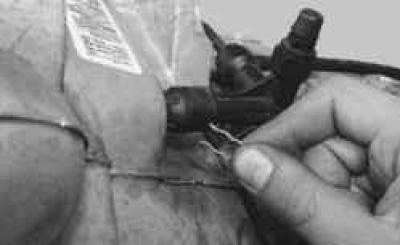
3. …remove the adapter retainer from the working cylinder tip…
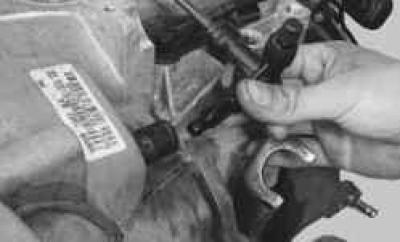
4. …and remove the adapter from the tip.
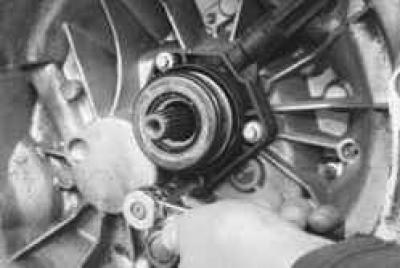
5. Unscrew the three bolts securing the slave cylinder to the clutch housing…
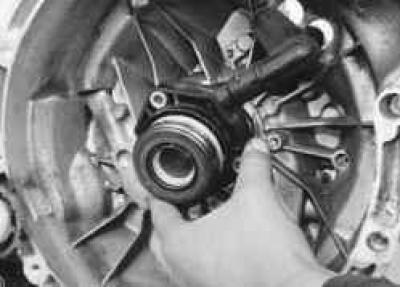
6. …and remove the cylinder assembly with the clutch release bearing from the clutch housing.
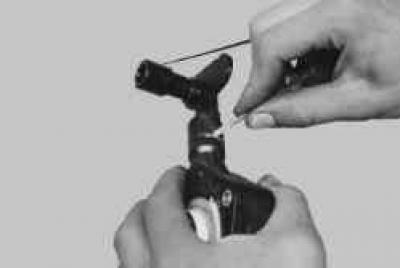
7. If necessary, pry with a screwdriver..
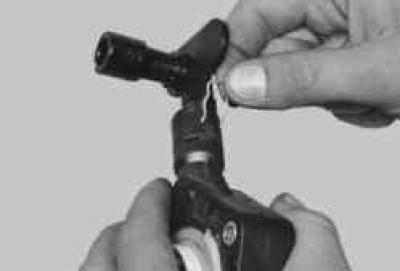
8. …remove the tip retainer…
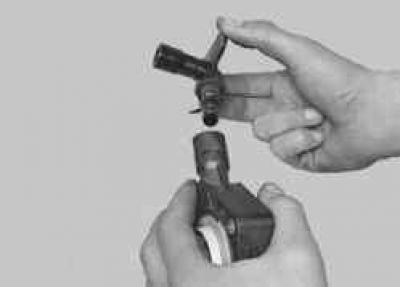
9. …and disconnect the tip from the working cylinder.
NOTE: Before installation, check the new bearing. It should rotate freely, without binding or noise, and have no play.
10. Install the clutch release drive slave cylinder assembly with the bearing in the reverse order of removal. Tighten the slave cylinder mounting bolts to the clutch housing to a torque of 10 N·m.
11. Install the gearbox (see "Removing and installing the gearbox").
12. Remove air from the clutch release hydraulic drive (see "Bleeding the clutch release hydraulic drive").