Contents: Removal ↳ Installation ↳
Removal
1. General notes:
- Before starting repair, remove the bumper, taillight, trunk lid seal, air vent holder, lower trim panel, door window, interior trim panels, inner fender, seat cushion, rear seat, seat belt, door seal and lock striker.
- Note the replacement part cutout in the lower trim panel, C-pillar, and D-pillar.
- Move flooring and electrical wiring away from the work area.
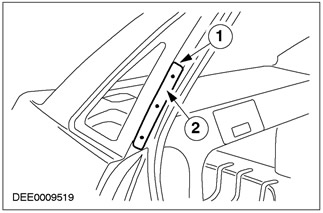
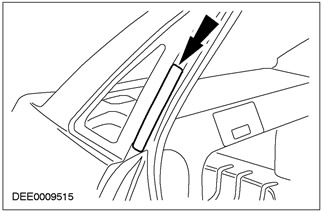
2. Seal mounting panel (partial removal)
- Place of cutting.
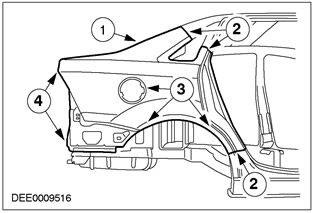
3. Rear side panel
- 1. When connected to the rear storage shelf panel, rout to a thickness equal to twice the thickness of the panel.
- 2. Place of cutting
- 3. Heat the area.
- 4. Separate the high temperature soldering joints.
Installation
1.
NOTE: Apply two-component metal adhesive immediately prior to installing the new replacement part.
Sealing
- Apply two-component metal adhesive.
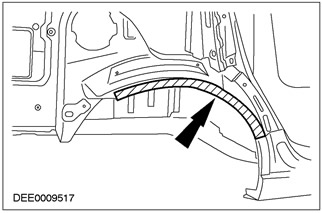
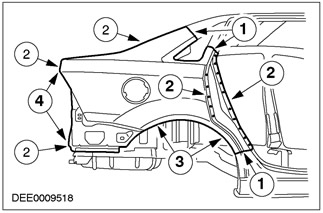
2. Rear side panel
- 1. Perform a continuous weld using MIG technology.
- 2. Perform puddling welding.
- 3. Crimp the joint of the wheel arch sections and perform spot welding.
- 4. Perform soldering.
3. Seal mounting panel
- 1. Perform a continuous weld using MIG technology.
- 2. Perform puddling welding.