Models up to 8/94 with cable drive
Removal
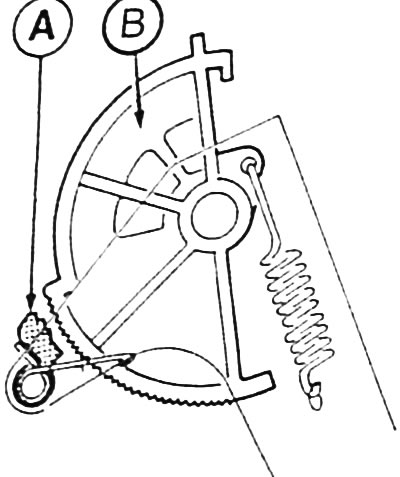
Place a wooden block under the clutch pedal so that the pedal cannot be pressed. This will remove the stopper "A" from the toothed segment "B" when the clutch cable is pulled.
Place the front of the car on jack stands.
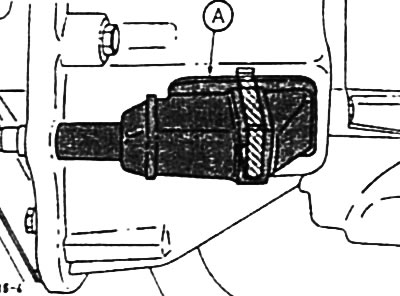
Compress the pressure spring and remove the cuff "A" from the clutch housing.
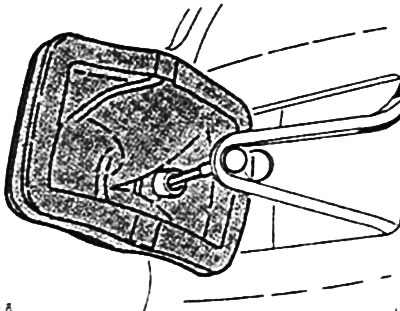
Pull the cable rod in front of the clutch release lever down and, holding it with pliers, unfasten it.
Remove the cuff from the cable traction.
Unfasten the cable traction from the counter support.
Remove the trim under the instrument panel in the driver's footwell.
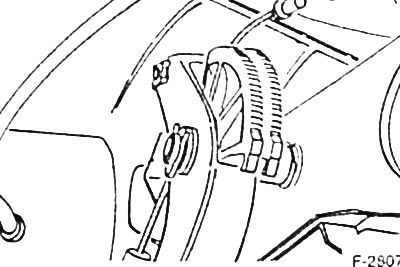
Disconnect the cable from the clutch pedal.
From the engine compartment side, pull the cable traction out of the front wall.
Installation
Insert a new clutch cable into the front wall from the engine compartment side.
Attach the cable pull to the clutch pedal.
Secure the clutch cable to the counter support on the clutch housing and slide the cuff on. Pull the cable out of the sheath and, holding it with pliers, hang it on the clutch release lever. Apply a small amount of grease to the contact surface of the cable nipple at the clutch release lever.
Slightly compress the cuff pressure spring and insert the cuff into the clutch housing.
Remove the wooden block from under the clutch pedal.
Install the trim in the driver's footwell.
Lower the car.
Due to the presence of an automatic adjustment mechanism in the clutch pedal, there is no need to adjust the clutch drive cable after replacing it.