Switches for heated rear and windshield glass, rear fog lights, fog lights
Removal
Disconnect the negative (-) battery cable.
Caution: When the battery is disconnected, the contents of electronic memory devices, such as engine fault codes or radio codes, are erased. Before disconnecting, also read the instructions in the chapter "Removal and installation the battery".
Cars up to 1/92 and from 9/94
Note: Vehicles from 9/94: Removal of fog light switches is described in the previous chapter.
Remove the instrument cluster assembly protective screen. See chapter "Removal and installation the instrument panel assembly".
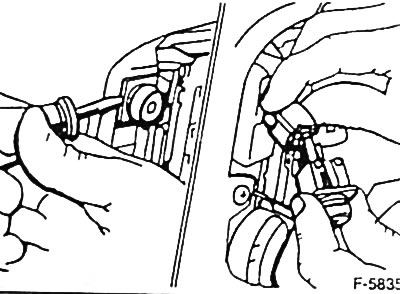
Press the switch with a thin screwdriver.
Cars from 2/92 to 8/94
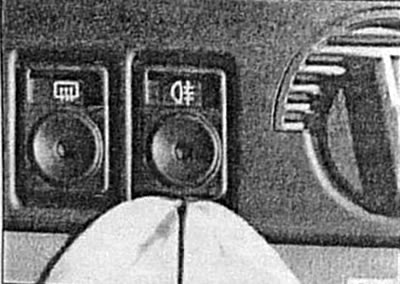
Insert a narrow screwdriver between the switch and the instrument panel. To avoid scratching the panel, place a rag or paper pad under the screwdriver.
Alternately pressing the screwdriver from above and below, carefully press the switch. Do not press the screwdriver with the entire plane, otherwise the switch cover will be pressed.
Disconnect the multi-pin plug connector of the switch.
Installation
Connect the multi-pin plug connector of the switch.
Press the switch into the hole until it locks into place.
Cars up to 1/92: Install the instrument cluster assembly protective screen, see chapter "Removal and installation the instrument panel assembly".
Connect the ground (-) cable to the battery.
If available, set the clock and enter the radio theft protection code.
Switches for electric windows, electric roof panel, electric rear seat backs, front seat heating system
Removal
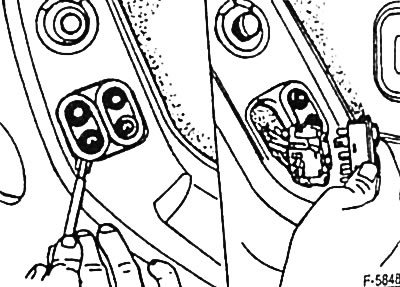
Insert a narrow screwdriver between the switch and the instrument panel and press the switch. To avoid scratching the panel, place a rag or paper pad under the screwdriver.
Disconnect the multi-pin plug connector of the switch.
Installation
Connect the multi-pin plug connector of the switch.
Press the switch into the hole until it locks into place.