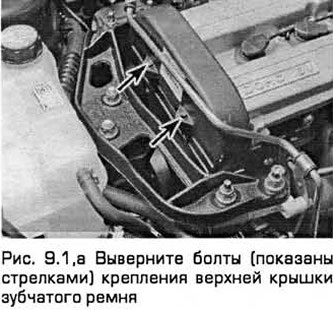
Top cover
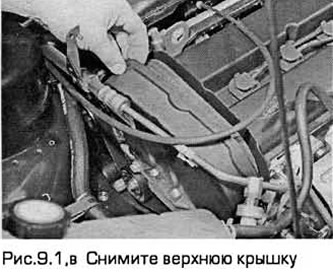
1. Unscrew the two cover mounting bolts and remove it (see Fig. 9.1, a-c).
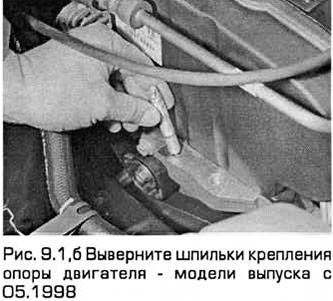
On 05/1998 and later models, support the engine with a piece of wood under the oil pan to remove the right engine mount and remove the studs. Then remove the timing cover.
2. Installation - in the reverse order of removal. The edges of this cover must be correctly joined with the edges of the middle cover. Tighten the bolts to the required torque.
Middle lid
3. Remove the six nuts securing the right engine/transmission mount bracket. Then remove the bracket.
4. Loosen the coolant pump pulley bolts.
5. Remove the upper timing belt cover (see item 1).
6. Remove the accessory drive belt (chapter 1).
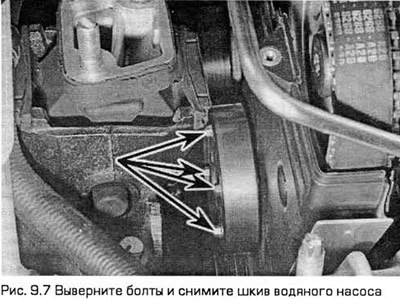
7. Unscrew the bolts and remove the coolant pump pulley (see Fig. 9.7).
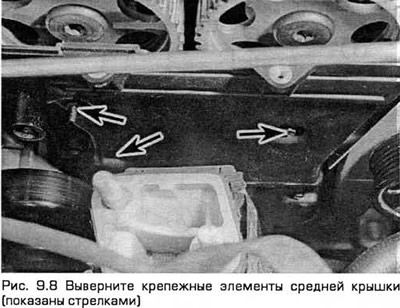
8. Unscrew the fasteners of the middle cover (one bolt at the front, one bolt at the bottom rear and one stud at the top rear). Remove the cover (see Fig. 9.8). On models produced since 05.1998, the middle cover is made of aluminum alloy.
9. Installation - in the reverse order of removal. It is necessary to properly mate the edges of the covers. Tighten the fasteners to the specified torque. When installing the right engine/transmission mount, replace the self-locking nuts and do not allow the mount to rock when tightening two (located in the middle) of the six nuts.
Bottom cover
10. Remove the crankshaft pulley (paragraph 8).
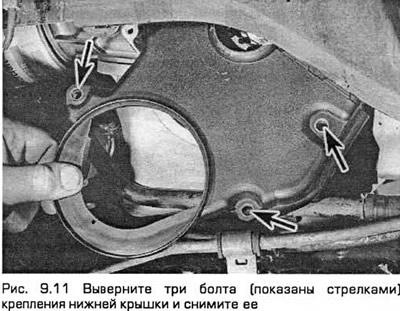
11. Unscrew the three cover mounting bolts and remove it (see Fig. 9.11).
12. Installation - in the reverse order of removal. Correctly join the edges of the covers. Tighten the fasteners to the required torque.
Inner casing
13. Remove the timing belt, its tensioner components and the camshaft toothed pulleys (paragraph 10-11).
14. The casing is secured to the cylinder head with two bolts at the top and two studs at the bottom. Release the casing from the fasteners and remove it (see Fig. 9.14).

15. Installation - in the reverse order of removal. Tighten the fasteners to the required torque.