2. Start and warm up the engine to operating temperature.
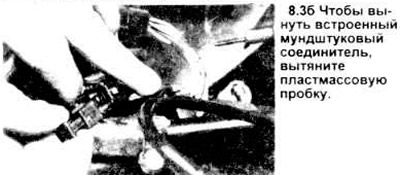
3. Pull out the built-in connector located next to the distributor.
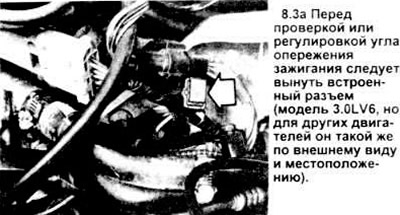
4. Connect the induction stroboscope and tachometer in accordance with the manufacturer's instructions.
Caution: Make sure the strobe and tachometer wires are kept a safe distance from the electric fan blades.
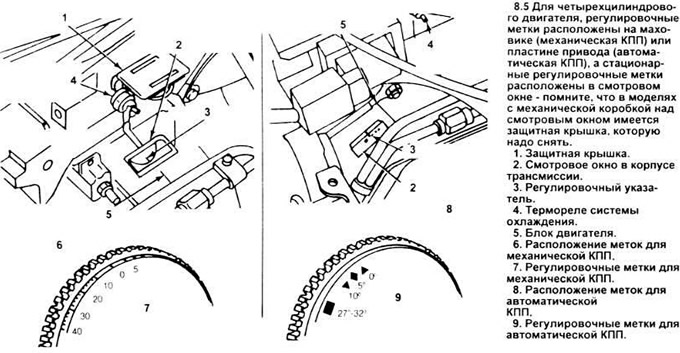
5. For a four-cylinder engine, locate the inspection window on the top of the transmission case, just below the thermostat housing at the left end of the cylinder head (see illustration). If the vehicle has a manual transmission, remove the screws and skid plate.
6. For a V6 engine, locate the adjustment marks on the crankshaft vibration damper (see illustration).
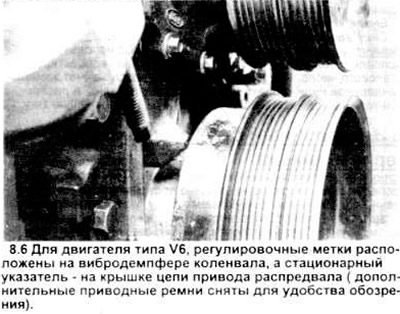
Note: It may be necessary to clean the end of the damper with a wire brush or solvent.
7. Start the engine again.
8. For a four-cylinder engine, point the timing light out the window at the flywheel (manual transmission) or drive plate (automatic transmission) and note whether the timing mark (10 degrees on manual transmission vehicles or a triangular imprint on automatic transmission vehicles) aligns with the timing pointer at the end of the timing groove.
9. For a V6 engine, aim the timing light at the vibration damper adjustment marks and note if the 10 percent mark aligns with the stationary pointer on the timing chain cover.
10. If the mark does not coincide with the stationary pointer, loosen the lower bolt - the distributor holder. Turn the distributor clockwise (to decrease the advance angle) or counterclockwise (to increase the advance angle) until the correct adjustment mark on the flywheel / drive plate coincides with the stationary pointer. After the adjustment marks coincide, securely tighten the lower bolt holder and then recheck the position of the marks.
11. Turn off the engine.
12. Insert the mouthpiece connector.
13. Restart the engine and check the idle speed. Since the engine is equipped with an automatic idle speed control system, the engine speed is not adjustable. If the measured speed is not within the permissible range (see VECI label). Adjustment requires specialized test equipment and procedures that are beyond the scope of this publication.
14. Turn off the engine.
15. Remove the stroboscope and tachometer.
Note: All Tauras/Sable models use distributors with a special feature - octane adjustment. Adjustment is performed by replacing the standard zero-degree rod located in the distributor with a three- or six-degree delay rod.
(For more information, please visit the specified website: www.FordBook.ru)