Note: To determine the type of spare parts for the generator, use the numbers located on the front of the housing (see figure).
2. To make subsequent assembly easier, scratch marks on the back cover and stator.
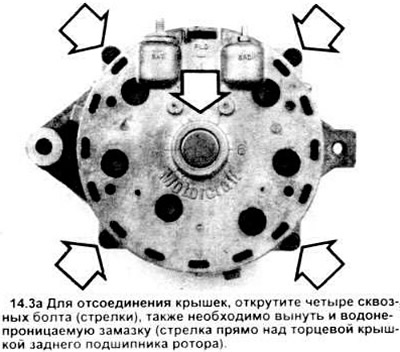
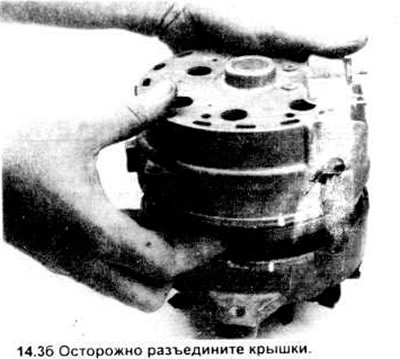
3. Remove the through bolts, then remove the putty covering the center hole (see figure), and separate the front cover with the rotor from the rear cover and stator. The rear cover and stator must not be separated (see figure).
4. Using a soldering iron, unsolder the lead wire connecting the brushes to the rectifier (see figure).
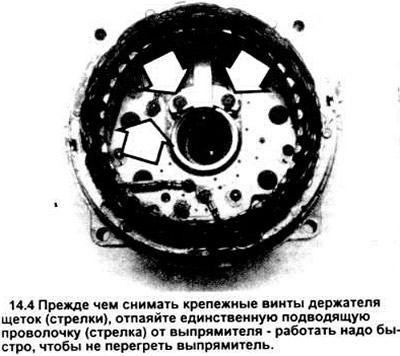
5. Unscrew the two screws of the brush holder (see Figure 14.4) and remove the holder from the rear casing.
6. Insert a strip of cardboard or a piece of hard wire into the new brush holder (see illustration) to keep the brushes in place.
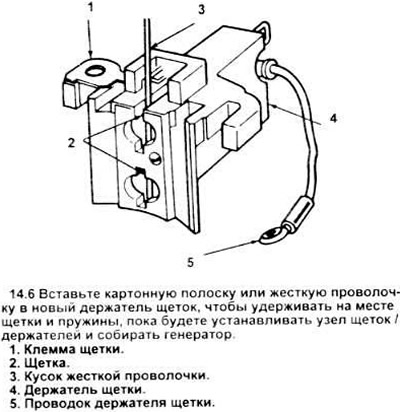
7. Place the brush holder back into place in the rear housing, making sure the wire passes through the hole in the rear housing.
8. Tighten the holder screws through the holes in the holder.
9. Press the brush holder lead wire into the rectifier wire and solder them in place.
Be careful: if you don't solder fast enough, you can overheat and ruin the rectifier.
10. Place the rotor and front cover in place relative to the stator and rear casing. Align the marks made earlier and install the through bolts.
11. To check the resulting connection in the generator, rotate the fan and pulley. Remove the wire (see figure) and seal the hole with waterproof putty.
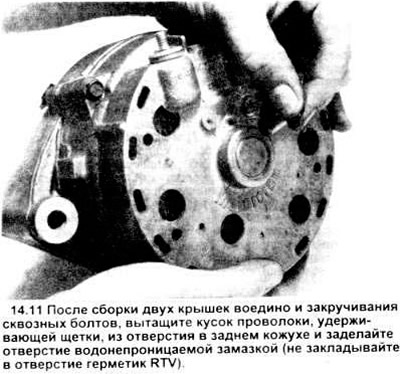
Caution: Do not fill the hole with RTV type sealant.