Withdrawal
1. Disconnect the negative battery cable.
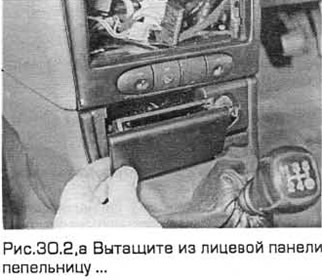
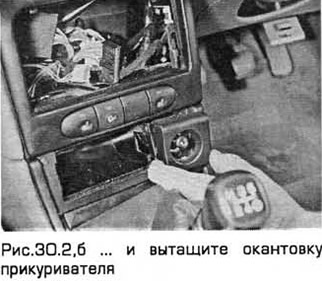
2. Remove the ashtray from the front panel and pull out the cigarette lighter trim (see fig. 30.2, a, b).
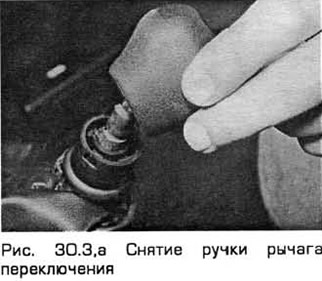
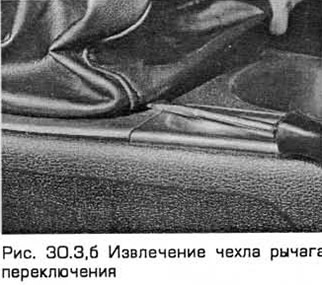
Models with non-automatic transmission
3. Remove the shift lever knob. Pry up the cover and remove it through the top of the lever (see fig. 30.3, a, b).
Models with automatic transmission
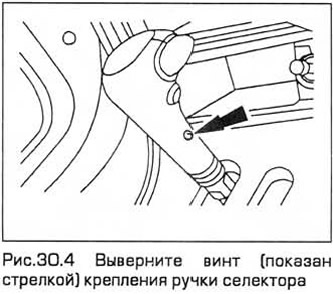
4. Turn out the screw of fastening of the handle of the selector (see fig.30.4).
5. Using a screwdriver, carefully remove the selector panel. Disconnect electrical connectors. Remove the handle and selector panel.
6. Disconnect the electrical connectors and release the wiring from fixing inside the console.
All models
7. Remove adaptive suspension sensor (if available - see chapter 12).
8. Lift up and remove the rubber mat (in the presence of) from the base of the rear console compartment.
9. Take out the coin box (in the presence of).
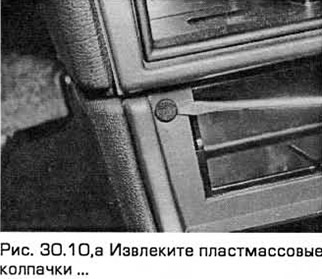
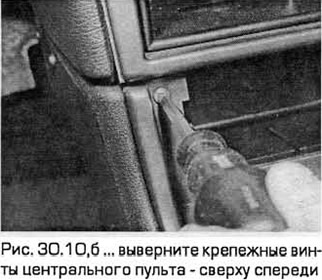
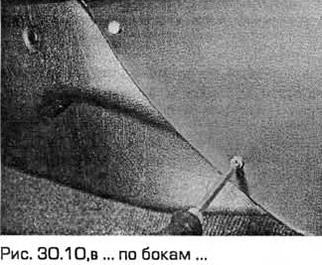
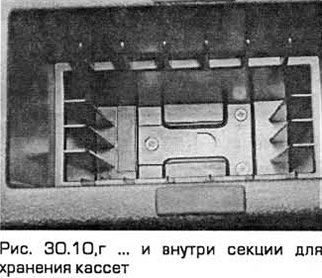
10. Remove the plastic caps (in the presence of), and then remove the fixing screws for the center console. They are located on the sides of the console, on its top surface and inside the cassette storage section. Screws with washers are installed on the sides of the console. The front screws are smaller than the others and are black in color (see fig. 30.10, a-d).
11. Fully tighten the parking brake lever. On the latest models, it may be necessary to release the spring from the parking brake ratchet in order to raise the brake lever to a sufficient height when removing the console.
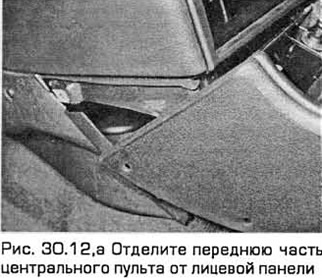
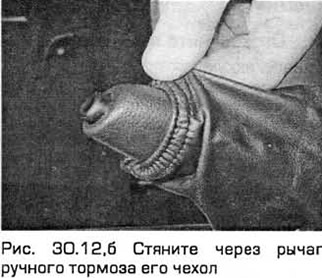
12. Remove the central console, removing its cover through the brake lever (see fig. 30.12, a, b).
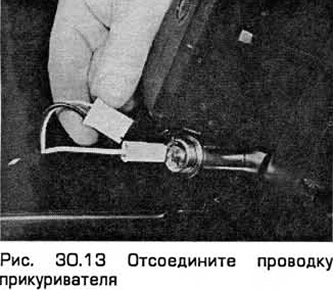
13. Disconnect the cigarette lighter wiring (see fig. 30.13).
Installation
14. Installation - in the reverse order of removal.
Visitor comments