Withdrawal
1. Disconnect the negative battery cable.
2. On pre-1996 models, remove the windshield wiper arms (chapter 12). Then remove the panel located directly in front of the windshield. It consists of two sections and is fixed with screws located along its front edge. After removing the panel, disconnect the speedometer cable.
3. Remove the central console (paragraph 30). Then turn out screws and remove lateral covers of a heater.
4. Remove the steering column (chapter 10).
5. Remove the dashboard (chapter 12).
6. Turn out screws and remove the display of a control system of parameters of the car (in the presence of).
7. Remove radio and CD player (if available - see chapter 12).
8. Remove the heater control panel (chapter 3).
9. Using a screwdriver, carefully lift the headlight switch panel and disconnect the wiring connectors.
10. Remove the glove box (paragraph 32).
11. Raise the mat in the front passenger area.
12. Remove the side trim panels from the A-pillar and B-pillar on both sides of the vehicle (paragraph 29). The top panels on the B-pillars do not have to be removed.
13. At the base of the right front pillar, disconnect the electrical connectors, disconnect the ground wires and the antenna wire, taking into account the position of the wires.
14. Understand the location of the wiring connectors on the fuse box. Then disconnect the electrical connectors.
15. Disconnect the wiring from the footwell lamps (in the presence of).
16. On models of release before 1996, pull out the rubber bushing of the speedometer cable located on the partition of the engine compartment near the pedal bracket. Then release the cable from the clamps.
17. Turn out screws and pull out lateral facing of a glove box for access to the screw of fastening of the front panel from the side.
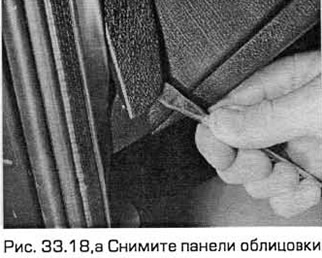
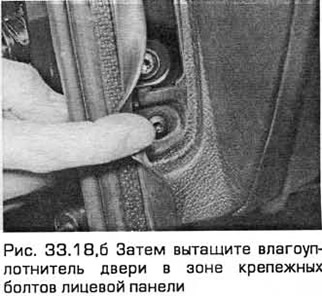
18. Open the front doors. Remove trim panels. Then pull out the door seal in the area of the mounting bolts on each side of the vehicle (see fig. 33.18, a, b).
19. Turn out bolts of fastening of the front panel from the side.
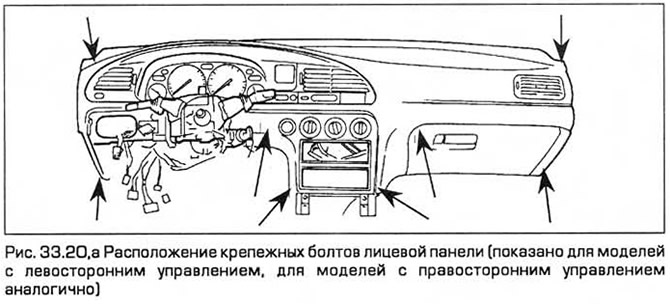
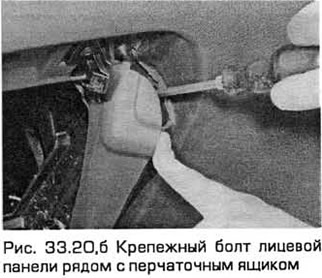
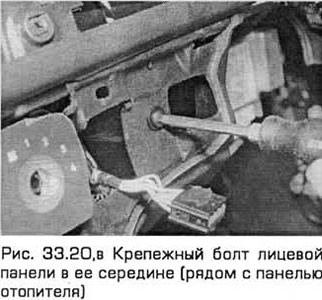
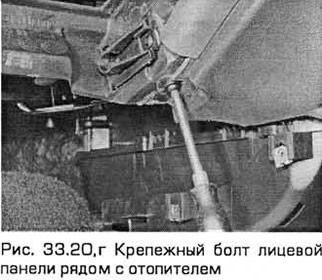
20. Turn out bolts of fastening of the front panel in its middle part (see fig. 33.20, a-g).
21. Undock the front panel from the bulkhead of the engine compartment and move it away so that you can work behind the panel.
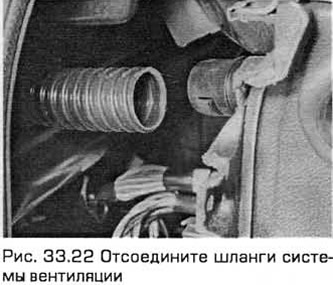
22. Disconnect the remaining electrical connectors and other connections, taking into account their position. You will have to disconnect some of the harness holders, clamps and plastic ties, as well as the outside air supply hoses of the ventilation system (see fig. 33.22).
23. Pull out the panel on the side of the car.
Installation
24. Installation - in the reverse order of removal. Finally, check the operation of the electrical components.
Visitor comments