Contents: Removal ↳ Installation ↳
Removal
Front mudguard
1. Apply the parking brake, raise the front end and place it on stands. If desired, remove the wheel for better access.
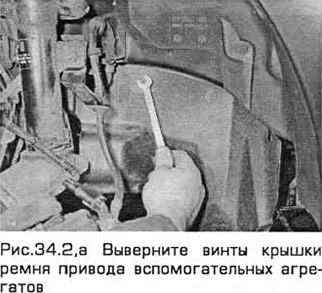
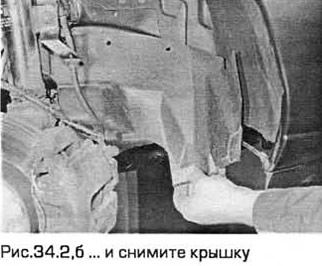
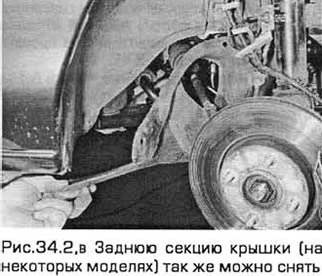
2. If you are removing the right mudguard to access other components, it may be sufficient to remove the accessory drive belt cover from the inside of the poker by unscrewing the mounting screws. On some models, this cover consists of two sections (front and rear). Usually, only the front section needs to be removed (see Fig. 34.2, a-c).
3. Pull out the latch on the bottom edge of the poker from the front.
4. Remove the screws securing the mudguard to the inner panel of the wheel arch.
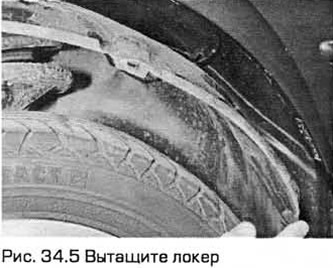
5. Remove the screws and fasteners securing the poker to the outer edge of the wheel arch and the bumper. On late production models, disconnect the bumper pillar from the front of the poker. Pull the mudguard out from under the car (see Fig. 34.5).
Rear mudguard
6. Support the front wheels with chocks and engage first gear. Apply the parking brake, lift the front end and place it on supports. If desired, remove the wheel for better access.
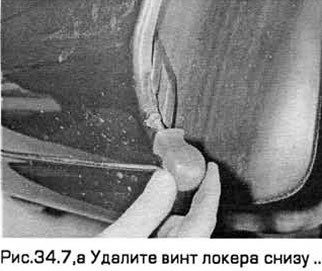
7. Remove the screws and fasteners securing the mudguard to the outer edge of the wheel arch (see Fig. 34.7, a, b).

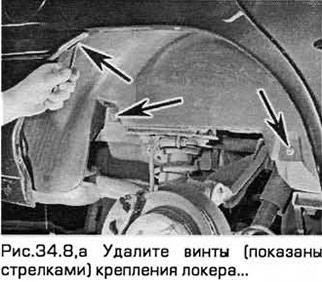
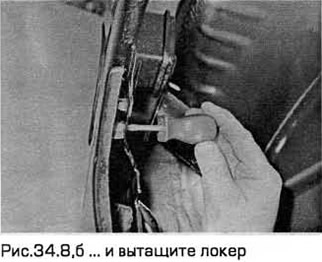
8. Remove the screws and fasteners of the mudguard inside the wheel arch (see Fig. 34.8,a,b). Pull the mudguard out from under the car.
Installation
9. Installation - in the reverse order of removal. If you removed the wheels, tighten the nuts to the required torque.
(A copy of the article is available on the website: FORDBOOK.ru)