Withdrawal
1. Disconnect the negative battery cable.
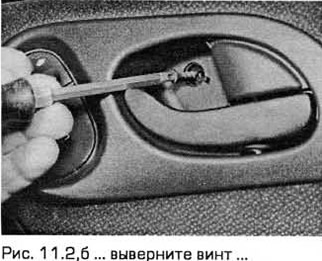
2. Gently pry out the plastic cover using a small screwdriver. Turn out the screw and remove a fringing of the internal handle of a door (see fig. 11.2, a-c).


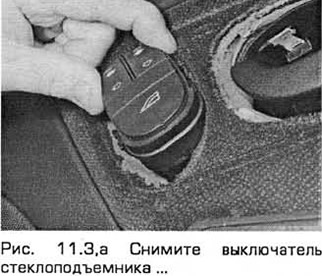
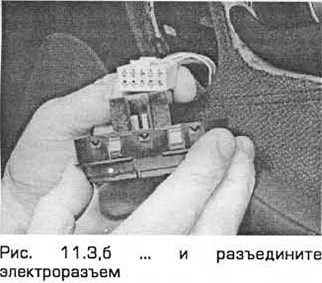
3. Remove the power window switch (in the presence of) and disconnect the electrical connector (see fig. 11.3, a, b).
Front door
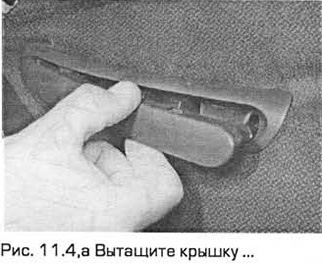
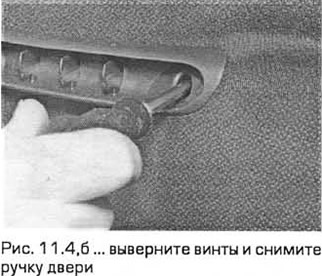
4. Carefully pull out the cover, remove the screws and remove the door handle (see fig. 11.4, a, b).
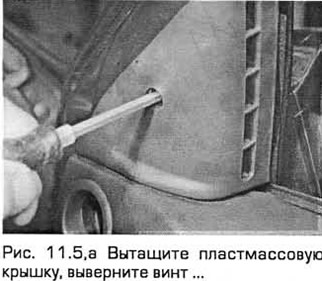
5. Pull out the plastic cover, unscrew the screw and remove the window edging from the front of the window opening (see fig. 11.5, a, b).

Backdoor
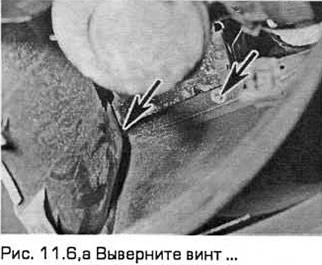
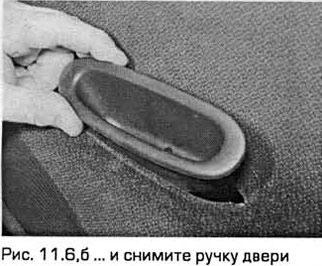
6. Carefully pull out the cover, remove the screw and remove the door handle (see fig. 11.6, a, b).
Front and rear doors
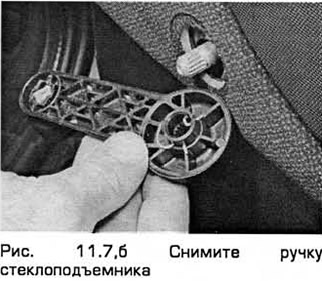
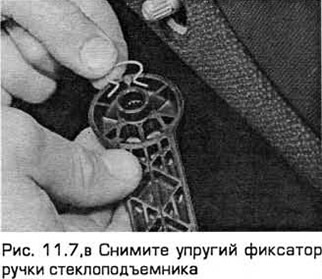
7. On models with manual power windows, fully raise the window and mark the position of the power window handle. Loosen the elastic retainer with a clean rag, which must be inserted between the handle and the door trim. Pull the rag against the legs of the latch to release it, and at the same time pull the handle off the power window shaft splines. Remove the handle (and spacer, if any). Remove the retainer (see fig. 11.7,a-c).

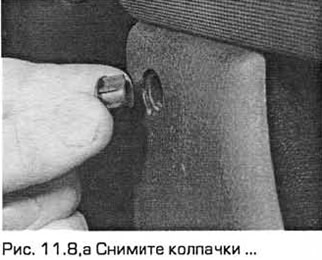
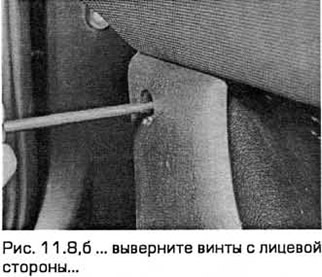
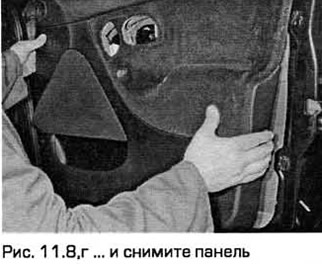
8. Remove the caps from the cladding panel fixing screws. Loosen the screws and remove the panel. If a speaker is attached to the panel, disconnect its electrical connector (see fig. 11.8, a-g).

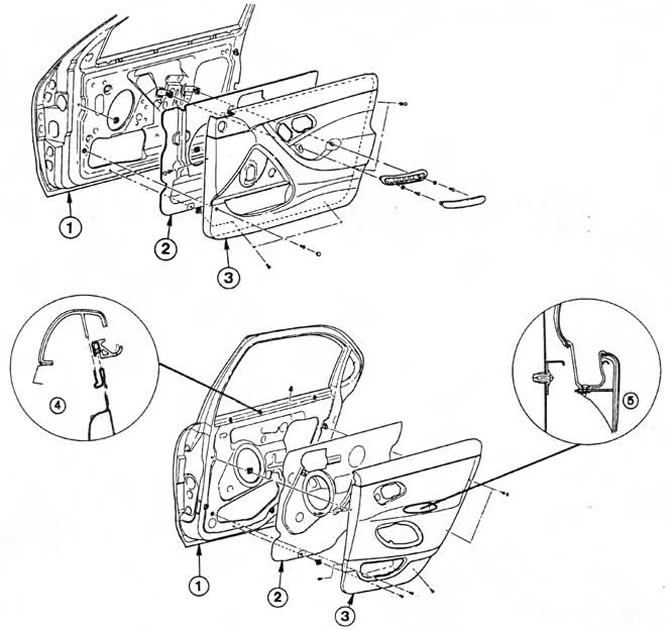 Pic. 11.8, d. Door trim components.
1. Door
2. Sponge seal
3. Cladding panel
4. Top mount
5. Center mount
9. If necessary, you can remove the sponge insulation from the door by first removing the speaker (chapter 12).
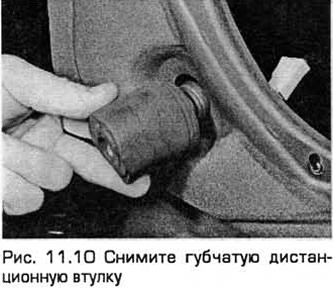
10. On models with manual power windows, remove the spongy spacer from the power window shaft (see fig. 11.10).
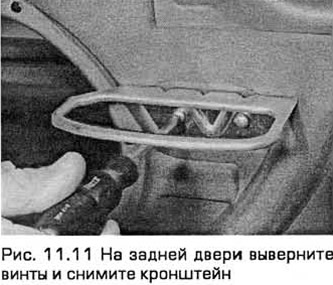
11. On the rear door, remove the screws and remove the bracket (see fig. 11.11).
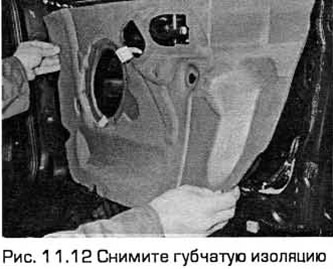
12. Carefully pry off the foam insulation from the door with a knife in the places where it is glued (see fig. 11.12). Remove sponge insulation.
Installation
13. Installation - in the reverse order of removal.
Visitor comments