Contents: Front door ↳ Back door ↳
Front door
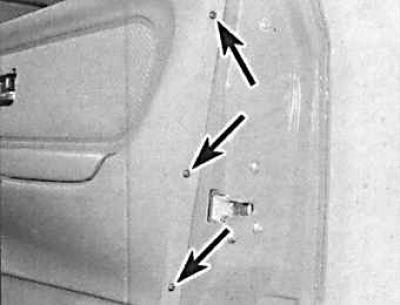
1. Open the door and unscrew the 5 screws (there are 7 screws on the rear door) securing the front and rear edges of the door interior trim panel (the arrows indicate the screws securing the rear part of the door trim).
2. Remove the two plugs and unscrew the two screws securing the door pocket. Remove the pocket.
3. On vehicles with electric windows and mirrors, press and disconnect the drive connectors. The driver's side electric window switch connector is color-coded; blue plug - far window. On cars with manual window lift, remove the window lift handle, which is secured with one screw.
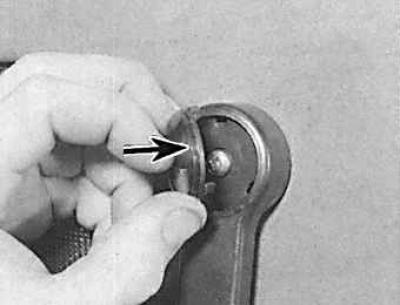
4. Remove the decorative plug (indicated by the arrow) to access the window lift handle mounting screw.
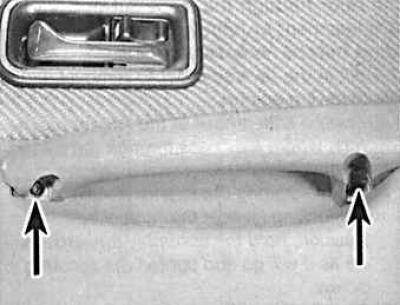
5. Unscrew the screws (indicated by arrows) securing the armrest. One of them can be accessed through the hole after removing the window lift switch.
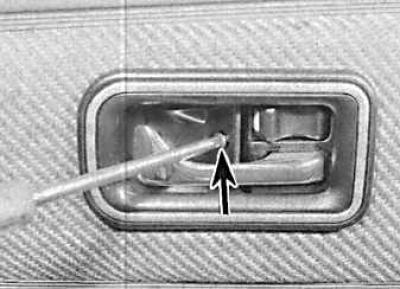
6. Unscrew the screw (indicated by the arrow) securing the decorative trim of the inner door handle.
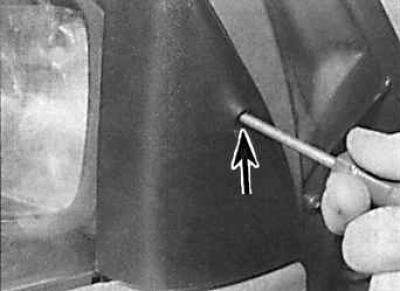
7. Unscrew the screw (indicated by the arrow) of the mount and remove the decorative triangular cover covering the screw of the mirror mount and unscrew the mirror.
8. Press the trim panel away from the door at the top to release the clips, then lift it up to release the lower mounting supports. This will require slightly rocking the interior door trim panel.
 |
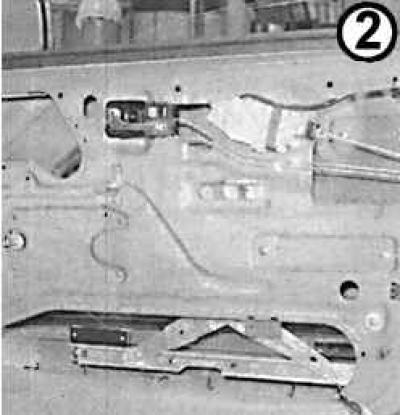 |
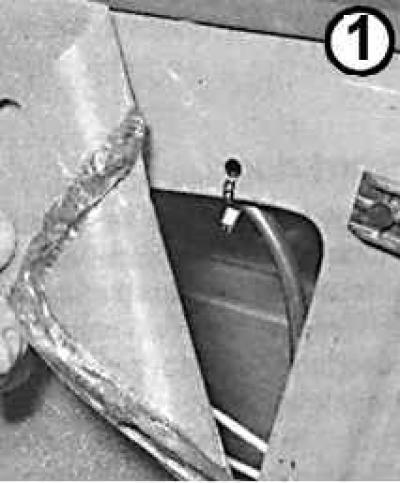
9. To access the internal elements of the door, it is necessary to remove the foam rubber coating (1). It is attached with an adhesive layer along the edges, some elements of the door may be attached together with it. In these places, the coating must be cut with a knife, and when installing, glue it (2 - a view of the door without coating).
10. Installation is carried out in the reverse order of removal.
Back door
The operations for removing the rear door interior trim panel are the same as for the front doors (see above). The difference is that the interior handle unit is secured with two screws, one of which can be accessed after removing the ashtray.
(This article is a copy from the website Fordbook.ru)