2. Remove the foam rubber covering in the area of the door lock. Disconnect the control rod from the outer handle.
3. Disconnect the electrical connector of the door lock motor. To remove the motor, unscrew the two screws and turn the motor to release the control rod.
4. Unscrew the screw securing the inner door handle, move the handle back, remove the rods from the handle. Disconnect the rods from the handle and remove the rod guide bushings from the door.
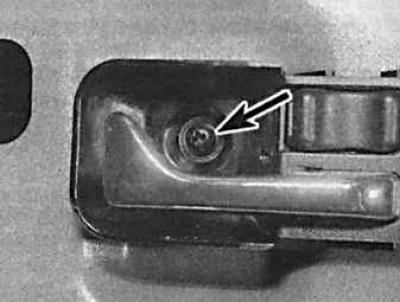
5. Unscrew the screw (indicated by the arrow) securing the inner door handle, move the handle back, remove the rods from the handle. Disconnect the rods from the handle and remove the rod guide bushings from the door.
6. If there are door lock switches, disconnect the connector from them.
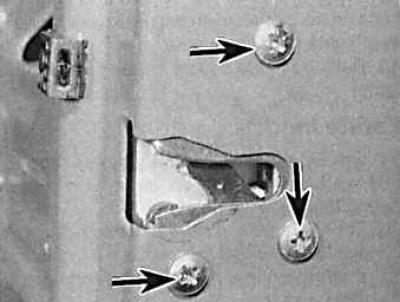
7. Unscrew the three screws (indicated by the arrow) securing the lock. Remove the door lock through the large opening in the inner door panel.
8. Installation is carried out in the reverse order of removal.
9. When installing, lubricate the inner handle rods where they pass through the plastic bushings.
10. When installing internal handles, the lever must be in the "open" position.
11. Check the operation of the door lock before installing the door trim in place.
The original can be found on this resource [FORDBOOK]